

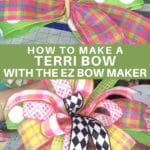


Check out my easy-to-follow tutorial for making a Terri Bow with the EZ Bow Maker. It’s so easy to make a bow with this tool that you may wonder why you didn’t use it sooner!
Hey guys! Today, I want to show you how to make the famous Terri Bow using the EZ Bow Maker. The EZ Bow Maker is one of my favorite tools in wreath-making, and the Terri Bow is a terrific version to know how to make.
When you’re making wreaths, you can use ribbon in many different ways. One of the best options is to use ribbon to make a bow with it. They are fun to look at, providing lots of eye-catching color and texture, which also makes your wreaths attractive to customers!
I made this tutorial to show you just how quick and easy (less than 10 minutes!) it is to create a beautiful finished product!
What Is A Terri Bow?
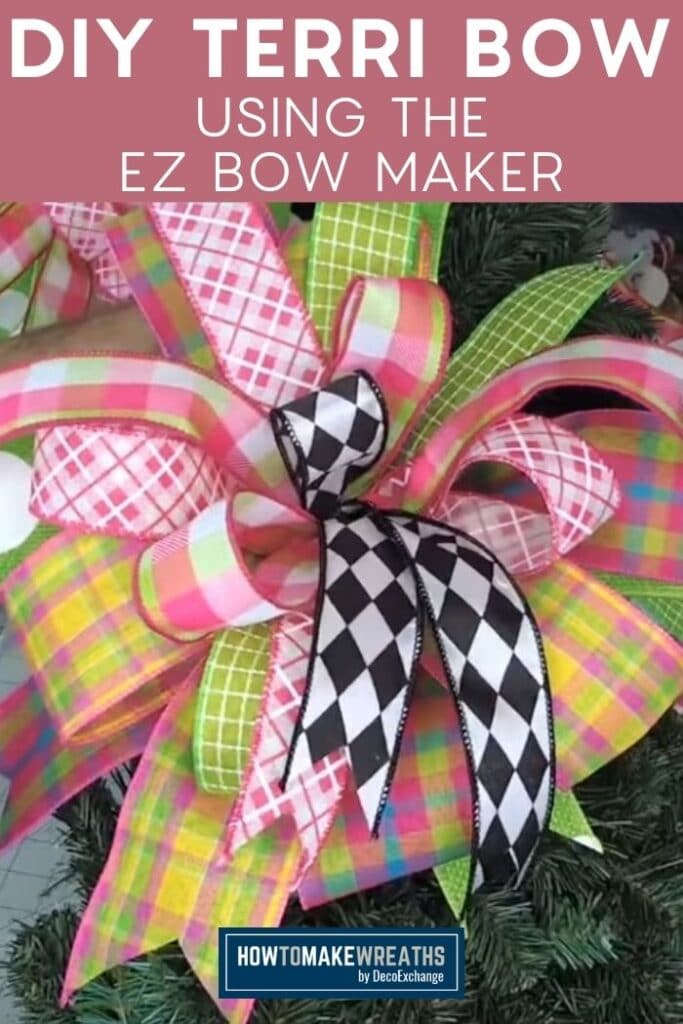
This style of bow typically uses 6 different ribbons with a technique developed by Terri Marshal. This technique originally used 6 different ribbons, making it a great way to use up your leftover ribbon scraps!
However, there are many ways to alter the ribbon that you use. For instance, you could use 2 or 3 repeating ribbons for a product that is still colorful and full of texture but doesn’t look as “busy”.
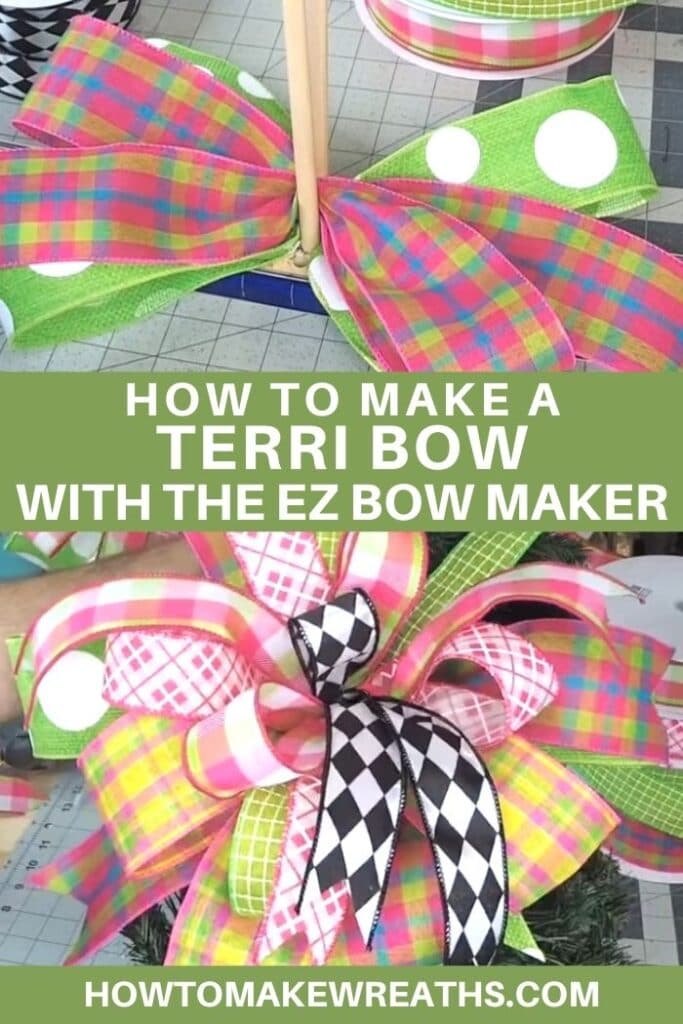
How To Make A Terri Bow Using The EZ Bow Maker
Bows can be used to decorate all different types of wreaths. The EZ Bow Maker is a great tool to use, and it’s super helpful for seeing what you’re making as you make it. If you have never tried using this handy tool, I highly recommend that you give it a shot. It’s so easy to use, that you’ll never look back.
There are also other very useful bow-making tools you can use. Check out other bow-makers to learn more.
Want to see it in action? Watch the video tutorial below.
Terri Bow using the EZ Bow Maker
Materials
- EZ Bow Maker
- Pipe cleaner
- 3 2.5"; wired ribbon
- 4 1.5 wired ribbon
Instructions
- We're going to take our first 2.5" ribbon. We're going to measure it out eight inches. Pinch it in the center. We're going to give it a twist, slide it in. We want our pretty side up, ugly side down.
- We’re going to measure it out to seven inches. Bringing it back through, twist it. Y’all, whenever you’re twisting your ribbons, make sure you twist them this way one time and then come back the other way when you come back across. All right?
- So the first one, we want a tail and a loop facing the same direction. That way we have our tail and our loop both pointing towards us.
- When we come back across, we’re going to measure our seven inches. Go straight down. Y’all, it’s the tail so we want both pretty sides up. On the outside, we’re going to dovetail it. So we’re just making an X every time.
- For the next 2.5" ribbon, we're going to have our tail pointing out the first time. Give it a twist. Tail pointing up. So if our tail's pointing up, we want our first loop going up. Y'all, and guess what? We're not going to measure anymore. We're just going to make each one a little bit smaller going in.
- Now our third 2.5" ribbon is next. Since our loop was down on the last one, now our first tail is going to be down. Y'all, any time you kill a role, well, then you get to buy three more. It's a rule.
- All right. Now our last one. The first thing that we had down was a tail. So we will bring our tail up to the top this time. Bring a loop down. And you just keep following this same pattern all the way up until we get to the center.
- With the previous ribbon, we had a loop down. That means that now we're going to start with our tail. Repeat same steps: Tail to the top. Loop on the top. Give it a little twist in the middle.
- Finally, I like to finish mine with the center loop. So to get your center loop, you have your tails coming out on one side, a smaller loop right down the middle, and tail is coming back out.
- Get a pipe cleaner and fold in half. Get it ready, then just hold your pipe cleaner tight in your hand and give your bow a twist.
- Now, add it to your wreath.
- You can add it to the base. That way it makes it easier to fluff. If you add it to your base, get it attached, then it’ll sit there while you pull your ribbons and your tails all in different directions.
- Trim these tails up nice and pretty. Y'all, you can dovetail them or you can just cut them at an angle. Whatever you like to do. NOTE: I also like to leave all the tails longer while I'm making the product. That way when I come back in and trim them, I can cut them all at different lengths. That way you get a really cool, fun textured look.
Video
Congratulations! Now you can see how easy it is to make your own Terri Bow.
Since this technique is quick and simple to make (but gorgeous to look at), you can make one for every season and holiday!
Was this tutorial helpful? Let us know how you like it or if there are any other tutorials you’re interested in learning in the comments below. We love hearing from y’all (seriously, it’s our favorite)!
Share your experience (and finished product!) in our How to Make Wreaths group. We’d love to see your wreaths!
You can find all of these supplies at DecoExchange. If you are interested in more info on learning how to make wreaths, where to buy supplies, and being in a community of like-minded crafters, check out our Creative Coaching Subscription Group.
CHECK OUT MORE EZ BOW MAKER TUTORIALS
Where did you get your delux bow maker? Do you sell them?
decoexchange.com
decoexchange.com
where do you buy the ez bow maker ?
decoexchange.com
you can find them on the front page of decoexchange.com
How can I purchase the Terri Bow Maker
Here’s the link to the EZ Bow Maker available at DecoExchange. https://www.decoexchange.com/collections/featured/products/ez-bow-maker?aff=807