
If you have ever finished a wreath and then stared at a pile of ribbon wondering why your bow looks like it lost a fight, you are not alone. The bow is the part people notice first, and it is also the part that makes a lot of wreath makers want to throw their scissors across the room.
The good news is that most bow frustration comes from a handful of small things. Damon has been sharing quick fixes on the DecoExchange YouTube Shorts channel, and we pulled five of the most useful ones into this post. Grab your EZ Bow Maker, a few pipe cleaners, and your favorite rolls of ribbon. Here are five wreath bow making tips that will help your next bow come together faster and look fuller.
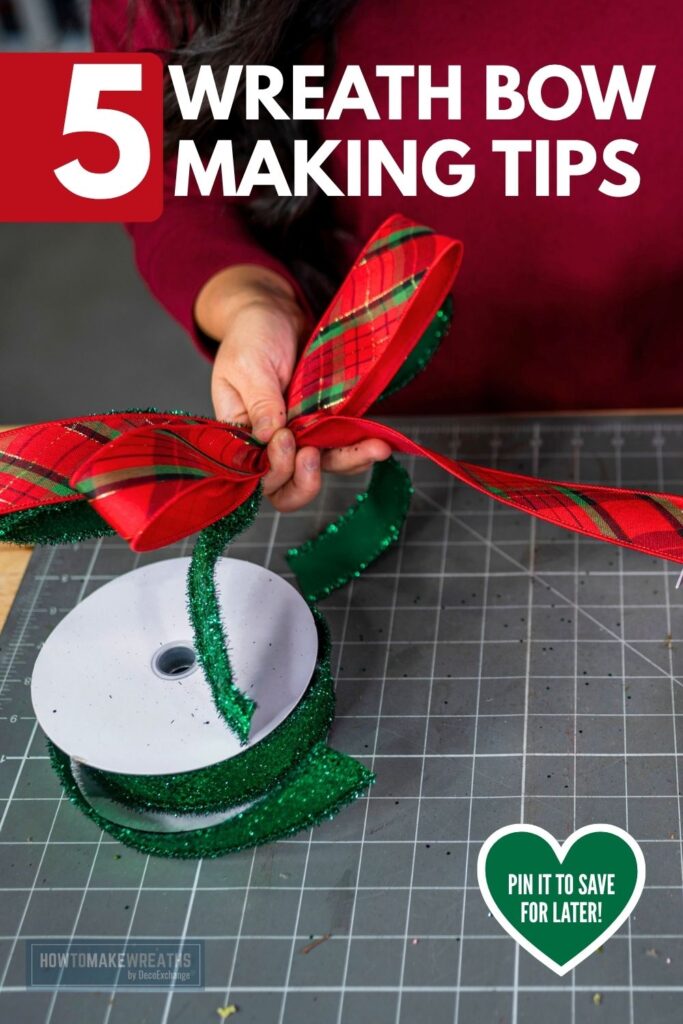
5 Wreath Bow Making Tips
Tip 1: Practice With Good Ribbon, Not Cheap Ribbon
You may have heard that you should practice your bows on low quality ribbon so you don’t waste the good stuff. Damon calls that bad advice, and once you see why, it makes a lot of sense.
Soft, flimsy ribbon wrinkles the second you touch it. It gets wavy, it twists when you don’t want it to, and it ends up looking knotted no matter how many times you smooth it out. When you are still learning, that means you spend the whole time wrestling the ribbon instead of learning the steps. That is a fast track to feeling defeated.
Here is what to look for instead:
- Good wire on both edges. The wire is what lets your loops hold their shape.
- Fabric with some body. It should not crinkle up as soon as you handle it.
- Clean dovetails. When you cut a dovetail, the ends should lie flat. If they start to curl, you will fight them the whole time.
Quality ribbon comes in a range of price points, so this does not have to mean spending more. It means choosing ribbon that works with you while you build your skills. Once you are comfortable making bows, the trickier ribbons get a lot easier to handle.
Tip 2: Use a Half Twist for Directional Ribbon
Directional ribbon is ribbon where the pattern only goes one way, like a row of Santas or words printed across it. If you follow your normal bow pattern with it, half of your loops end up upside down. Plenty of people avoid this ribbon entirely or cut it into pieces to make it work. You don’t have to do either.
In this Short, Damon starts his bow with a 10 to 12 inch tail, makes his X on the EZ Bow Maker, and builds loops around 7 to 8 inches, getting slightly smaller with each layer. When it is time for the directional ribbon, he pulls a little slack and starts working backwards. You will see one loop sitting upside down for a moment. Then you add one half twist, and the pattern flips right side up again.
That is the whole trick. Keep repeating the pattern with loops that get a little smaller each time, and your print stays facing the right way all the way around the bow. Finish with a small center loop to hide the pipe cleaner holding everything together.
Tip 3: Lift Your Bow Off the EZ Bow Maker the Right Way
You built a gorgeous bow on the board, and now you have to get it off without the whole thing springing apart. This is the moment a lot of bow makers hold their breath.
Damon’s method is simple. Wrap your fingers around the ribbon near the center and keep your thumbs on top. Then lift the ribbon on the bottom up until you can slide your hand underneath. Once your hand is under the bow, close it into a firm grip around the center and lift the whole bow off in one move. From there, you can tie it off with a zip tie or pipe cleaner.
If that still makes you nervous, there is a safety net. Before you remove the bow, slide a pipe cleaner under it while it is still on the board, bring it up, and tie it. Now the center is secured and you won’t lose all your work during the transfer.
Tip 4: Double Up Your Pipe Cleaners So Bows Don’t Sink
A bow that disappears into the mesh or greenery is one of the most common wreath complaints. Usually the bow is tied on too tight and too short, so it gets pulled down into the wreath.
The fix starts with your pipe cleaners. Damon twists two 12 inch pipe cleaners together, then takes that pair and twists it with another pair, and twists it all back. The result is a thicker, sturdier tie. Give it a little tug and it won’t pull apart.
That extra length does two jobs. It holds your bow together, and it gives you enough reach to tie the bow into your wreath without cinching it down so far that it looks sunk. Your bow sits up on top of the design where people can see it.
Tip 5: Fluff It Out Until You See Every Ribbon
A bow straight off the bow maker looks flat. Fluffing is what turns it into the bow you pictured when you picked out your ribbons.
Fluffing simply means arranging your loops and tails so you can see as much of each ribbon as possible. Damon sticks his hand into the ribbons and stretches them out. As he does, he pulls each loop away from the center. The shape he goes for is rounded but slightly elongated, not a tight ball.
Watch for puckering as you go. If a loop is pinched or folded in on itself, open it back up. Take your time here. A few extra minutes of fluffing is often the difference between a bow that looks homemade and one that looks like it came from a boutique.
Wreath Bow FAQs
What kind of ribbon is best for wreath bows?
Wired ribbon with sturdy wire on both edges and fabric that doesn’t wrinkle when you handle it. It holds the shape of your loops and keeps dovetails from curling.
How long should bow tails be?
In the directional ribbon tutorial, Damon starts with a tail of about 10 to 12 inches. You can trim and dovetail them to different lengths once the bow is finished.
How big should my bow loops be?
In that same bow, the first loops are about 7 to 8 inches, and each layer gets slightly smaller as you build. That stepped sizing is what gives the bow its full, layered look.
What does the center loop do?
It hides the mechanics of the bow, meaning the pipe cleaner or zip tie holding it together.
Why does my bow look flat?
It probably needs more fluffing. Spread the loops out, pull them away from the center, and open up anything that is puckered.

Keep Building Your Bow Skills
None of these tips take much time, but together they solve most of the headaches that make bows feel hard. Pick one to focus on for your next wreath, then add another. Your bows will get better faster than you think.
Want step by step help with a new seasonal project every week? Join us inside Design School. For more free tutorials, check out our wreath making for beginners posts, and grab your ribbon, pipe cleaners, and EZ Bow Maker at DecoExchange.


