
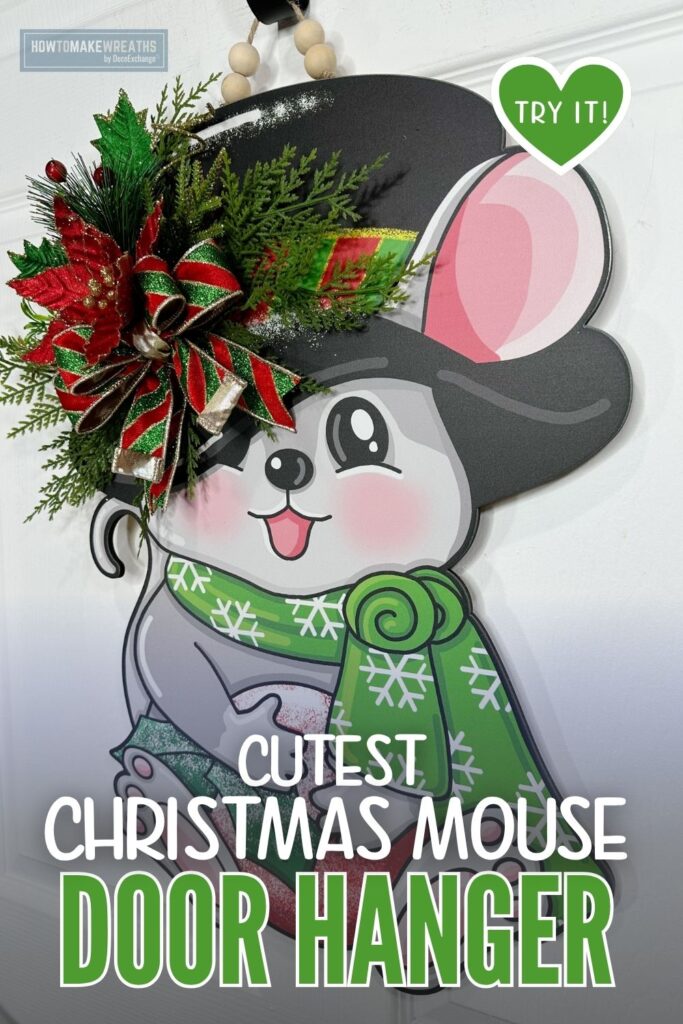
This Christmas mouse door hanger is stinkin’ adorable with his top hat and scarf. It already has plenty of charm on its own, and this tutorial keeps the embellishments simple so that charm stays front and center. Coach Melissa shows how one poinsettia pick, a bit of greenery, and a single ribbon bow are enough to dress up the top hat corner of this sign without competing with the character underneath.
A twine rope hanger threaded with wood beads finishes the piece and adds a small handmade detail before the sign even reaches the door.
Supply List
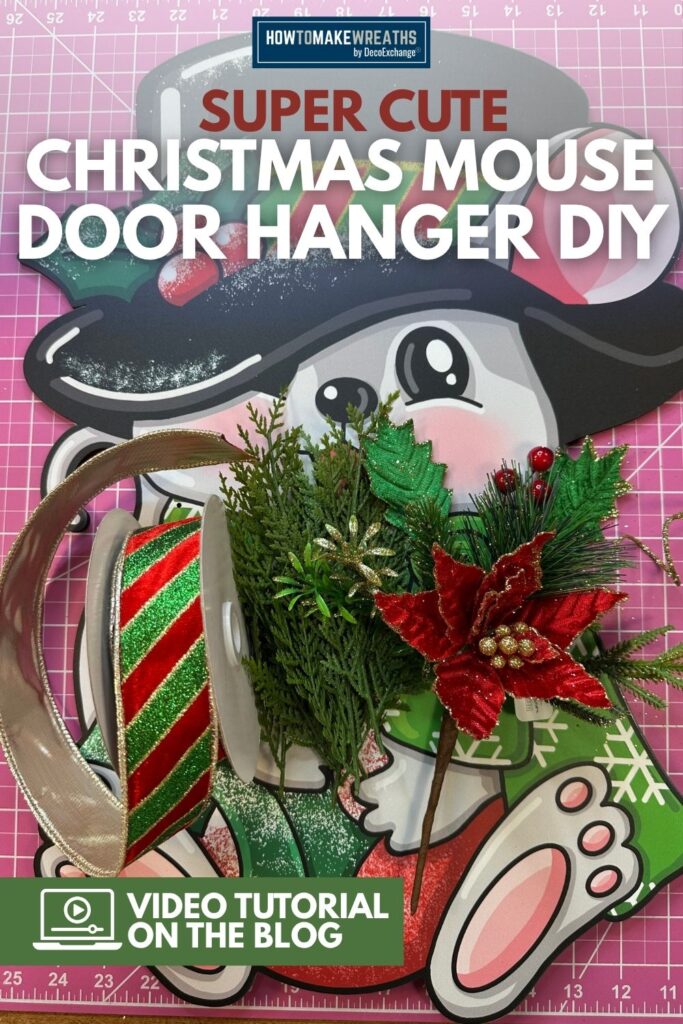
- Mouse door hanger sign
- 1.5 inch Christmas ribbon, LX700858: DecoExchange
- Poinsettia pick, XX895124: DecoExchange
- Greenery, XG1222: Craft Outlet
- 1/4 inch staples
- Twine rope
- Wood beads: Hobby Lobby
- Hot glue

Why the Top Hat Corner is the Perfect Spot
The mouse’s top hat already has a flat, dark surface with plenty of room, and it sits at the highest point of the sign, so anything attached there is the first thing a person sees. Building the poinsettia and bow into the corner of the hat brim keeps the embellishment above the character’s face entirely, so the mouse’s expression stays the clear focal point of the piece.
Step by Step Instructions
1. Prepare the hanger. Thread wood beads onto a length of twine rope, then tie the rope to the top of the sign. Attaching this first means you are not working around finished florals later.
2. Prepare the greenery. Cut the greenery (XG1222) into shorter stems, separating out a few pieces with berries if your bundle includes them.
3. Build the base layer. Glue the greenery stems into the corner of the top hat, angling a few pieces up and outward so the arrangement has height rather than sitting flat against the hat.
4. Add the poinsettia pick. Glue the poinsettia pick into the center of the greenery, positioning it as the visual anchor of the whole arrangement.
5. Build the bow. Cut loops from the 1.5 inch Christmas ribbon and gather them at the center. Secure tightly with wire or a small piece of the same ribbon tied around the middle.
6. Attach the bow. Glue the finished bow just beside or slightly beneath the poinsettia, tucking it into the greenery so the two feel like one arrangement rather than two separate pieces stapled on individually.
7. Secure with staples if needed. For any stems or the bow base that need extra hold beyond the hot glue, use the 1/4 inch staples through the back of the sign.
8. Final fluff and adjust. Step back and check the piece as a whole. Fluff the greenery and ribbon loops, and confirm the arrangement stays within the top hat area without extending down over the mouse’s ear or face.
Tips for This Design
Keep the embellishment contained to one corner. A character sign like this one works best when the florals read as an accessory, similar to a hat pin, rather than spreading across the whole piece. One corner is enough.
Let the poinsettia sit slightly forward of the greenery. Placing the poinsettia just in front of, rather than flush with, the greenery behind it gives the arrangement a bit of dimension and keeps the bright red from getting lost against the dark hat.
Use the wood beads as a deliberate detail, not filler. Threading beads onto the twine hanger is a small touch, but it is visible even before the sign is turned around, so take the time to space them evenly rather than bunching them at one end.
Where to Display This Door Hanger
This Christmas mouse door hanger works well for:
- A front door for the full holiday season
- A covered porch or entryway for a character piece that feels playful rather than formal
- A craft show booth as a smaller, budget friendly option next to larger wreaths
- A kid’s bedroom door or playroom for a Christmas touch indoors


