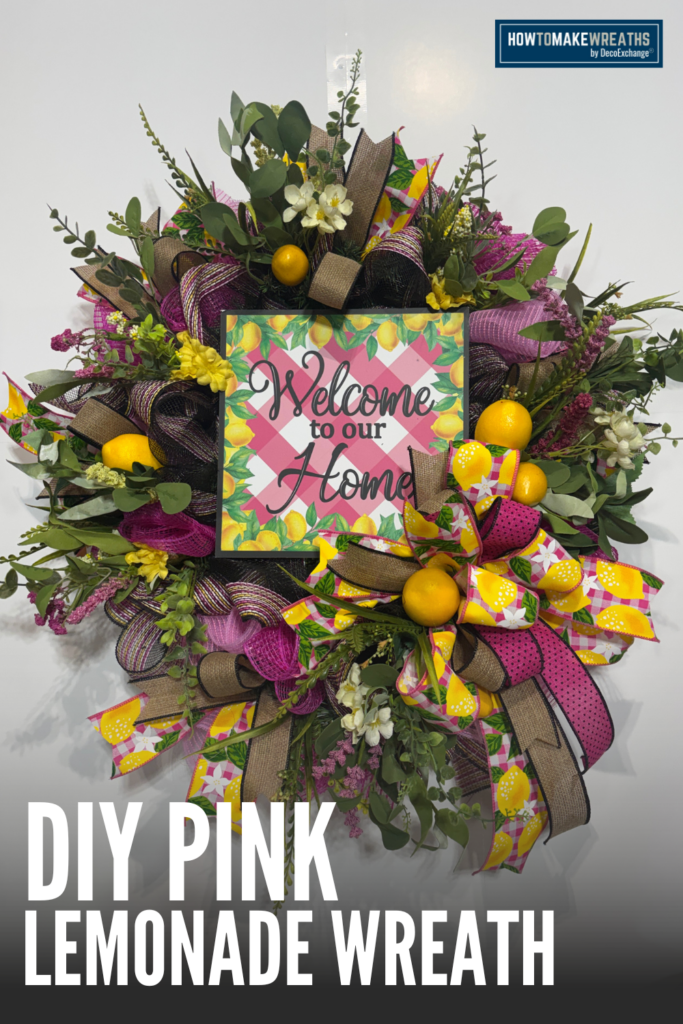
If you want a full, statement-size summer wreath that uses up leftover mesh and still looks intentional and polished, this lemon and pink mesh wreath is a great project to try.
In this tutorial, Tammy shows how to build a large layered wreath on a 24-inch double ring evergreen base using three mesh colors, three ribbon styles, lemon picks, and pink florals with greenery. The finished wreath is bold, summery, and works well for front door display from late spring all the way through summer.
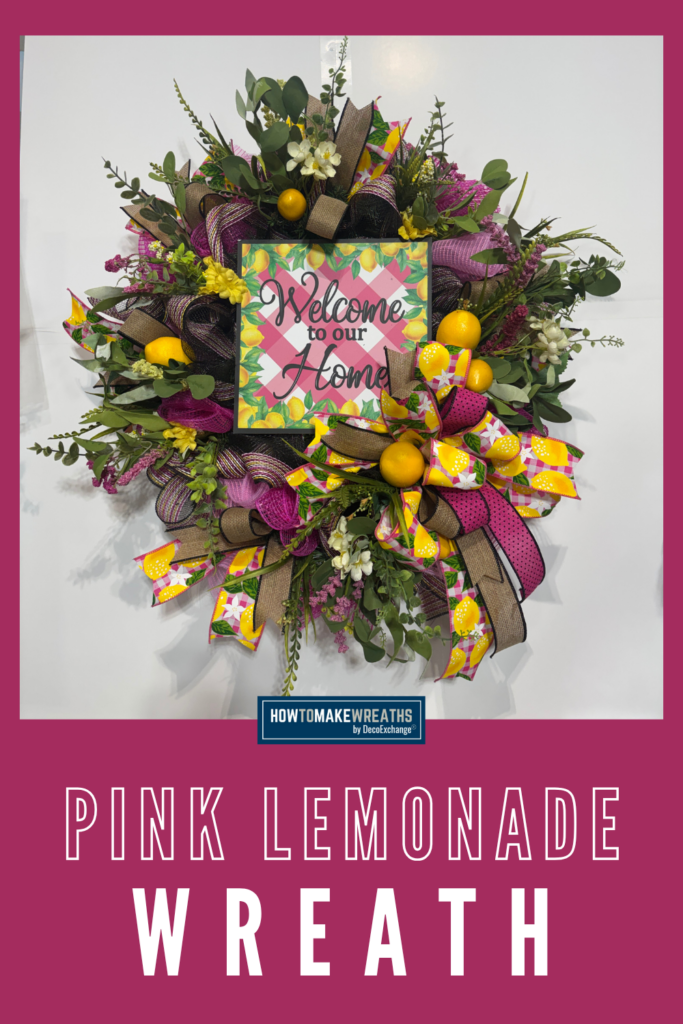
Why Build on a Double Ring Evergreen Base?
A double ring evergreen base gives you two attachment rings to work with instead of one, which means you can build more depth and fullness into the wreath without the mesh and ribbon falling forward or looking flat. The evergreen branches also fill in naturally between the mesh sections, so you get a lush, layered look without needing as many supplies as a bare wire frame would require.
The 24-inch size makes this a true statement wreath, the kind that holds its own on a full-size front door and reads clearly from the street. It is also a strong craft show price point piece because the large size justifies a higher retail value.
How to Make a Lemon and Pink Mesh Wreath
Supply List
- 1 double ring evergreen wreath base, 24 inches (Walmart)
- 10-inch black border stripe mesh (RE85062N, WSB May 2026)
- 10-inch hot pink mesh (leftover, no SKU)
- 10-inch light pink breeze mesh (leftover, no SKU)
- 1 roll 2.5-inch lemon ribbon (RGC111307, WSB May 2026)
- 1 roll 1.5-inch tan with black edging ribbon (RG1275T8, WSB May 2026)
- 1 roll 1.5-inch hot pink with black swiss dot ribbon (RGH131983, WSB May 2026)
- 2 lemon picks, style 1 (FH8267, WSB May 2026)
- Lemon picks, style 2 (WSB May 2026)
- Pink floral with greenery (WSB May 2026)
- Pipe cleaners
- 24 gauge wire
- Zip ties
Step-by-step Instructions
Step 1: Prepare Your Evergreen Base
Lay your 24-inch double ring evergreen base flat on your work surface and fluff any compressed branches before you start. The fuller the base looks before you add mesh, the better your finished wreath will look.
Attach a pipe cleaner or loop of wire to the top back of the frame now as a hanger. On a 24-inch base, the wreath will be heavy when finished, so make sure the hanger is looped through a sturdy section of the inner ring and twisted tightly.
Step 2: Add Your Three Mesh Colors
This wreath uses black border stripe mesh, hot pink mesh, and light pink breeze mesh. Working all three colors together from the start is the key to getting an even, blended result across a large 24-inch base.
Cut lengths of each mesh and tuck or loop them into the evergreen branches, securing each section at the inner ring with a zip tie. Work your way around the base section by section, rotating through all three mesh colors as you go.
The black border stripe mesh gives the wreath its graphic edge and contrast. The hot pink mesh is the boldest color and carries the most visual energy. The light pink breeze mesh softens the overall look and keeps the wreath from feeling too heavy with the dark and bright tones. Rotating through all three gives you a layered, dimensional finish that looks intentional even when using leftover mesh.
Fluff each mesh section from the front as you go so fullness builds as you work around the base.
Step 3: Add Your Ribbon
This wreath uses three ribbon styles. Work them into the evergreen branches and between the mesh sections as you go around the wreath, securing each ribbon loop at the inner ring with a zip tie or wire.
Rotate through the ribbons in this order:
- Start with the 2.5-inch lemon ribbon, placing loops evenly around the wreath. This is your widest and most themed ribbon, so it does the most work communicating the lemon concept. Space it so the lemon print appears in at least four or five places around the finished wreath.
- Follow with the 1.5-inch hot pink with black swiss dot ribbon, tucking loops in between the lemon ribbon and mesh. The swiss dot pattern echoes the polka dot energy of the design without competing with the lemon print.
- Add the 1.5-inch tan with black edging ribbon last, using it as a grounding neutral that ties the black border mesh back into the ribbon mix. The tan and black combination keeps the color palette from going too sweet and gives the wreath a more finished, sophisticated look.
Secure all loops at the inner ring and pull each one up from the front to check that it is standing and adding to the fullness of the wreath.
Step 4: Build and Attach the Bow
Using your remaining ribbon, build a full layered bow to anchor the bottom or one side of the wreath. Use the 2.5-inch lemon ribbon for the largest loops. Add mid-size loops of the hot pink swiss dot ribbon. Finish with tan and black edging ribbon loops or tails for a polished base.
Secure all loops at the center with 24 gauge wire and fluff each loop after tying. Attach the bow firmly to the evergreen base with wire or a pipe cleaner, pressing it into the base so it sits flush against the wreath rather than pointing outward.
Step 5: Add the Lemon Picks and Pink Florals
Place your two style 1 lemon picks (FH8267) first, positioning them on opposite sides of the bow or clustered together near the focal point of the wreath. Add the style 2 lemon picks in gaps around the wreath where the color needs a lift or the design feels light.
Follow with the pink floral and greenery stems, tucking them in near the lemon picks and throughout the wreath wherever the design needs softness or fill. The pink florals bridge the hot pink mesh and the lemon picks visually, pulling the whole color story together.
Hot glue each pick and floral stem securely into the evergreen base. On a large wreath that will hang outdoors, a solid glue bond is important to keep picks from shifting or falling out over time.
Step 6: Final Adjustments
Step back and check the overall shape from a distance. Fluff any mesh that has settled flat, reposition picks or florals that look crowded on one side, and adjust the bow if it has shifted. Make sure the lemon ribbon loops are visible all the way around the wreath, not just near the bow. Tuck any exposed zip tie ends out of sight behind the evergreen branches.
Tips for This Lemon and Pink Mesh Wreath
Leftover mesh works perfectly here. The hot pink and light pink breeze mesh in this project are leftovers with no SKU, which is a good reminder that wreath making does not always require purchasing full new rolls. If the colors work with your design, use what you have. The black border stripe mesh anchors the palette and makes the mixed pinks look like a deliberate choice rather than a scrappy one.
Rotate all three mesh colors from the first section. On a 24-inch base, it is tempting to finish one color before moving to the next because the base is large and one roll can feel like it barely covers a third of it. Rotating all three from the start prevents you from running out of one color before you have gone all the way around.
Use the tan ribbon as a neutral anchor. Tan with black edging is not the most obvious choice for a lemon and pink wreath, but it is the ribbon that keeps the palette grounded and sophisticated. Do not skip it in favor of more pink or yellow. The tan reads as a background tone that lets the brighter colors take center stage.
Double check your lemon pick placement before gluing. Lemon picks with fruit detail are a focal element in this wreath. Place them without glue first, step back, and confirm the placement looks balanced before committing with hot glue. On a large wreath, a pick that is even slightly off to one side is easy to spot.
Where to Display This Design
This lemon and pink mesh wreath works well for:
- A full-size front door as a statement summer wreath
- A covered porch wall or fence
- A craft show booth as a featured display piece at a higher price point
- An interior entryway or accent wall for a cheerful seasonal display
Store the finished wreath in a large wreath bag or flat storage box between seasons. The evergreen base holds its shape well and can be re-used with fresh mesh and ribbon next year.