
Bows add that special final touch to any wreath – and a lot of other crafts too! Learn how to make this 3-2-1 layered bow quickly and easily to include that pizazz that your wreath needs.
Hey, y’all! There’s something wonderful about bows. When you’re making wreaths is there anything better than bringing together a combination of colors and patterns to create a beautiful, eye-catching piece for your ribbon?
Here at How To Make Wreaths, we love making all types of bows! From making Terri Bows to making bows by hand, simple bows, Funky Bows, and more, I firmly believe there’s a perfect bow for every craft, occasion, and season! They’re easy to make, look much more complicated than they really are, and are perfect to add to ANY wreath or door hanger.
We’ve published several different bow-making tutorials over the years, and we make a lot of layered bows because they’re…well, they’re gorgeous.
Today, we have another bow tutorial for you. In our Dollar Tree Candy Cane Door Hanger tutorial, we made a 3-2-1 bow to accent our door hanger. And now, here’s a detailed tutorial on how we made that layered bow.
TIP: As with all of our bow designs, this bow-making technique can be used with different ribbon colors and patterns to fit any occasion.
How To Make A 3-2-1 Layered Bow
Beginner wreath makers often feel intimidated by making bows. The process might look complicated or confusing, or the instructions might not seem clear. That’s why I’ve included both a video (visual instructions) as well as written instructions in this bow-making tutorial.
3-2-1 Bow Video Tutorial
A 3-2-1 bow is one of the easiest multi-layered bows to make. It might take slightly longer your first time, but after that, it can take less than 5 minutes to create this simple bow! I made a quick video to walk you through the process step-by-step.
DIY Bow Supplies and Tools
- EZ Bow Maker

- 1.5″ Ribbon
- (3) 5/8″ Ribbon (optional)
- Scissors
- Pipe Cleaner


3-2-1 Layered Bow Instructions
If you’ve had trouble making bows in the past, prepare yourself to be amazed at just how easy bow-making can be! Here are the step-by-step instructions for making this 3-2-1 layered bow.
- Taking your EZ Bow Maker and your 1.5-inch ribbon, make (3) 6-inch loops on each side. When you’re done, cut the ribbon with enough length left to dovetail the ends.
- Make (2) 5.5-inch loops on each side. When you finish, cut the ends.
- Make (1) 5-inch loop on each side and cut to make a tail.
- Now take your 5/8-inch ribbons and add a single loop on one side with each ribbon. This will be used to fill up the center of your bow.
- Hold down the center and tie off with a pipe cleaner nice and tight.
- Adjust and fluff the bow so that it looks the way you want it to look.
That’s it y’all! A nice and simple 3-2-1 bow that can be added to any wreath, door hanger, or even a centerpiece. If you loved using the EZ Bow Maker, check out our Terri bow tutorial!
FAQs
Never made a homemade bow yourself? Here are a few questions I see frequently from readers about making a homemade bow.
How do you make a layered bow?
I hope you were able to watch the video and see for yourself what the process is.
If you couldn’t watch the video, basically you start with a bottom (or back) layer and add different ribbons on top of each other. When you have all the ribbons in your bow that you want, you’ll tie all the layers together into one bunch and end up with a beautiful bow!
How do you tie a stacked bow?
I recommend using a pipe cleaner and wrapping it around all the layers of your ribbon, in the middle of your bow. Tie it securely in the back and give it a good twist to tighten it up. Then, you’ll be able to use the same pipe cleaner to attach your bow to your wreath.
Tip: Some bows can be very thick due to many different layers of ribbon. If that’s the case, simply take two pipe cleaners and connect them end to end to create a double-long pipe cleaner. Then, it will be long enough to tie your bow AND connect it to your wreath.
Try Making A Layered Bow Yourself
There you go! The process may seem difficult or confusing the first time you do it, but try it again – and again if you need to. After you go through it a couple of times, you’ll get the hang of it, I’m confident about that.
We hope you have fun playing around using different colors, textures, and patterns in your bow-making (don’t forget to share them with us in the Facebook group!).
Once you learn how to make a bow you love, add them to projects like these:
- Designer Fall Grapevine Wreath With A Pumpkin Sign
- Make A Black and White Bow By Hand
- How To Make 3 Valentine’s Day Wreath Bows
- Wreath Rehab Tip: How to Replace Faded Ribbon
As always, feel free to leave us a comment below or share this post with a friend. We appreciate getting your feedback and love providing amazing content to help you!
If you’re in need of any help with bow-making, wreath-making, or crafting in general, be sure to check out more of our tutorials on How to Make Wreaths.
If you are interested in more info on learning how to make wreaths, where to buy supplies, and being in a community of like-minded crafters, check out our Creative Coaching Subscription Group.


How To Make A 3-2-1 Layered Bow
Instructions
- Use your 1.5" ribbon and your EZ Bow Maker to make (3) 6-inch loops on each side with tails a few inches long.
- Make (2) 5.5-inch loops on each side with tails a few inches long.
- Make (1) 5-inch loop on each side with tails a few inches long.
- Now add a single loop to one side with each of your 5/8-inch ribbons. This will be used to fill up the center of your bow.
- Wrap a pipe cleaner through the center and twist tightly.
- Fluff out your bow and dovetail the ends.
We think you’ll love these other bow tutorials.
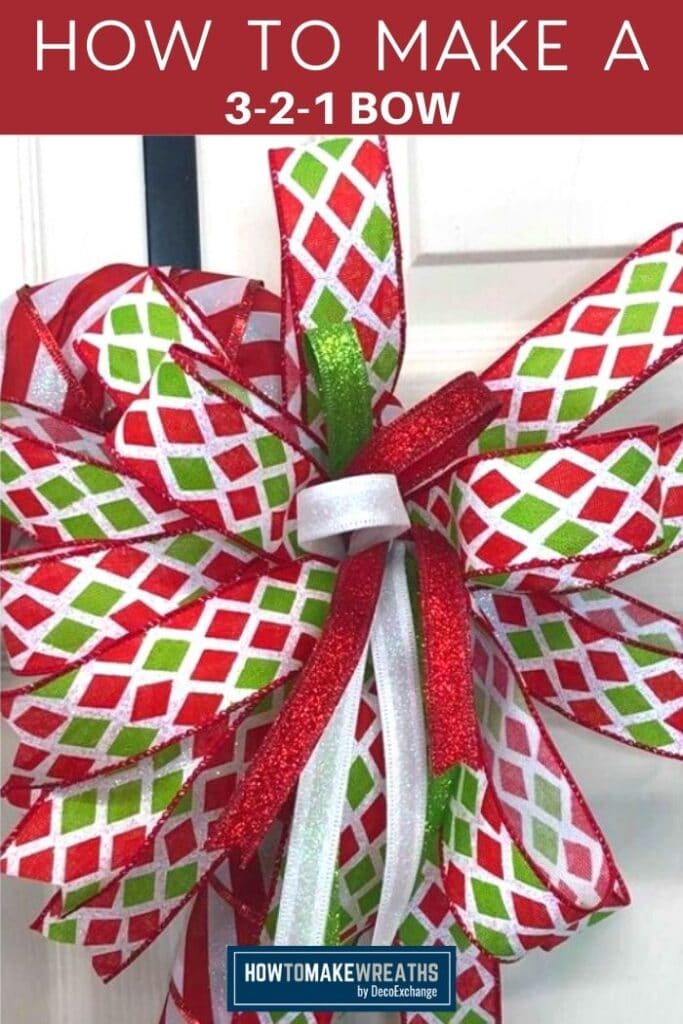
Just pin this 3-2-1 layered bow tutorial below to find the instructions later!


