
If you want a wreath that looks polished, takes less than an hour to build, and works on just about any front door, this greenery grapevine wreath is a project to add to your list.
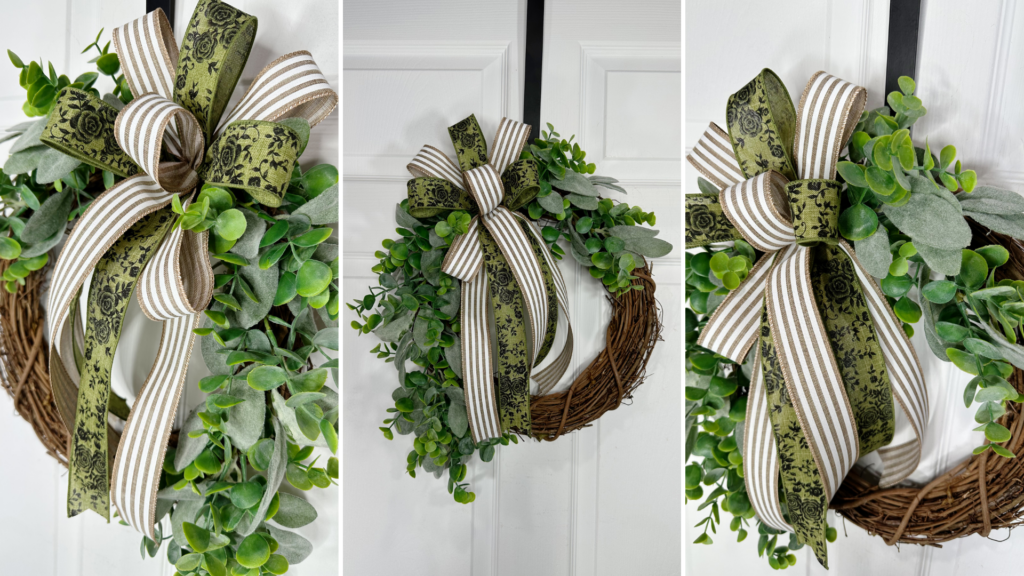
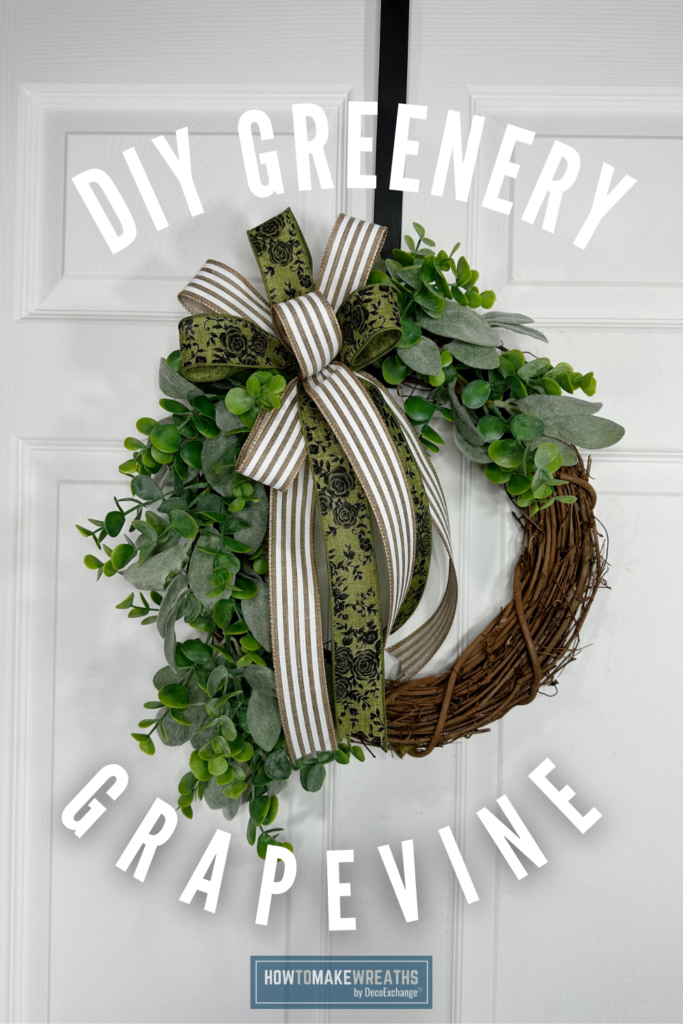
In this tutorial, Melissa shows how to build a fresh, layered wreath on a 14-inch grapevine base using mixed greenery picks and a two-ribbon bow in a stripe and green floral print combination. There are no florals, no sign, and no mesh involved. The greenery and ribbon do all the work, which makes this one of the most approachable wreath builds on the channel and one of the fastest to complete.
Why This Wreath Style Is Worth Making
Simple greenery wreaths with a clean ribbon bow are among the most consistently popular styles at craft shows and in online shops. They appeal to buyers who want something that suits their door without competing with it, and they sell across a wide range of home decor styles from farmhouse to traditional to modern.
The stripe and green floral print ribbon combination is what gives this particular wreath its personality. The stripe ribbon adds a graphic, tailored quality that keeps the wreath from looking too casual, and the green floral print echoes the greenery without being too literal about it. Together, the two ribbons make the bow feel intentional and curated even though the build itself is simple.
At 14 inches, this wreath is a versatile size. It works as a standalone front door piece, pairs well with a door hanger or swag for a layered look, and is compact enough to display at a craft show without taking up too much table or wall space.
Supply List
- 1 grapevine wreath base, 14 inches
- Mixed greenery picks (FG663109, DecoExchange WSB June 2026)
- 1 roll 1.5-inch stripe ribbon (Q501809-517, DecoExchange WSB June 2026)
- 1 roll 1.5-inch green floral print ribbon (RGH13022Y, DecoExchange WSB June 2026)
- 24 gauge wire
- Hot glue gun and glue sticks
- Wire cutters
- Scissors
How to Make a Greenery Grapevine Wreath with a Ribbon Bow
Step 1: Prepare Your Grapevine Base
Lay your 14-inch grapevine base flat on your work surface. Decide which end will be the top before adding any greenery. Attach a loop of 24 gauge wire to the top back of the base as a hanger now, before the base is covered.
Check the shape of the grapevine and gently reshape any sections that have pressed in during storage. A round, even base is easier to cover evenly and looks more finished when the greenery is in place.
Step 2: Prepare Your Greenery Picks
Open your mixed greenery picks (FG663109) and separate them into individual stems or small clusters. Laying everything out before you start lets you see how many working pieces you have and plan an even distribution around the base before any glue is applied.
Mixed greenery picks from the DecoExchange WSB June 2026 box typically include a variety of leaf shapes and stem lengths in a single pack, which gives you natural variety without sourcing from multiple places.
Step 3: Add the Greenery
Begin inserting greenery stems into the grapevine base, tucking the stem ends into the gaps in the vine before applying hot glue. Tuck-then-glue gives a more secure bond than surface gluing and a more natural look since the stems appear to grow out of the vine rather than sitting on top of it.
Work your way around the entire base, spacing the stems evenly and allowing them to sit at slight angles rather than pressing them flat. Stems that angle outward and upward from the base give the wreath dimension and fullness. Stems pressed flat against the vine make the wreath look two-dimensional regardless of how many you use.
Cover the full face of the grapevine base before moving to the bow. Step back and check for any obvious gaps or uneven sections and fill them in before proceeding.
Step 4: Build the Two-Ribbon Bow
This wreath uses two ribbons at the same width, which makes building the bow straightforward. Both the stripe ribbon (Q501809-517) and the green floral print ribbon (RGH13022Y) are 1.5 inches wide, so the loops will be proportionally even throughout the bow.
Build the bow by alternating loops of each ribbon as you go rather than completing all loops of one ribbon before starting the other. Alternating keeps the two prints mixed evenly through the bow so both are visible from the front.
Build three to four loops per ribbon for a full, balanced bow on a 14-inch wreath. Cut two tails, one from each ribbon, at your preferred length. A tail of 6 to 8 inches suits a wreath this size without overwhelming the greenery below the bow.
Secure all loops at the center with 24 gauge wire, twisting tightly at the back. Fluff each loop after securing so the bow opens fully and both ribbon prints face forward.
Step 5: Attach the Bow to the Wreath
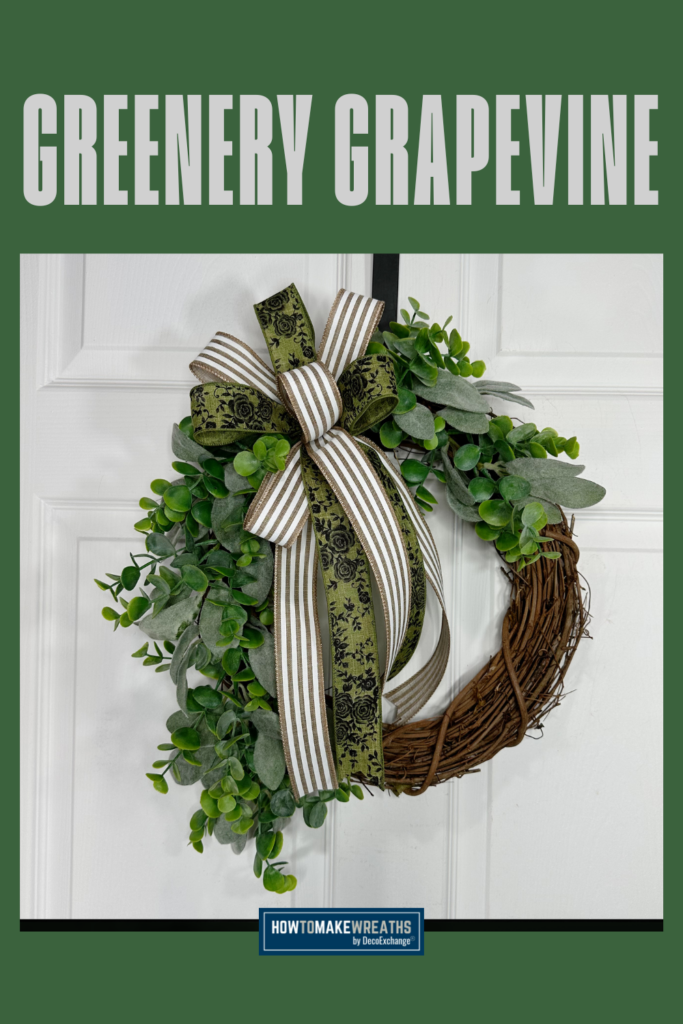
Position the bow on the wreath. For a greenery-only wreath without a sign, the bow typically looks best at the bottom center or slightly to one side, where it acts as the focal point of the design.
Thread the wire tails from the bow center through the grapevine base and twist tightly at the back to secure. Pull the bow forward from the front to make sure it sits flush against the greenery rather than lifting away from the wreath face.
Adjust the bow loops and tails from the front after attaching. Fan the loops out so they fill in a full, rounded shape and let the ribbon tails hang naturally alongside the lower greenery stems.
Step 6: Final Adjustments
Step back and check the overall shape. Fluff any greenery stems that have settled flat. Adjust the bow if it has shifted to one side. Tuck all wire ends and glue strings out of sight behind the greenery or grapevine base.
The finished wreath should be round and even with full greenery coverage and the bow sitting as a clear focal point at the front.
Tips for This Project
Keep the greenery angles varied. This is the single most effective technique for making a simple greenery wreath look professionally made. Insert stems at different angles throughout the base so the finished wreath has a loose, organic silhouette rather than a rigid, circular outline.
Alternate ribbon prints while building the bow. Both ribbons in this project are 1.5 inches wide, which means the bow will look flat and one-dimensional if you complete all loops of one ribbon before starting the other. Alternating one loop of stripe, one loop of floral print, and repeating gives the bow depth and makes both prints visible from the front.
Let the bow be the focal point. On a greenery-only wreath, the bow carries the design. Make it full enough that it reads clearly from a few feet away. Three to four loops per ribbon is the minimum for a bow that holds its own against a full grapevine base.
Use 24 gauge wire for both the hanger and the bow. Twenty-four gauge wire is strong enough to hold a bow securely but flexible enough to thread through a grapevine base without a tool. Having one wire on hand for both tasks keeps the build simple and the materials list short.
Where to Display This Wreath
This greenery grapevine wreath works well for:
- A front door as a year-round or seasonal accent
- A covered porch wall, fence, or gate
- A craft show booth as a clean, neutral price point piece that appeals to a wide range of buyers
- Layering behind a door hanger or swag for a full front door display
- An interior entryway, kitchen, or living room wall
Because this wreath has no holiday-specific florals or signs, it works across multiple seasons. Swapping the ribbon for a different color combination is all it takes to shift the look from summer to autumn to winter.

