
An oversized ornament is one of the easiest ways to add a big holiday statement to a mantel, entryway table or the base of a tree. A big plus is that you do not need a sewing machine to make one.
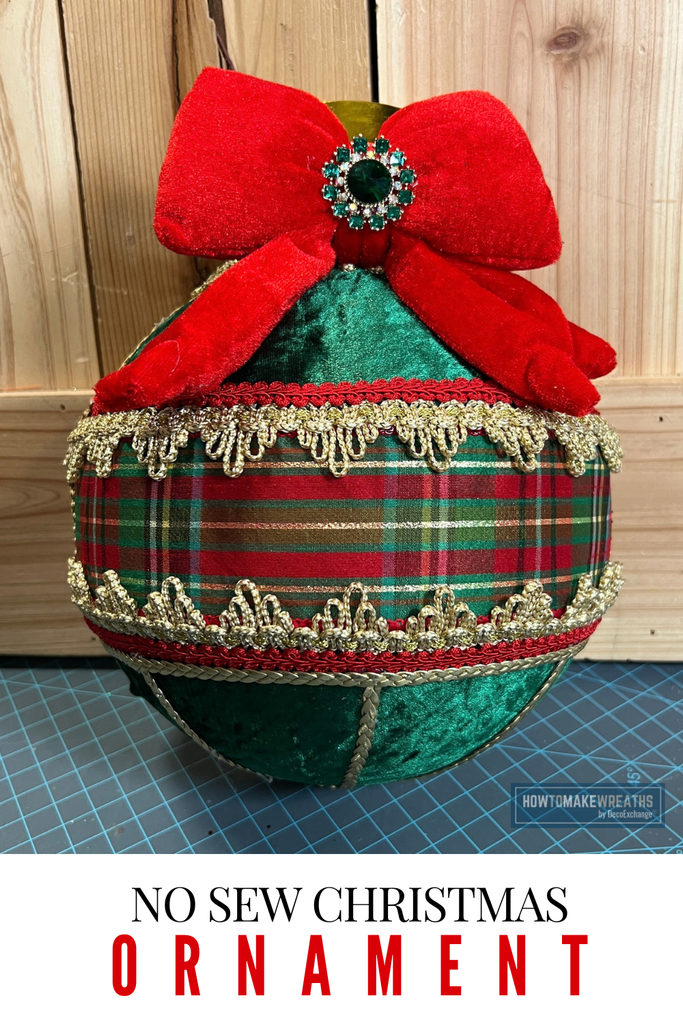
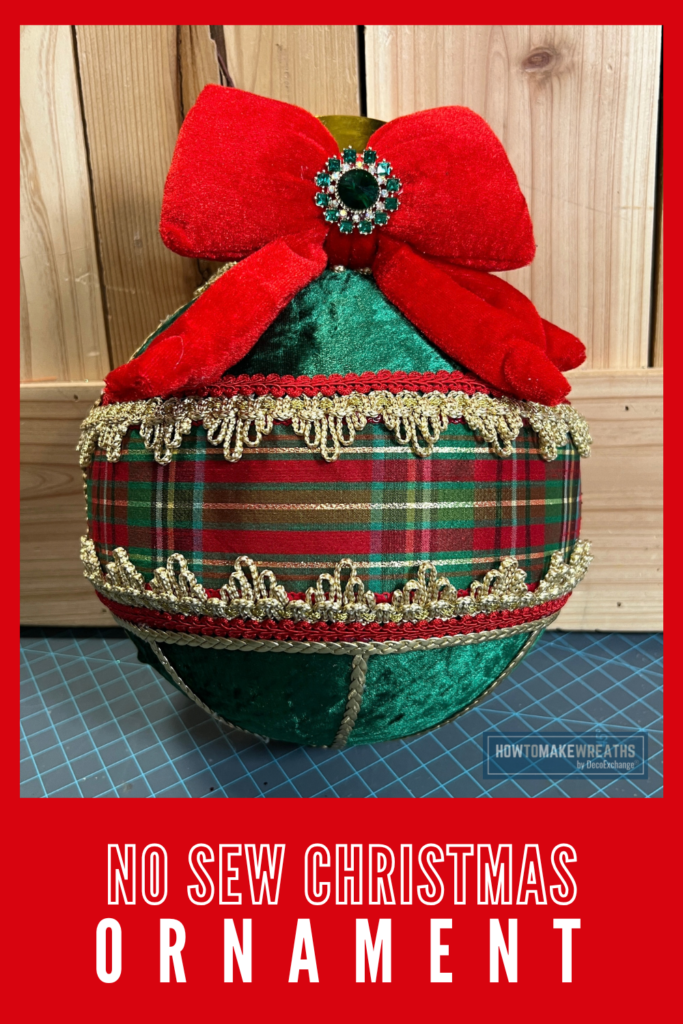
In this tutorial, Jordan shows how to cover an 8 inch hollow ball with green crush velvet, then dress it up with a plaid ribbon band, layers of red and gold trim, and a velvet bow finished with a jeweled button.
Everything is attached with glue, so the project is mostly about choosing trims that work together and placing them in the right order.
Supply List
Base
- 1 hollow half ball, 8 inch: Hobby Lobby 493692
Fabric and Trims
- 1/2 yard green crush velvet
- Stiff felt: Hobby Lobby 335919
- Red gimp braiding: Amazon
- Gold gimp braid: Hobby Lobby 512236
- Gold tassel trim: Hobby Lobby 934208
- Gold braid trim: Michaels 10742593
Ribbon
- 1 roll 2.5 inch Christmas plaid ribbon: DS05-1236
Accents
- 1 button: Hobby Lobby 1843614
- 1 bow: Hobby Lobby 6444204
Tools
- Hot glue gun and glue sticks
- Scissors

Why Crush Velvet Works for a No Sew Ornament
Crush velvet has a soft, uneven shine that hides small wrinkles and seams, which makes it forgiving on a curved surface. A smooth fabric would show every pucker as it wraps around the ball. The crushed texture blends them in, so the covered ball looks finished even if the fabric is not perfectly flat in every spot. The deep green also gives the red, gold and plaid trims a solid background to stand out against.
Step by Step Instructions
1. Prepare the ball. Set the 8 inch hollow ball on a stable surface where you can rotate it easily while you work. Check that the surface is clean and dry before adding any fabric or glue.
2. Cover the ball with velvet. Cut the green crush velvet into sections that fit the curve of the ball, then glue each section in place, smoothing from the center outward. Pull the fabric snug as you go and let the edges of each section meet along a line. Those lines will be covered with trim later, so they do not need to be perfect.
3. Add the gold gimp braid over the seams. Glue the gold gimp braid along the seam lines where the velvet sections meet. In the photos, the braid runs down the lower half of the ornament and divides the velvet into panels, which gives the ball a quilted look.
4. Add the plaid ribbon band. Wrap the 2.5 inch Christmas plaid ribbon around the widest part of the ornament and glue it down, trimming the ribbon so the ends meet neatly at the back. This band is the focal point of the design, so center it carefully before gluing.
5. Trim the top and bottom edges of the plaid. Glue red gimp braiding along the top and bottom edges of the plaid ribbon to frame it. Then layer the gold trim over the red braiding, so a scalloped gold edge sits just outside the red on both sides of the band.
6. Finish the opening with felt. Use the stiff felt to finish any exposed edge or opening on the ball so the back and base look clean and the piece sits steadily.
7. Add the bow. Glue the red velvet bow to the top of the ornament, over the gold cap, and let the tails drape down over the velvet and the top trim.
8. Attach the button. Glue the jeweled button into the center knot of the bow. This small detail ties the green velvet and gold trim into the bow.
9. Final check. Turn the ornament slowly and check every side. Press down any trim edges that have lifted, and trim away glue strings.
Tips for This Oversized Ornament
Build from the center outward. Start with the plaid band, then add red braiding and gold trim on either side. Placing the widest, most patterned piece first makes it easier to space the narrower trims evenly above and below it.
Layer red under gold. The red gimp braiding sits closest to the plaid, with the gold scalloped trim on the outside. The red picks up the red in the plaid and gives the gold a base to stand out against.
Use the bow to hide the top. The velvet bow sits over the top of the ornament and covers the gold cap area and the top edge of the velvet. Place it last so you can see exactly what needs covering.
Match trims to the colors in the plaid. The plaid ribbon includes red, green and metallic gold threads. Choosing trims in those same colors is what makes the layers look planned instead of piled on.
Where to Display This Ornament
This oversized ornament works well for:
- A mantel, either on its own or in a group of two or three
- An entryway table or console as a seasonal centerpiece
- A basket or tray on a coffee table with other holiday pieces
- The base of a Christmas tree, as a large accent among the gifts
- A craft show booth as a bold, photo friendly piece that shows off trim work