
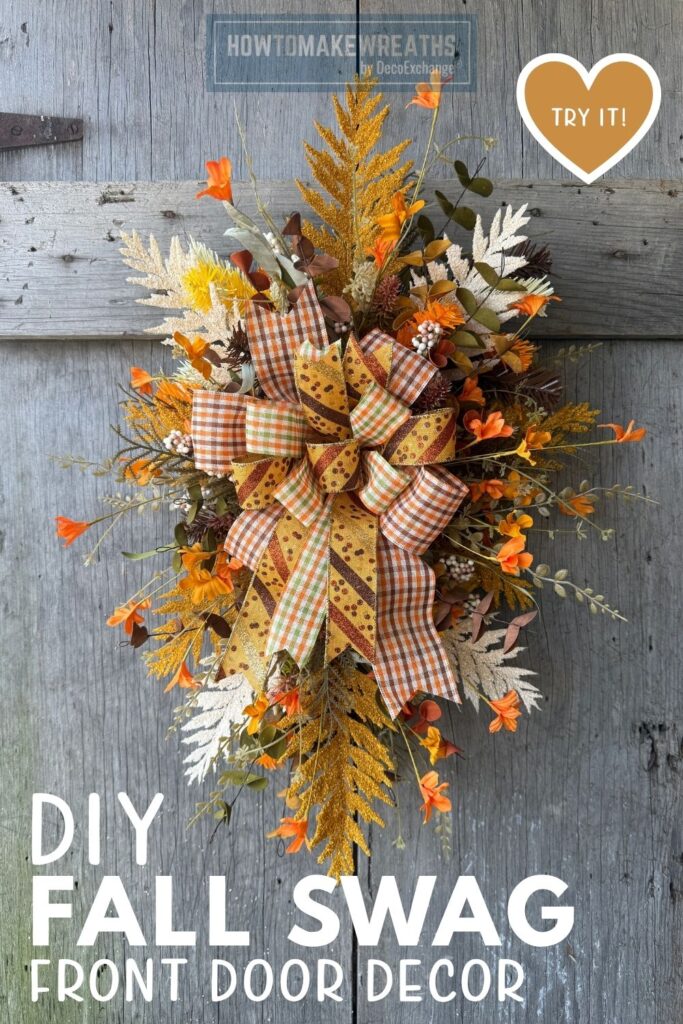
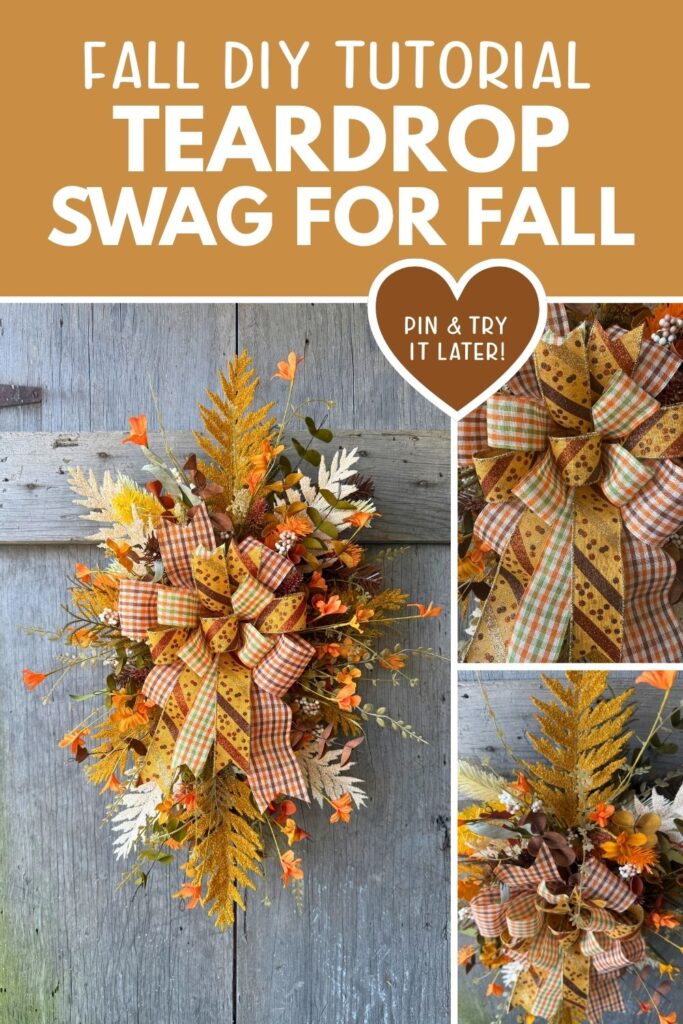
A teardrop Fall swag base gives is off a softer look than a traditional round wreath. Coach Stacy shows how to craft a full, textured swag using powdered fern, an eucalyptus bush, and a fabric flower bush, finished with a three ribbon bow that mixes glitter stripe and two sizes of gingham.
The result is a piece with real depth from every angle, with the powdered fern adding a soft, frosted texture that pairs well against the smoother eucalyptus leaves and the small orange fabric flowers scattered throughout.
Supply List
Base
- Teardrop swag, XX9866HK
- Powdered fern, FG690253
- Eucalyptus bush, HA1913JC
- Fabric flower bush x6, FH8125H4
- 6 inch zip tie
- Pipe cleaner
Ribbon
- 1.5 inch glitter stripe ribbon, RGH1000F4
- 1.5 inch gingham ribbon, RGA1102K5
- 2.5 inch gingham ribbon, RGA1103YJ

Step by Step Instructions
1. Prepare the swag base. Attach a pipe cleaner to the top back of the teardrop swag base to use as a hanger before adding any florals.
2. Add the powdered fern. Cut the powdered fern into individual stems and insert them throughout the base, working from the top down toward the point. Powdered fern is naturally full and light, so use it to establish the overall shape and volume of the swag first.
3. Add the eucalyptus. Cut the eucalyptus bush into stems and tuck them in around the powdered fern, letting some pieces cross over each other so both textures are visible throughout. The eucalyptus adds a smoother, more defined leaf shape that contrasts with the softer fern.
4. Add the fabric flowers. Separate the fabric flower bush into individual stems and space the small orange flowers throughout the swag. Cluster a few together near the center where the bow will sit, and let others scatter loosely toward the edges and the bottom point.
5. Build the bow. Cut loops from the glitter stripe ribbon, the 1.5 inch gingham ribbon, and the 2.5 inch gingham ribbon. Layer the loops with the wider 2.5 inch gingham as the base, then add the glitter stripe and the smaller gingham on top so all three prints show.
6. Secure the bow. Gather the loops tightly at the center and secure with a 6 inch zip tie, trimming the excess tail.
7. Attach the bow to the swag. Position the bow at the top of the swag, just below the hanger, and secure it through the base using the zip tie tails or a length of floral wire.
8. Final fluff and adjust. Step back and check the overall shape. Fluff the fern and eucalyptus so no bare spots show through, and adjust the fabric flowers so color is visible from top to bottom of the swag.
Why a Teardrop Swag Shape Works for Fall
A teardrop swag tapers from a fuller top to a narrower bottom point, which gives the finished piece a natural, elongated shape that a round wreath does not have. That shape is well suited to fall materials like powdered fern and eucalyptus, since the longer stems can trail down toward the point instead of being trimmed to fit a circle. The result reads as a gathered, textured piece rather than a uniform shape packed with filler.
Tips for This Design
Build texture before color. Placing the powdered fern and eucalyptus first establishes the shape and fullness of the swag. Adding the fabric flowers afterward lets you place each one with intention instead of guessing where color is still needed.
Layer the widest ribbon on the bottom of the bow. The 2.5 inch gingham is the largest print in this set, so building it in as the base layer keeps the bow from looking thin once the glitter stripe and smaller gingham are added.
Let the swag taper naturally. Resist the urge to trim every stem to the same length. Letting some fern and eucalyptus pieces run longer toward the bottom point is what gives a teardrop swag its characteristic shape.
Where to Display This Swag
This fall teardrop swag works well for:
- A front door for the full fall season
- A covered porch, fence, or gate
- A craft show booth as a shape that stands apart from the round wreaths most tables are filled with
- Layered above a bench or mirror for an indoor fall accent
Fall Teardrop Swag
Equipment
Materials
- Teardrop swag XX9866HK
- Powdered fern FG690253
- Eucalyptus bush HA1913JC
- Fabric flower bush x6 FH8125H4
- 1.5" glitter stripe ribbon RGH1000F4
- 1.5" gingham ribbon RGA1102K5
- 2.5" gingham ribbon RGA1103YJ
- 6" zip tie
- Pipe cleaner
Instructions
Prep the Swag
- Attach a pipe cleaner to the top back of the teardrop swag to create a hanger.
Add the Fern
- Cut the powdered fern into individual stems. Add them throughout the swag from top to bottom to create fullness and establish the overall shape.
Add the Eucalyptus
- Cut the eucalyptus into smaller stems and tuck them throughout the fern. Mix the two greenery styles together so both textures are visible.
Add the Flowers
- Separate the fabric flowers into individual stems. Add them throughout the swag, placing a few near the center and scattering the rest toward the sides and bottom.
Make the Bow
- Layer the three ribbons to create your bow:
- 2.5″ gingham ribbon for the larger loops
- 1.5″ glitter stripe ribbon for accent loops
- 1.5″ gingham ribbon for additional accent loops
- Arrange the loops so all three ribbon patterns are visible.
Secure the Bow
- Gather the bow tightly in the center and secure it with a 6″ zip tie. Trim away the excess zip tie.
Attach the Bow
- Position the bow near the top of the swag, just below the hanger. Secure it firmly to the swag base.
Fluff & Finish
- Fluff the fern and eucalyptus to fill any gaps. Adjust the flowers and bow until the swag looks full and balanced from top to bottom.

