
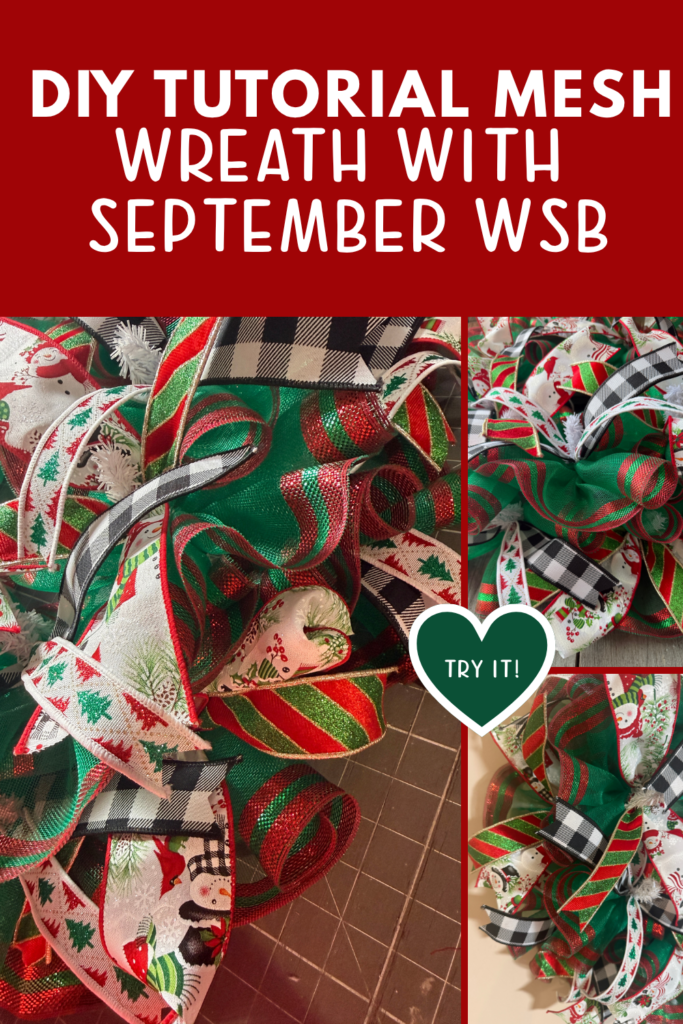
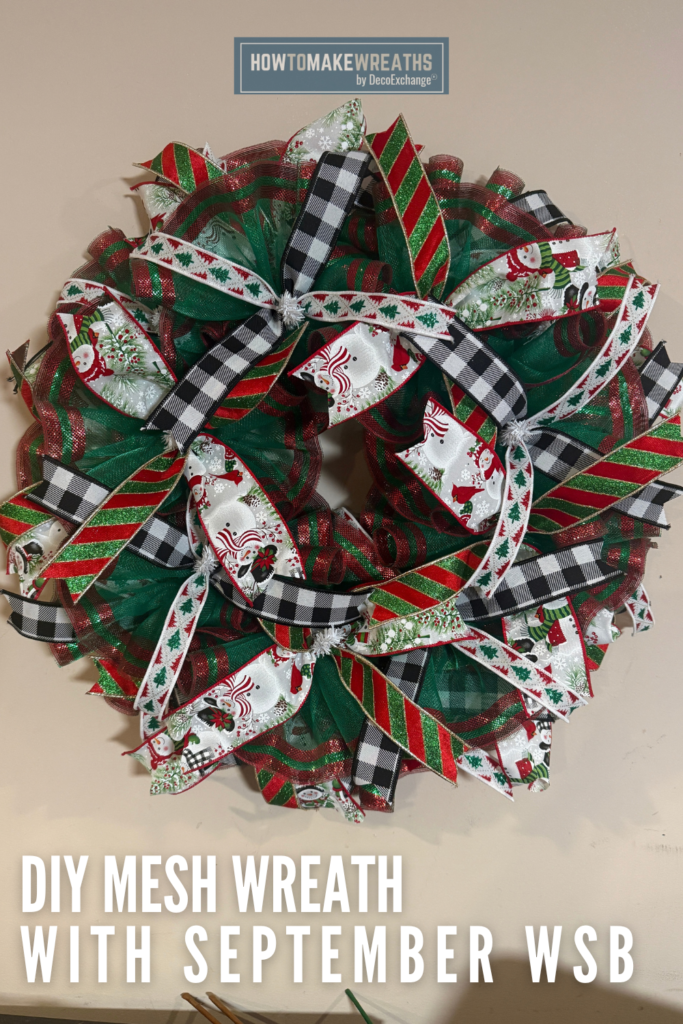
Not every full, ribbon covered wreath is built with bows. In this tutorial, Stacy shows how to wrap a work frame completely in green mesh, then layer four ribbon prints across the face in cut lengths rather than loops, creating a woven, criss crossed look that is different from a typical bow covered wreath.
The result is a dense, textured base with snowman, plaid, and stripe ribbon crossing over each other at different angles, tied down at each intersection so the whole piece holds its shape.
Supply List
- White work frame, XX750427
- Green fine weave mesh, 18 pieces cut at 20 inches, RY5054MK
- 2.5 inch snowman ribbon, 9 pieces cut at 14 inches, RGH1481RT
- 1.5 inch red and green ribbon, 9 pieces cut at 14 inches, LX700858
- 1.5 inch black and white ribbon, 9 pieces cut at 14 inches, RG0180527
- 7/8 inch red and green tree ribbon, 9 pieces cut at 14 inches, RGH741467

Why Cut Ribbon Lengths Instead of Bows
Building a wreath from individually cut ribbon lengths, rather than pre-made bows, lets each piece lie across the wreath at its own angle and cross over the other ribbons naturally. This is what gives the finished wreath its woven, layered look. It also means the four ribbon prints are distributed evenly around the entire wreath from the start, instead of being concentrated in one bow at a single point.
Step by Step Instructions
1. Prepare the work frame. Set the white work frame on your work surface and attach a hanger to the back before adding any mesh.
2. Wrap the mesh. Take the 18 pieces of green fine weave mesh cut at 20 inches and secure them around the work frame, covering the entire frame so no wire shows through. Fluff each section as you go so the mesh sits full rather than flat.
3. Cut and prepare the ribbon. Confirm you have 9 pieces each of the snowman ribbon, the red and green ribbon, the black and white ribbon, and the tree ribbon, all cut at 14 inches, before you begin placing them.
4. Place the first ribbon layer. Starting with the snowman ribbon, lay pieces across the wreath at varying angles, securing each end into the mesh so the ribbon crosses the face of the wreath rather than sitting only at the outer edge.
5. Add the red and green ribbon. Layer in the 9 pieces of red and green ribbon, crossing them over the snowman ribbon at different angles so both prints remain visible throughout.
6. Add the black and white ribbon. Layer in the 9 pieces of black and white ribbon the same way, distributing them evenly so no single area of the wreath is missing the plaid print.
7. Add the tree ribbon. Layer in the final 9 pieces of tree ribbon, using this narrower ribbon to fill any remaining gaps between the three wider prints.
8. Secure the intersections. Wherever multiple ribbon pieces cross near the center of the wreath, tie them down with a small pipe cleaner or wire to hold the woven pattern in place.
9. Final fluff and adjust. Step back and check the wreath as a whole. Fluff the mesh where it has flattened, and adjust any ribbon pieces so all four prints are visible from every angle.
Tips for This Design
Vary the angle of each ribbon piece. Laying every piece at the same angle defeats the purpose of this technique. Crossing the ribbon at different angles as you work is what creates the woven look instead of a stacked, flat appearance.
Distribute each ribbon print evenly before moving to the next. Placing all 9 pieces of one ribbon around the full wreath before starting the next print keeps the color and pattern balanced, rather than ending up with one ribbon concentrated on one side.
Secure the center intersections firmly. Since this wreath relies on the ribbon crossing over itself rather than a tied bow, the small ties at each intersection are what keep the design from shifting once it is hanging. Do not skip this step even where it seems like the mesh is already holding the ribbon in place.
Where to Display This Wreath
This snowman mesh wreath works well for:
- A front door for the full winter season
- A covered porch, fence, or gate
- A craft show booth as a full, texture heavy piece that stands apart from bow topped wreaths
- An indoor mantel or accent wall for holiday parties