
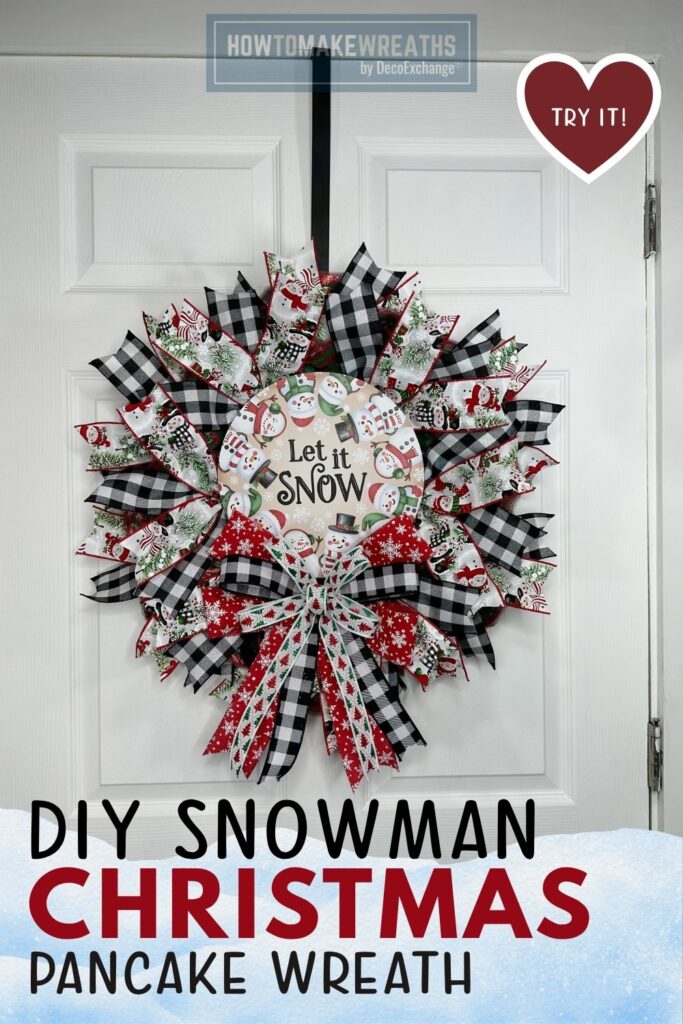
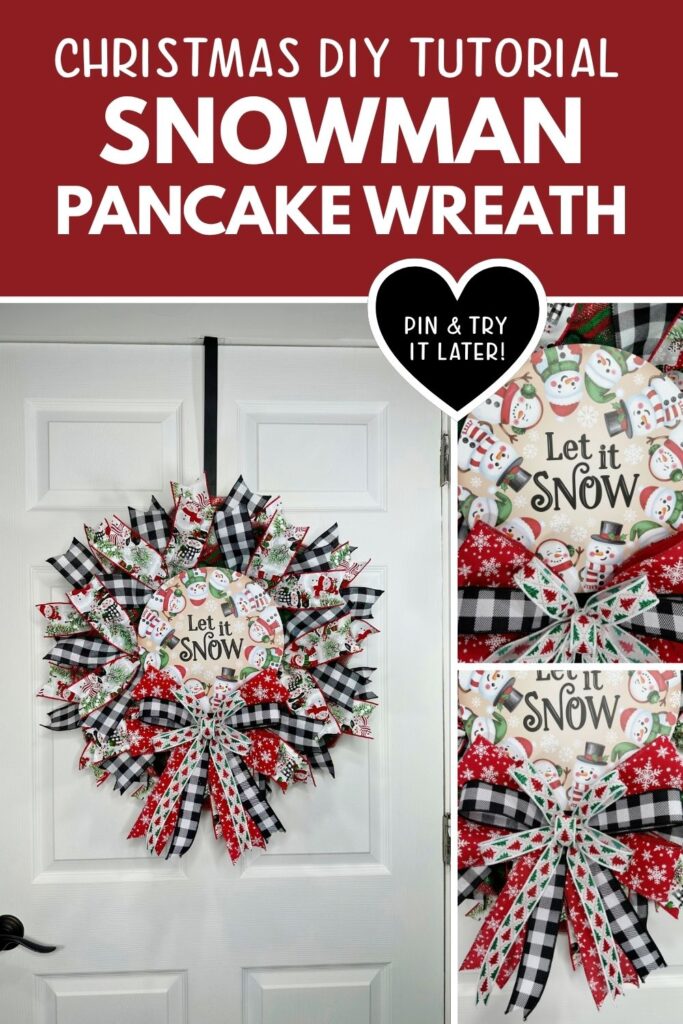
Buffalo plaid and snowman prints are a winter classic for a reason, and this pancake wreath shows why the combination never goes out of style. In this tutorial, Melissa builds a full, ruffled wreath on a 14 inch pancake frame using red mesh as the base, then layers in four ribbon prints and a round Let It Snow wood sign as the centerpiece.
The finished wreath has a dense, petal like texture from the mesh and ribbon loops radiating out around the sign, giving it the kind of fullness that reads well from across a yard or a craft show aisle.
What is a Pancake Wreath?
A pancake wreath is built by pushing mesh through the openings of a round frame so each piece stands up and out, rather than wrapping mesh around the outside of the form. The result is a flat, full wreath with a lot of texture and volume for the amount of mesh used. Ribbon loops layered in around the mesh add color and pattern, and a wood sign secured to the center turns the whole piece into a clear, readable design once it is hanging.
Supply List
- 14 inch pancake frame: DecoExchange
- 2.5 inch buffalo plaid ribbon, CH0740-117
- 2.5 inch snowman ribbon, RGH1481RT: DecoExchange
- 10 inch mesh, RY5054MK: DecoExchange
- 10.5 inch wood snowman sign, Let It Snow, AP7474M9: DecoExchange
- 2.5 inch snowflake ribbon, 871-40-176
- 1.5 inch buffalo plaid ribbon, RG0180527: DecoExchange
- 7/8 inch tree ribbon, RGH741467: DecoExchange
- Zip ties
Step by Step Instructions
1. Prepare the frame. Lay the 14 inch pancake frame flat on your work surface. Attach a hanger to the back of the frame at the top before adding any mesh, since it is much harder to add one once the frame is full.
2. Attach the mesh. Push the red mesh through the openings of the pancake frame, working around the entire frame so each loop stands up evenly. This mesh layer forms the base color and volume the ribbon will be layered into.
3. Add the wide buffalo plaid ribbon. Cut loops from the 2.5 inch buffalo plaid ribbon and tuck them into the mesh openings around the frame, spacing them evenly so the black and white check shows throughout the wreath.
4. Add the snowman ribbon. Cut loops from the 2.5 inch snowman ribbon and layer them in among the buffalo plaid, distributing the snowman print around the wreath rather than clustering it in one area.
5. Add the narrower ribbons. Cut loops from the 1.5 inch buffalo plaid ribbon and the 7/8 inch tree ribbon. Tuck these smaller loops into any remaining gaps between the wider ribbons, using them to fill in thin spots and add texture at a smaller scale.
6. Fluff the full wreath. Once all the mesh and ribbon are in place, go back around the wreath and separate the layers by hand so each loop stands out fully rather than lying flat against its neighbors.
7. Attach the wood sign. Center the round Let It Snow wood sign in the middle of the wreath and secure it to the frame with wire or zip ties through the back, checking that it sits flat.
8. Build and attach the bow. Cut loops from the 2.5 inch snowflake ribbon, the remaining buffalo plaid ribbon, and the tree ribbon. Layer them together into one bow, secure the center with wire, and attach it just below the sign so it sits between the sign and the lower edge of the wreath.
9. Final fluff and adjust. Step back and check the wreath as a whole. Fluff any mesh or ribbon loops that have settled flat, and adjust the bow so it frames the bottom of the sign without covering the text.
Where to Display This Wreath
This Let It Snow snowman pancake wreath works well for:
- A front door for the full winter season
- A covered porch, fence, or gate
- A craft show booth as a full, high impact piece that photographs well for online listings
- An indoor mantel or accent wall for holiday parties
Tips for This Design
Layer wide ribbon before narrow ribbon. Placing the 2.5 inch buffalo plaid and snowman ribbons first gives the wreath its main structure and color blocks. Adding the 1.5 inch plaid and 7/8 inch tree ribbon afterward lets you use them specifically to fill gaps rather than guessing where they belong from the start.
Use red mesh as a base color, not a focal point. The red mesh should peek through between the ribbon loops rather than dominate the wreath. Its job is to add depth and a consistent base tone behind the black, white, and red ribbon prints.
Center the bow below the sign, not on top of it. Since the sign already carries the Let It Snow text and snowman faces, placing the bow just beneath it, rather than layering it over the sign, keeps the wording fully readable while still framing the piece.


