
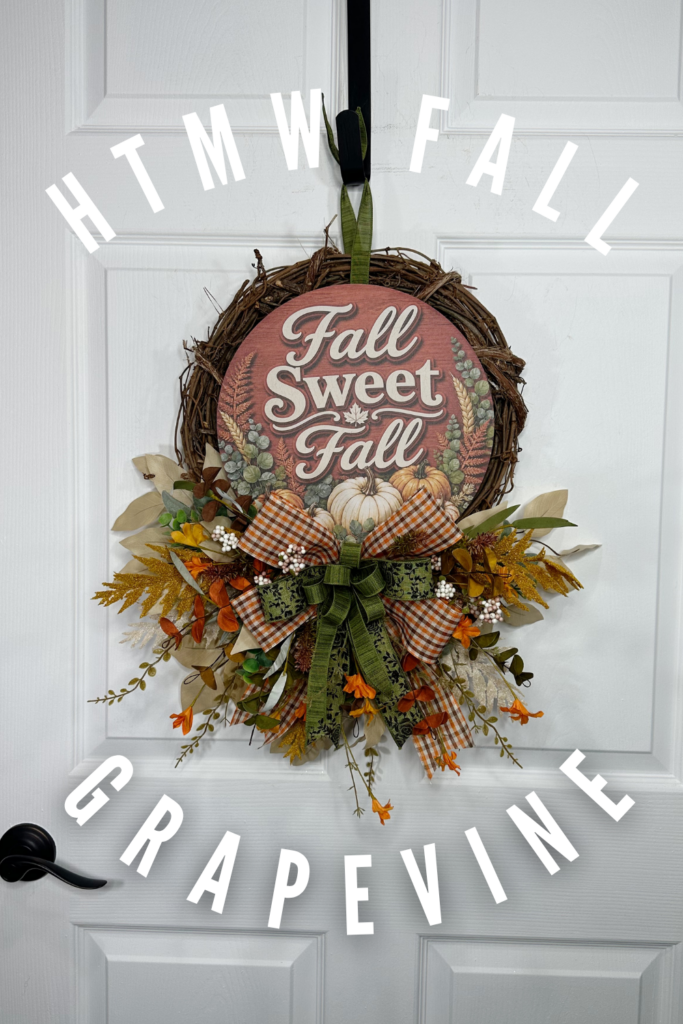
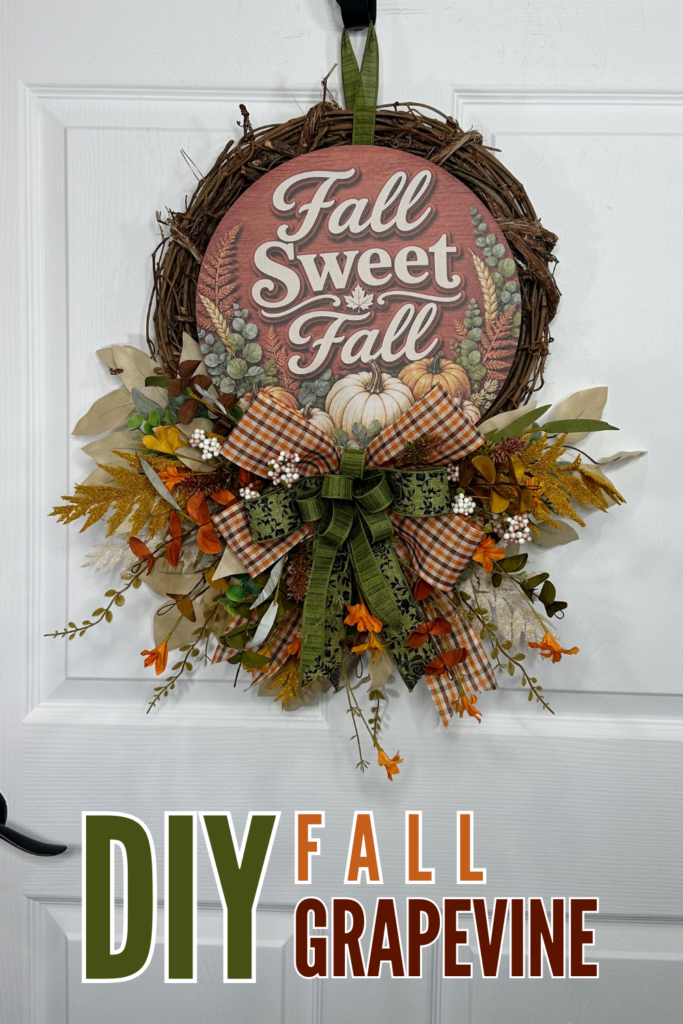
A grapevine wreath with a wood sign centered on it gives you the best of both worlds: the texture of a full floral build and the personality of a printed design. In this tutorial, Melissa shows how to layer several types of greenery and floral filler around a 12 inch wood sign, finished with a bow that mixes a plaid ribbon and two shades of green.
Combining pieces from two different supply boxes, this wreath pulls in ficus, fern, greenery, and floral filler for a build with real depth, rather than relying on one or two materials to do all the work.
Supply List
- 14 inch grapevine wreath
- 12 inch wood sign: DecoExchange August Supply Box
- Taupe ficus spray, FG633738
- Ivory and orange large fern spray, FG690253: DecoExchange August Supply Box
- 2.5 inch plaid ribbon, RGA1103YJ: DecoExchange August Supply Box
- 2 small floral spray filler, FH8125H4: DecoExchange August Supply Box
- Multi color foam spray, HA1913JC: DecoExchange August Supply Box
- Greenery, FG663109: DecoExchange July Supply Box
- 1.5 inch green ribbon, RGH13022Y: DecoExchange August Supply Box
- 5/8 inch green ribbon, RGF1682EW: DecoExchange July Supply Box
Why Mix Materials from Two Supply Boxes
Building a wreath from a single box of supplies often means working with only one or two floral textures. Pulling the taupe ficus, greenery, and green ribbons from an earlier box alongside the fern, floral filler, and plaid ribbon from a newer one gives this wreath more variety than either box would provide on its own. It is also a practical way to use up leftover supplies from a previous project instead of letting them sit unused.
Step by Step Instructions
1. Prepare the grapevine base. Lay the 14 inch grapevine wreath flat and attach a hanger to the top back before adding any materials.
2. Attach the wood sign. Center the 12 inch wood sign on the front of the grapevine and secure it with wire or zip ties threaded through the back of the wreath, checking that it sits flat and does not tilt.
3. Build the greenery base. Cut the greenery (FG663109) and the taupe ficus spray into individual stems. Insert them around the wood sign, working into the grapevine base on both sides so the greenery frames the sign without covering it.
4. Add the fern spray. Cut the ivory and orange large fern spray into stems and tuck them in around the greenery, letting a few pieces extend outward past the edge of the grapevine for a looser, fuller shape.
5. Add the floral filler and foam spray. Separate the small floral spray filler and the multi color foam spray into individual pieces. Tuck these throughout the greenery and fern, filling any gaps and adding small pops of color and texture across the wreath.
6. Build the bow. Cut loops from the 2.5 inch plaid ribbon, the 1.5 inch green ribbon, and the 5/8 inch green ribbon. Layer the plaid ribbon as the base, then add the two green ribbons on top so all three are visible in the finished bow.
7. Secure and attach the bow. Gather the loops tightly at the center and secure with floral wire. Attach the bow to the top of the wreath, just above the wood sign, positioning it so the loops frame the top of the sign rather than covering it.
8. Final fluff and adjust. Step back and check the full wreath. Fluff the greenery and fern where needed, and adjust the floral filler and foam spray so color is distributed evenly around the sign.
Tips for This Design
Let the greenery frame the sign, not cover it. Since the wood sign is the focal point, build the greenery and fern up and around the edges of the sign rather than over the surface, so the printed design stays fully visible.
Use the narrower green ribbon as an accent, not a base. The 5/8 inch green ribbon is too narrow to anchor the bow on its own. Layering it over the wider plaid and 1.5 inch green ribbons lets it add detail without getting lost.
Mix leftover supplies with intention. When combining materials from different supply boxes, keep a consistent color story, in this case taupe, ivory, orange, and green, so the finished wreath reads as one cohesive piece rather than a mix of unrelated leftovers.


