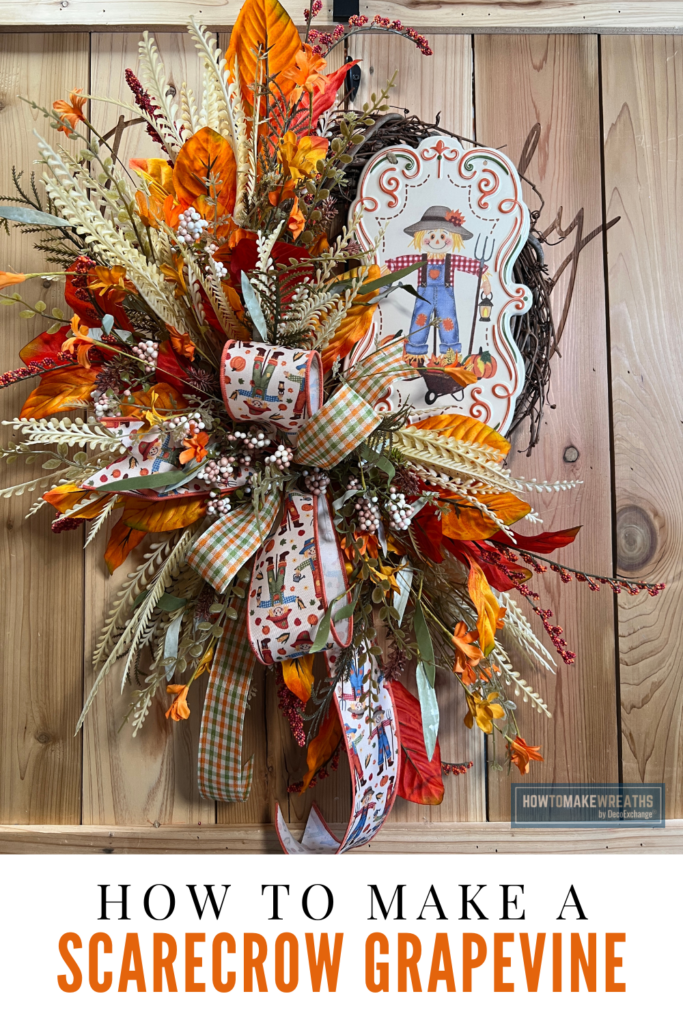
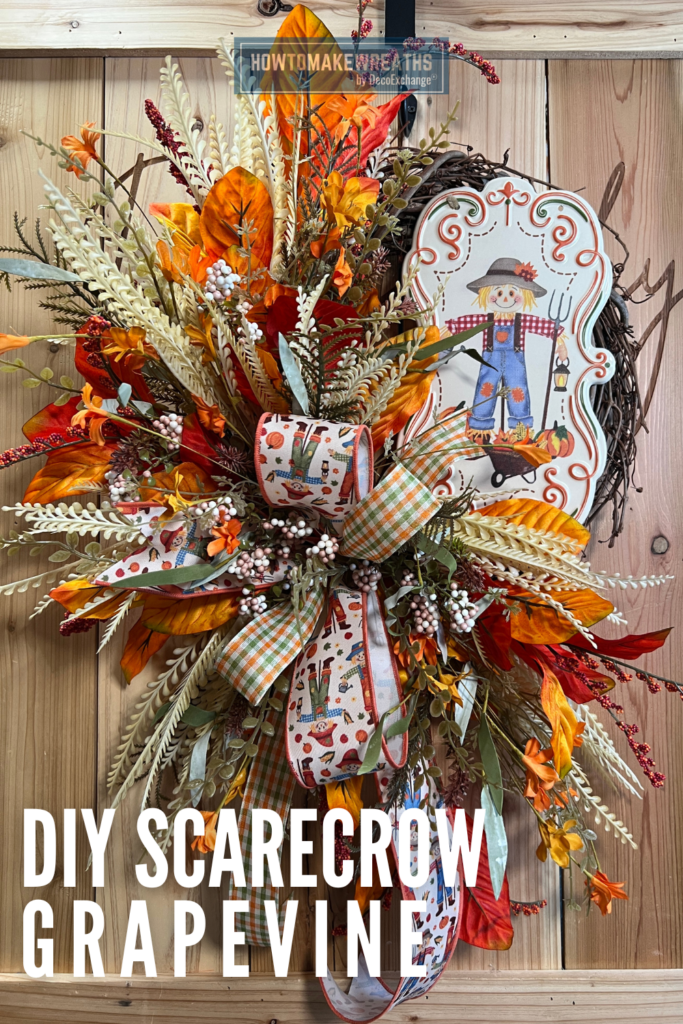
A single decorative plaque can carry a whole wreath design when it is placed well. In this tutorial, Jordan shows how to build a scarecrow grapevine wreath by attaching a printed scarecrow plaque to one side of a 14 inch grapevine and building a full floral corner on the other side to balance it out.
The result keeps the plaque as the clear focal point while the magnolia leaves, fern, and berries fill the wreath with the same warm orange and cream tones already used in the plaque’s artwork.
Supply List
Base
Ribbon
Florals
- Magnolia leaf bush, 57353OR
- Fern leaf bush, 13094BE
- 6-pack fall baby florals, 60919 (FH8125H4)
Why an Asymmetrical Layout Works Here
Centering a large plaque on a wreath usually means building florals evenly all the way around it, which can make the plaque feel boxed in. Placing the scarecrow plaque off to one side and building the floral corner on the opposite side gives the design a natural, balanced weight instead, similar to how a swag is arranged. The plaque stays fully visible while the florals still fill out the full size of the grapevine base.
Step-by-Step Instructions
1. Prepare the grapevine base. Lay the 14-inch grapevine flat and attach a hanger to the top back of the wreath before adding the plaque or any florals.
2. Attach the scarecrow plaque. Position the scarecrow plaque on one side of the grapevine, roughly a third of the way in from the edge, and secure it to the vine using wire or zip ties threaded through the back.
3. Build the greenery base. Cut the fern leaf bush into individual stems and insert them into the grapevine on the opposite side from the plaque, working to establish the size and shape of the floral corner first.
4. Add the magnolia leaves. Cut the magnolia leaf bush into stems and tuck them in among the fern, letting a few of the larger leaves extend outward past the edge of the wreath for a fuller, more natural silhouette.
5. Add the fall baby florals. Separate the 6 pack of fall baby florals into individual stems and space them throughout the corner arrangement, tucking a few in close to where the plaque meets the floral corner so the two sections blend together.
6. Build the bow. Cut loops from the 2.5 inch ribbon and the 1.5 inch ribbon. Layer the wider ribbon as the base of the bow, then add the narrower ribbon on top so both patterns are visible.
7. Secure and attach the bow. Gather the loops tightly at the center and secure with floral wire. Attach the bow at the point where the floral corner meets the edge of the plaque, so it visually connects the two halves of the wreath.
8. Final fluff and adjust. Step back and check the balance between the plaque and the floral corner. Fluff the magnolia leaves and fern, and adjust the bow tails so they fall naturally along the lower half of the wreath.
Tips for This Design
Let the bow act as the bridge. Placing the bow at the point where the plaque and the floral corner meet ties the two halves of the wreath together visually, instead of leaving them feeling like two separate design elements.
Save the largest magnolia leaves for the outer edge. The biggest leaves in the bush read as the boldest shapes in the arrangement. Placing them at the outer edge of the floral corner gives the wreath a strong, natural outline.
Balance visual weight instead of matching it exactly. The plaque and the floral corner do not need to be the same size to look balanced. A slightly larger floral corner opposite a detailed plaque like this one keeps the design from feeling lopsided.
Where to Display This Wreath
This scarecrow grapevine wreath works well for:
- A front door for the full fall season
- A covered porch, barn door, or gate
- A craft show booth as a piece with a strong focal point that stands out from all-floral wreaths
- An entryway or mudroom for a farmhouse-style fall accent