
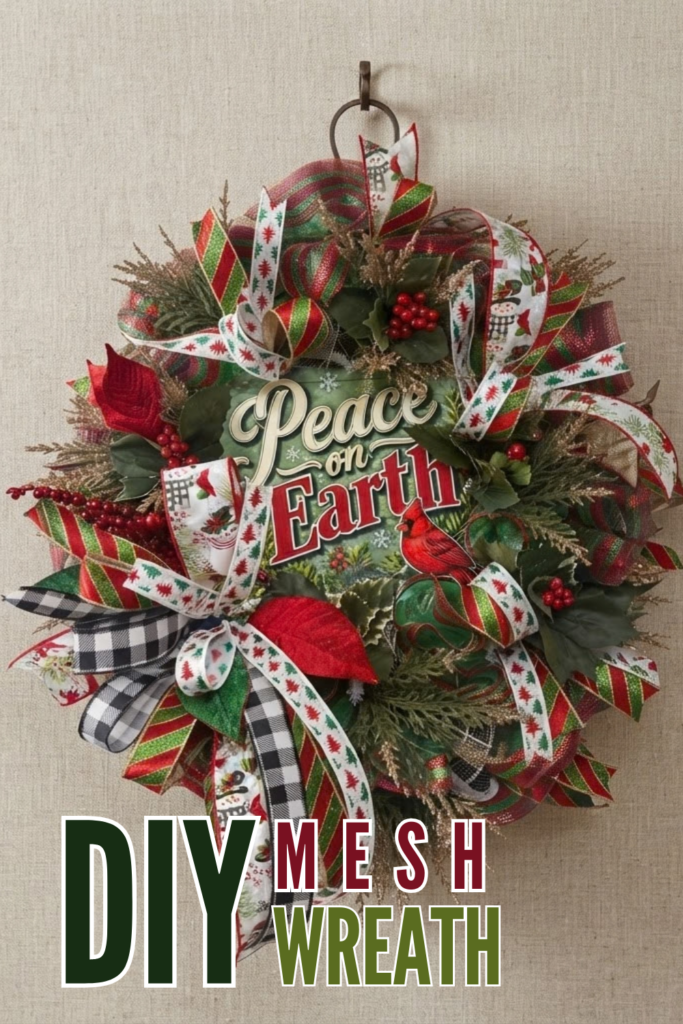
A full Christmas mesh wreath has a lot of moving parts, and this one shows how to keep them organized. In this tutorial, Tammy builds a wreath on an OAD frame with two kinds of mesh, four ribbon prints, holly and evergreen picks, magnolia leaves, and a metal Peace on Earth sign as the centerpiece.
The sign sets the color palette. Red, green and cream in the lettering and cardinal are repeated in the ribbon and picks, and the black and white check mesh and ribbon add contrast so the wreath does not turn into a wall of red and green.
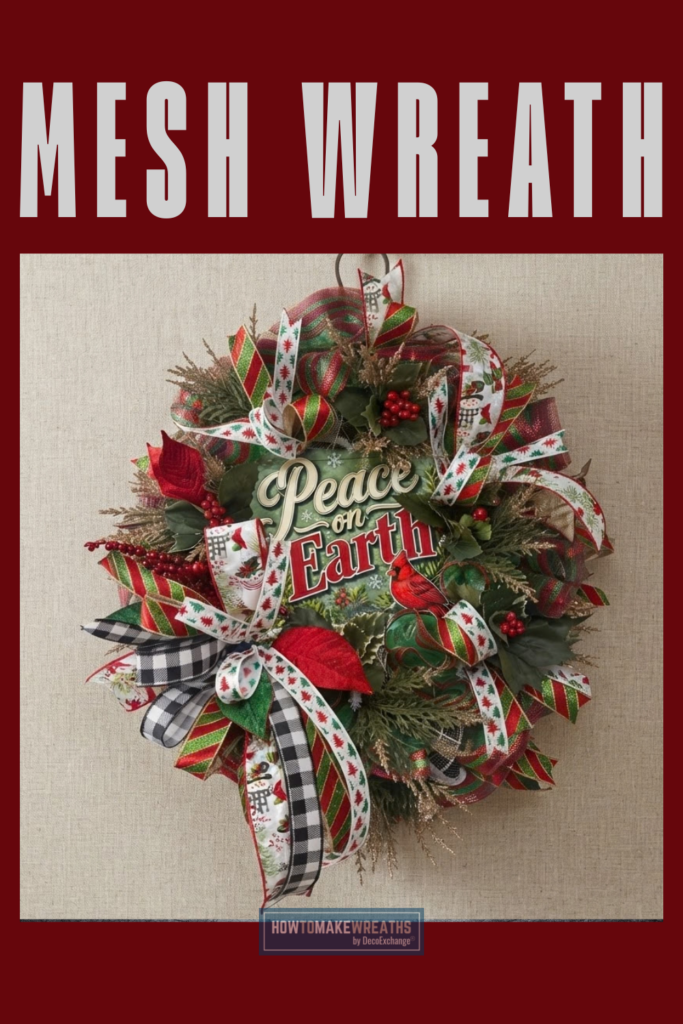
Supply List
- OAD frame, XX750427: DecoExchange WSB
- 21 inch black and white check mesh, RE1087E7
- 10 inch fine weave mesh, RY5054MK: September 2026 Wreath Supply Box
- 2.5 inch snowman ribbon, RGH1481RT: September 2026 Resupply Box
- 1 inch tree ribbon, RGH741467: September 2026 Wreath Supply Box
- 1.5 inch black and white check ribbon, RG0180527: DecoExchange
- 1.5 inch metallic red and green striped ribbon, LX700858: September 2026 Wreath Supply Box
- Holly pick, 6327050: Hobby Lobby
- Evergreen pick with gold tips: Walmart Christmas shop 2026
- Metal sign, Peace on Earth: September 2026 Wreath Supply Box, created by DecoExchange
- Magnolia leaves, XX8971: DecoExchange
- Pipe cleaners or floral wire
- Hot glue gun

Why Mix Two Kinds of Mesh
The black and white check mesh and the fine weave mesh do different jobs. The check mesh is the wider, more graphic layer, and it gives the wreath its pattern and its bold outline. The fine weave mesh is the softer layer, and it fills in the spaces between the check mesh and the ribbon so the frame is covered without showing gaps. Using one of each gives the wreath more depth than a single mesh would, and it keeps the black and white from taking over the red and green palette.
Step by Step Instructions
1. Prepare the frame. Set the OAD frame flat on your work surface. Attach a hanger to the back at the top before adding any mesh, because the frame gets harder to work with once it is full.
2. Attach the 21 inch check mesh. Secure the black and white check mesh to the frame, working around the full circle so the mesh stands up and out. Fluff each section as you go.
3. Add the fine weave mesh. Layer the 10 inch fine weave mesh in between the check mesh sections. This fills the gaps and softens the pattern.
4. Add the ribbon. Cut loops and tails from the snowman ribbon, the tree ribbon, the black and white check ribbon, and the metallic striped ribbon. Tuck them into the mesh and secure each one, spacing the four prints around the wreath so no single ribbon collects in one area.
5. Attach the metal sign. Center the Peace on Earth sign on the front of the wreath and secure it through the back of the frame. Check that it sits flat before moving on to the picks.
6. Add the evergreen and holly picks. Tuck the evergreen picks with gold tips around the sign and into the mesh, letting a few extend past the edge of the wreath. Add the holly picks near the sign, where the red berries echo the red lettering.
7. Add the magnolia leaves. Place the magnolia leaves at an angle near the sign and ribbon, using them to fill any remaining gaps and add a different texture.
8. Final fluff and adjust. Step back and check the wreath from a distance. Fluff the mesh, straighten any flat ribbon loops, and adjust the picks so the sign stays clearly readable.
Tips for This Design
Let the sign set the color palette. The Peace on Earth sign already combines red, green and cream. Choosing ribbon and picks in those same colors makes the whole wreath look planned. The black and white is the one contrast color, so use it in measured amounts.
Cut the ribbon in different lengths. A mix of long tails and shorter loops keeps the wreath from looking uniform and gives the ribbon room to move.
Keep the picks close to the sign. The holly, evergreen and magnolia leaves look best when they cluster around the sign instead of spreading evenly around the frame. That gives the eye a clear focal point.
Fluff last. Mesh flattens as you add ribbon and picks. A final pass with your hands brings the volume back.
Where to Display This Wreath
This Christmas mesh wreath works well for:
- A front door for the full holiday season
- A covered porch, fence or gate
- An indoor mantel or entryway wall
- A craft show booth as a full, ribbon rich piece with a readable message