
If you love bright colors and playful designs, this grapevine wreath tutorial with Melissa is one you will want to save. Using a mix of bold florals, fun sprays, and a festive metal sign from the December 2025 Wreath Supply Box, this wreath is full of personality and movement. It is a great option for front door decor, seasonal displays, or craft show inventory that stands out from the crowd.

This design proves that grapevine wreaths do not have to be neutral or rustic. With the right color palette and layering technique, you can create something cheerful, modern, and eye catching.
Supplies Used
- 18-inch grapevine wreath
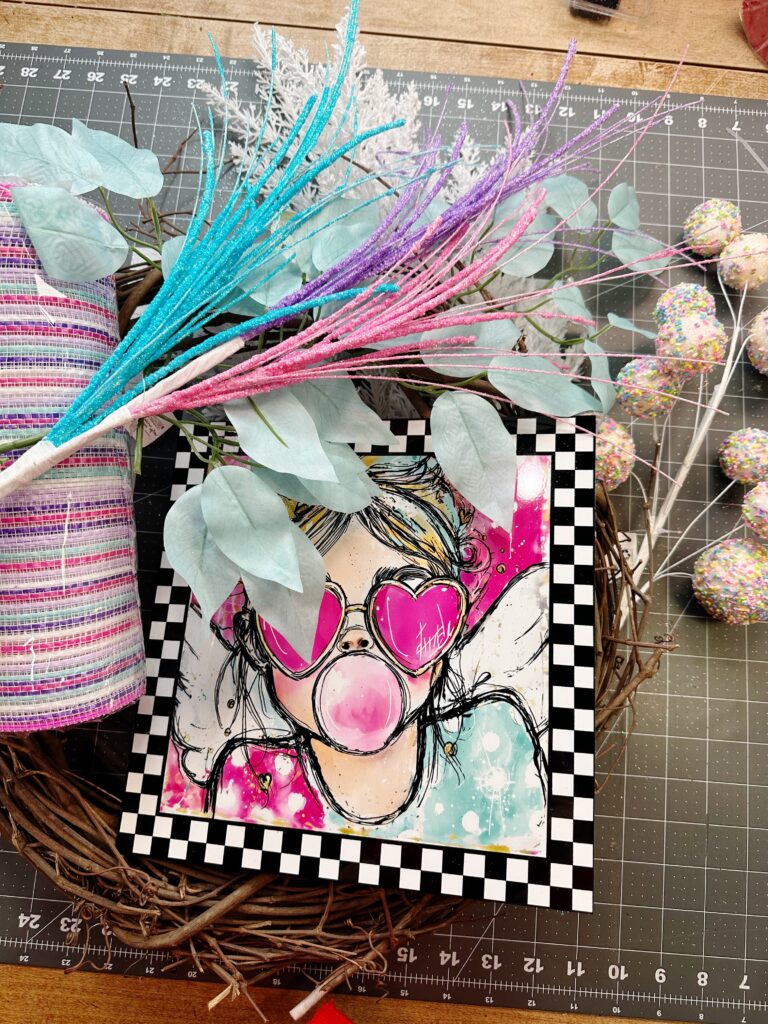
- 10 by 10 inch metal sign from the December 25 Wreath Supply Box by DecoExchange
- 10-inch mesh from the December 25 Wreath Supply Box by DecoExchange
- Pink magnolias from the December 25 Wreath Supply Box by DecoExchange
- Multi color loop spray from the December 25 Wreath Supply Box by DecoExchange
- Multi color grass spray from the December 25 Wreath Supply Box by DecoExchange
- Sprinkle cake pop spray from Walmart
- 2.5 inch polka dot ribbon from the December 25 Wreath Supply Box by DecoExchange
- Pink ficus from the December 25 Wreath Supply Box by DecoExchange (23″ Ficus Spray set)
- Mint ficus from the December 25 Wreath Supply Box by DecoExchange
- Zip ties
- Pipe cleaners
- Hot glue
Missed the box? Check out more information about the monthly wreath supply box subscription here.
Step by Step Instructions
1. Prep the Grapevine Base
Start by fluffing and shaping your grapevine wreath. Remove any loose pieces and decide where your focal point will be. Melissa places the sign slightly off center to give the wreath a natural flow.
2. Attach the Metal Sign
Use wire or pipe cleaners to secure the metal sign to the grapevine. Run the wire through the sign holes and twist it tightly around the grapevine base. Make sure the sign is secure before adding additional elements.
3. Add the Mesh
Cut your mesh into manageable sections. Roll or scrunch each piece and attach it behind the sign using zip ties or pipe cleaners. The mesh adds fullness and helps anchor the florals.
4. Build the Greenery Base
Begin inserting the pink ficus and mint ficus around the sign and mesh. These greenery stems create the foundation of the wreath and help distribute the color evenly. Angle some pieces upward and others outward for movement.
5. Add the Feature Florals
Next, place the pink magnolias into the design. Spread them around the sign so the color feels balanced. Magnolias act as the main floral focal and should be easily visible from a distance.
6. Layer in the Fun Sprays
This is where the wreath really comes to life. Add the multi color loop spray, grass spray, and sprinkle cake pop spray throughout the design. These elements add texture, height, and a playful feel that makes the wreath unique.
7. Create and Attach the Bow
Use the 2.5 inch polka dot ribbon to create a full bow. Secure it with a pipe cleaner and attach it near the sign or at the base of the florals. Adjust the loops so the bow feels full and soft.
8. Final Fluff and Secure
Step back and look at the wreath from all angles. Fill in any gaps with leftover sprays or greenery. Use hot glue where needed to secure pieces that may shift.
Why This Design Works
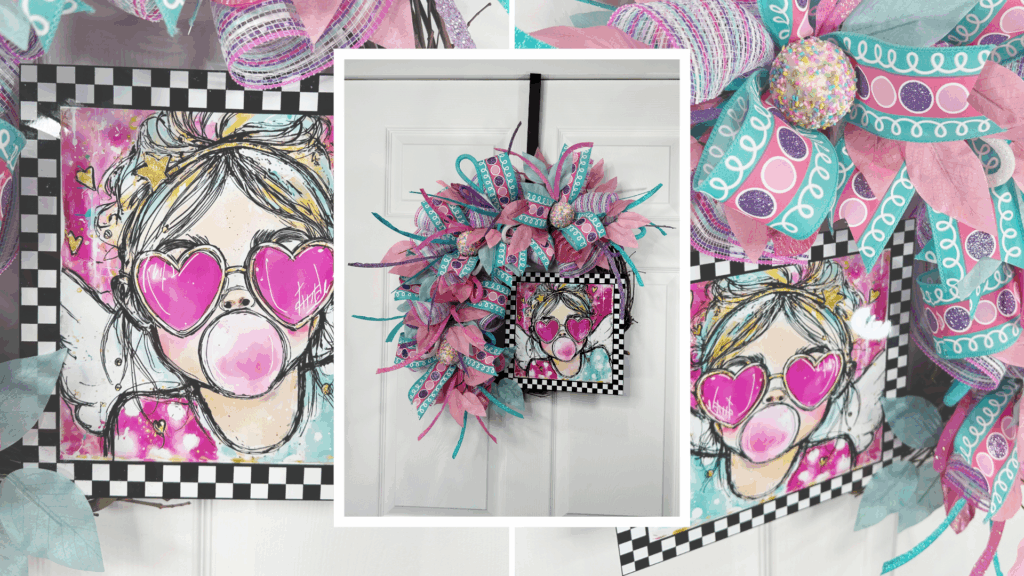
This wreath stands out because of its bold color palette and playful textures. The grapevine base keeps the design grounded, while the bright florals and sprays give it personality. It is a great example of how to use themed supply boxes to create something cohesive and fun without overthinking placement.
This style works especially well for:
- Front door decor
- Party or celebration themes
- Craft show booths
- Statement seasonal wreaths
Design Tips from Melissa
- Mix structured greenery with whimsical sprays for contrast.
- Keep the sign visible and do not overcrowd it.
- Use zip ties first, then hot glue for extra security.
- Let some sprays extend beyond the wreath for movement and dimension.
This colorful grapevine wreath is a reminder that floral design should be fun. Melissa’s approach shows how to layer mesh, greenery, florals, and playful accents into a wreath that feels fresh and full of life. Whether you are decorating your own space or creating pieces to sell, this technique can be repeated with any color palette or theme.
If you want more tutorials like this, join The Makers University Creative Coaching program for step by step designs, supply guidance, and creative inspiration all year long.

