
Normally when you think of wreaths, you think seasonal or holiday décor. This funny wreath design breaks that misconception really calling out the chaos of a home filled with kids and animals. Showcase your personality or your customers’ humor with this handmade wreath design.
If your home feels like a zoo sometimes…okay, maybe most of the time. This humorous wreath is definitely a winner! We love the craziness of our home, some don’t, but it’s ours. So why not keep it funny, right?
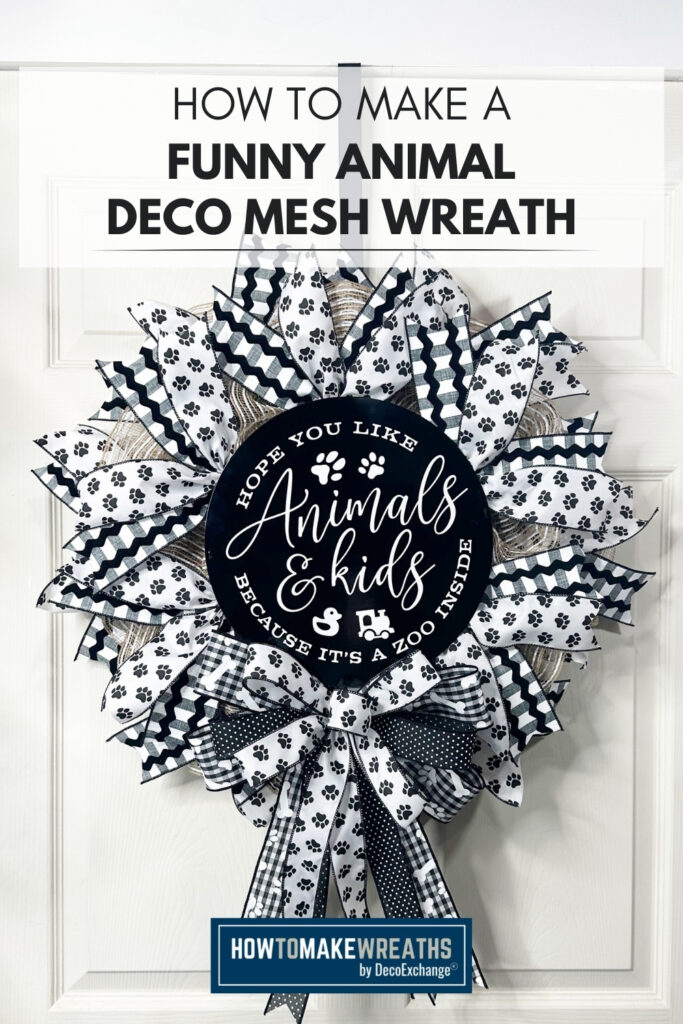
DIY Funny Wreath for the Home That Feels Like a Zoo
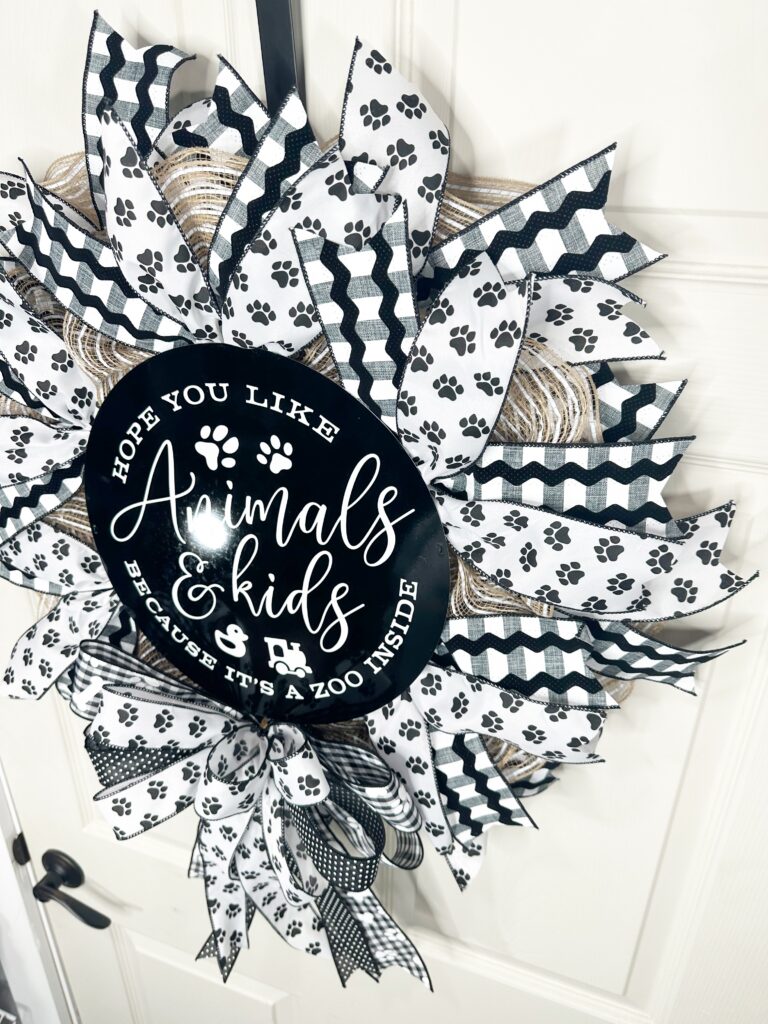
This style is one of Mellie Mel‘s signature methods, the pancake wreath. It’s super thin, making it perfect for entryways with storm or security doors. You can really see the thickness at this angle.
Tools
- metal hole punch
- scissors
- mesh cutter
- EZ Bow Maker
Supplies
- 14-inch frame or try out the new Patent Pending Pancake Wreath frame
- 12 pipe cleaners
- floral wire
- 10 inch mesh
- 12 inch Sign (supplier unknown *possibly Janes Front Door Decor)
- 2.5 inch ribbon, paw print, RG5777X6
- 2.5 inch ribbon, ricrac print, RG206610
- 2.5 inch ribbon, gingham & dog print, RGA5894X6
- 1.5 inch ribbon, Swiss dot, May 2022 Wreath Supply Box
- 1.5 inch ribbon, paw print, RG5776X6
Simple Instructions for the Funny DIY Wreath
This is the summary for this thin DIY wreath. Check out the recipe card below for the full detailed instructions that you can print out.
- Prep your wreath frame.
- Cut mesh into 20″ strips.
- Create ruffles and add to the outermost brackets.
- Cut ribbon tails and add to the outermost brackets.
- Next, make more mesh ruffles and add to the innermost pipe cleaners.
- Add the ribbon tails on top of the innermost pipe cleaners.
- Add wreath sign.
- Create a bow.
- Give that bow a final fluff.
FAQs
What makes thin wreaths or pancake wreaths so versatile?
Thin wreaths can be used in a variety of settings. They can be placed on doors, walls, mirrors, or used as a centerpiece on a table.
Can I use a wreath frame that has pipe cleaners on it already?
Yes, you absolutely can. You can use either a pre-made work frame or add pipe cleaners to the brackets. Both styles work perfectly fine.
We also have Mellie Mel’s new Patent Pending Pancake Wreath frame!
Why do you add pipe cleaners to different brackets?
You want the mesh to have full coverage without making the wreath too thick. Layering the spots to add mesh will give it a thinner appearance, while still maintaining that coverage.
Detailed Instructions for This DIY Funny Wreath Project

Funny Wreath for Crazy Homes
Equipment
- metal hole punch
Materials
- 1 14" frame or try out the new Patent Pending Pancake Wreath frame
- 12 pipe cleaners
- 1 floral wire
- 1 10" poly burlap mesh
- 1 12" Wreath sign supplier unknown *possibly Janes Front Door Decor
- 1 2.5" ribbon paw print, RG5777X6
- 1 2.5 ribbon ricrac print, RG206610
- 1 2.5" ribbon gingham & dog print, RGA5894X6
- 1 1.5" ribbon Swiss dot, May 2022 Wreath Supply Box
- 1 1.5" ribbon paw print, RG5776X6
Instructions
- First add 12 pipe cleaners to the wreath form brackets, alternating between the inner most brackets and the outermost brackets.
- Using a mesh cutter to trim the mesh into 20″ sections.
- Lay your mesh strip flat on the table, gathering at the middle to create a ruffle. Add the ruffle to the outermost pipe cleaners.
- Cut your 2.5″ paw print ribbon and ricrac ribbon into 14″ sections.
- Dovetail the ends. These will be your ribbon tails.
- Stack the paw print pattern on top of the ricrac ribbon and attach to the outermost pipe cleaners.
- Next, make more mesh ruffles and add to the innermost pipe cleaners.
- Add the ribbon tails on top of the innermost pipe cleaners.
- Trim the excess pipe cleaner stems.
- Fluff out your ribbon tails.
- Using a metal hole punch, create holes at the middle on the left and right sides of the sign.
- Use a strong floral wire to fish through the holes on each side so you can secure to the wreath frame.
- Create a bow.
- Start with your 2.5″ gingham and dog print ribbon. Create (2) 6″ loops on each side. Make sure to pinch and twist in between each loop. Leave about a 9″ tail on each side.
- Layer on the 2.5″ Swiss dot ribbon, creating (1) 5.5″ loops on each side with 9″ tails.
- Next, add a layer of the 1.5″ paw print ribbon. Create 3 loops on each side, making them progressively smaller.
- Secure all the layers with a pipe cleaner.
- Arrange your loops and tails. Dovetail ends of tails.
- Attach the bow to the wreath, using the excess pipe cleaner on the bow.
- Give that bow a final fluff.
Video
If you need any help with centerpiece-making, bow-making, wreath-making, or crafting in general, be sure to check out more of our tutorials on How to Make Wreaths.
We would love to see your beautiful summer wreaths! Please share with us over at the How To Make Wreaths Facebook Group.

Just pin this funny DIY wreath tutorial to save the instructions for later!


