
If you have seen those lush, garland-wrapped grapevine wreaths all over social media and wondered how they are made, this tutorial breaks it down in the simplest possible way.
In this tutorial, Jordan shows how to build a full, seasonal fall wreath using just three supplies: a 14-inch round grapevine base, a fall leaves garland, and a fall eucalyptus garland. No ribbon, no bow, no floral picks, and no hot glue required for the main build. The technique is straightforward, the materials are widely available, and the finished wreath looks like something that took hours to make even though the actual build time is closer to 20 minutes.
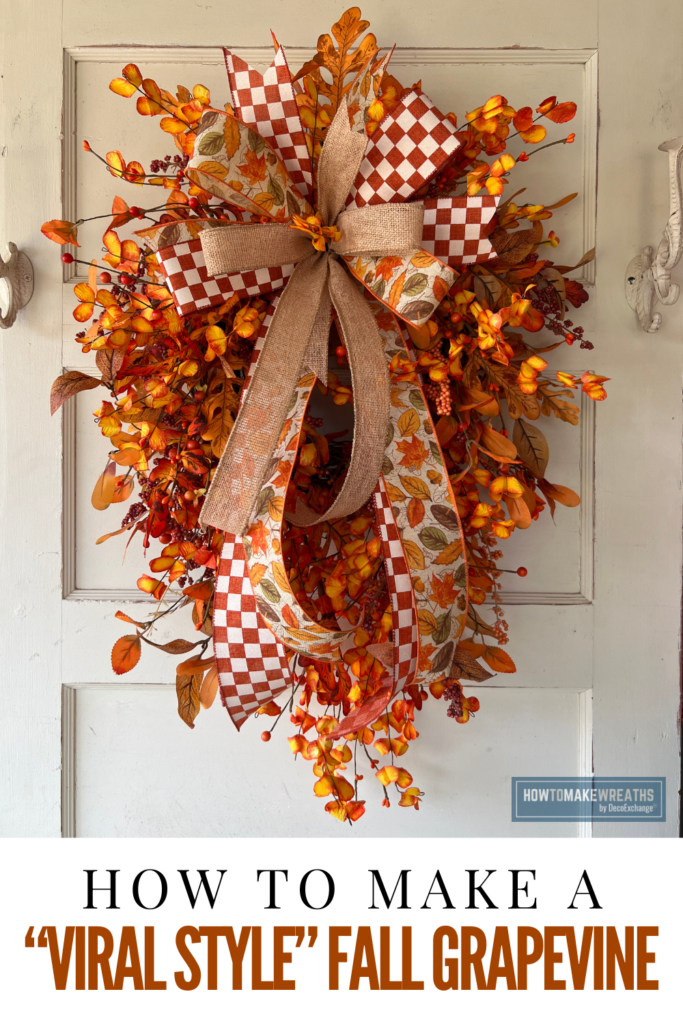
What Makes this Fall Grapevine Wreath the Viral Style?
The viral grapevine wreath style that has circulated widely on TikTok and Pinterest is built around the idea of wrapping a garland directly around and through a grapevine base rather than attaching individual stems or picks. The garland weaves in and out of the vine naturally, which gives the wreath a full, dimensional look without the time investment of placing and gluing every stem individually.
The result is a wreath that looks organic and abundant because the garland follows the natural shape of the vine rather than being stacked on top of it. The two-garland approach, one for fall leaves and one for eucalyptus, gives the wreath a layered, textural quality that a single garland alone cannot achieve.
This technique is also beginner-friendly in a way that most full wreath builds are not. There is no bow to tie, no wire to manage, and no glue gun required until the final step of securing any loose ends. If you have been hesitant to try wreath making because the process looked complicated, this is the project to start with.
Supply List
- 1 round grapevine wreath base, 14 inches
- 1 fall leaves garland
- 1 fall eucalyptus garland
- Hot glue gun and glue sticks (for securing ends only)
- Wire cutters (optional, for trimming garland ends)
How to Make a Viral Style Fall Grapevine Wreath
Step 1: Prepare Your Grapevine Base
Lay your 14-inch round grapevine base flat on your work surface. Decide which end will be the top of the wreath before you start wrapping. Attach a loop of wire or a small zip tie to the top back of the base now so the hanger is in place before the garland covers the vine.
Fluff and reshape the grapevine if it has been stored flat or if any sections have pressed inward. A round, even base gives you consistent spacing as you wrap the garland and helps the finished wreath keep its circular shape.
Step 2: Wrap the Fall Leaves Garland
Start with the fall leaves garland. Beginning at the top of the grapevine base, weave the garland in and out of the vine as you work around the wreath. Weaving through the vine rather than simply wrapping around the outside is the key step that gives this technique its full, dimensional look. When the garland passes through a gap in the vine and comes back out the front, it locks itself in place and sits at a natural angle rather than lying flat against the surface.
Work your way around the full circumference of the grapevine, continuing to weave the garland in and out. Overlap the garland slightly with each pass so there are no large gaps in the leaf coverage. If the garland is longer than the circumference of the wreath, continue weaving for a second partial pass to build additional fullness rather than cutting the excess off.
When you reach the end of the garland or have achieved full coverage, tuck the garland end into the vine or secure it with a small dab of hot glue at the back of the wreath.
Step 3: Wrap the Fall Eucalyptus Garland
Once the fall leaves garland is in place, begin wrapping the fall eucalyptus garland using the same weaving technique. Start at a different point on the wreath than where you began the leaves garland so the two garlands interweave throughout the wreath rather than layering directly on top of each other.
The eucalyptus garland adds a different texture and color tone to the wreath. Fall eucalyptus typically has softer, blue-green or dusty sage tones with oval leaves that contrast with the more graphic shapes of fall leaves. This contrast is what gives the finished wreath its layered, garden-gathered quality.
As you weave the eucalyptus garland, allow it to sit at angles different from the leaves garland beneath it. The goal is for both garlands to be visible throughout the wreath rather than one covering the other completely. Weaving at a slightly different angle from the first garland naturally produces this effect.
Secure the end of the eucalyptus garland with hot glue or tuck it firmly into the vine at the back of the wreath.
Step 4: Adjust and Shape
Once both garlands are in place, step back and look at the wreath from a distance. Check for any areas where the grapevine base is showing through with less coverage than the rest of the wreath. Redistribute garland sections by hand, pulling loops outward and adjusting the weave until the coverage looks even all the way around.
Check that both garland types are visible throughout the wreath. If one area looks predominantly eucalyptus and another looks predominantly fall leaves, gently interweave the two in that section by pulling strands of each over and under the other.
The wreath should look full and round with a mix of fall leaf colors and eucalyptus texture visible across the entire face.
Tips for This Project
Weave through the vine, do not wrap around it. The difference between a flat, two-dimensional result and a full, dimensional one is entirely in this step. Passing the garland through the gaps in the grapevine and back out the front is what locks the garland in place and creates the layered look. Wrapping the garland around the outside of the vine produces a flat, ribbon-like result that does not have the same fullness.
Start the two garlands at different points on the wreath. If both garlands start at the same spot, they will follow the same path around the wreath and layer directly on top of each other. Starting the eucalyptus garland a quarter turn away from where the leaves garland started produces a natural interweaving effect with no extra effort.
Do not trim garland length prematurely. A garland that seems longer than necessary for one pass around a 14-inch wreath can often be used for a partial second pass that adds significant fullness. Wrap the full garland length before deciding whether to trim. The extra material is an asset, not excess.
Use hot glue only to secure ends. The weaving technique itself holds the garland in place for the main build. Hot glue is only needed at the start and end points of each garland to prevent unraveling. Over-gluing the garland to the vine prevents it from sitting at natural angles and reduces the dimensional quality of the finished wreath.
This wreath does not need a bow. The two-garland technique is intentionally complete on its own. A bow can be added if preferred, but the wreath reads as finished and intentional without one. If you want to add a finishing touch, a simple ribbon loop at the top or a single ornament pick tucked into the garland is enough.
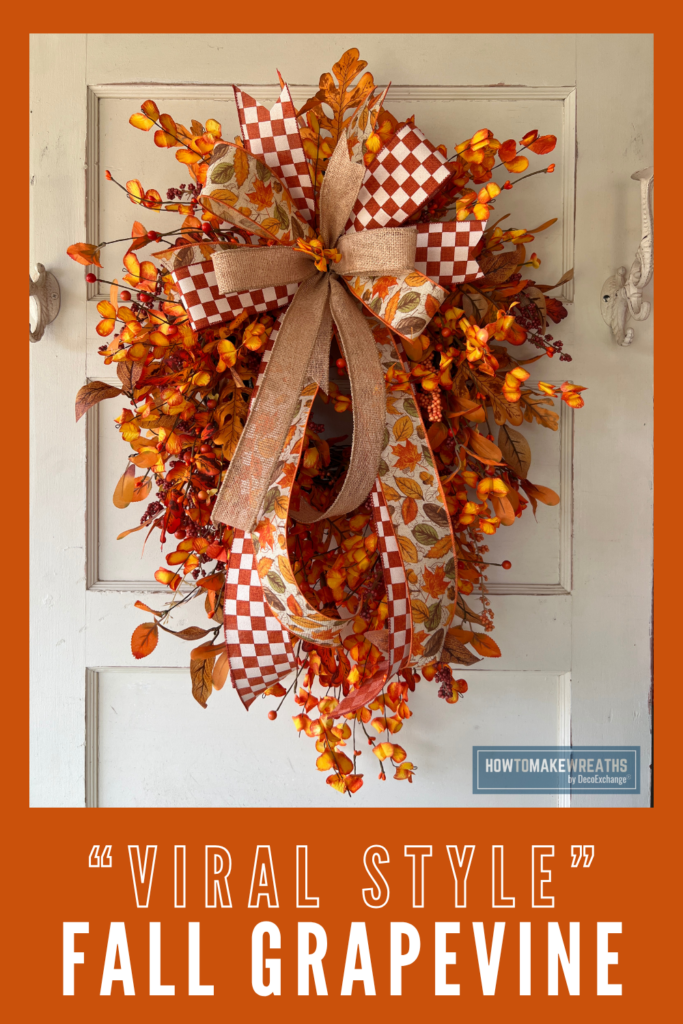
Ways to Style This Wreath
This viral style fall grapevine wreath works well for:
- A front door as a fall seasonal statement piece from late summer through Thanksgiving
- A covered porch wall or fence for outdoor autumn decor
- A fireplace mantel or entryway table as an interior seasonal accent
- A craft show booth as a fast-build piece that photographs well and has broad seasonal appeal
- Layering behind a fall door hanger for a full front door display
Because this wreath is built entirely from garlands woven into a grapevine base, it stores easily by unwinding the garlands and flattening the vine. The grapevine base is reusable season after season with fresh garlands.
Viral Style Fall Grapevine Wreath
Materials
- 1 round grapevine wreath base 14 inches
- 1 fall leaves garland
- 1 fall eucalyptus garland
- Hot glue gun and glue sticks for securing ends only
- Wire cutters optional, for trimming garland ends
Instructions
- Prepare the base.
- Lay the 14-inch grapevine base flat and pick your top. Attach a wire loop or zip tie hanger to the back now, before wrapping.
- Shape the grapevine.
- Fluff and reshape any flattened sections so the base sits round and even.
- Weave in the fall leaves garland.
- Starting at the top, weave the garland in and out of the vine all the way around, overlapping slightly to avoid gaps. Continue for a second pass if the garland is long enough.
- Secure the leaves garland.
- Tuck the end into the vine or secure with a dab of hot glue at the back.
- Weave in the eucalyptus garland.
- Start at a different point than the leaves garland and weave using the same in-and-out technique, letting it cross the leaves at different angles.
- Secure the eucalyptus garland.
- Tuck the end into the vine or glue it at the back.
- Fluff and fill gaps.
- Pull loops outward to redistribute coverage where the vine shows through.
- Blend the two garlands.
- Wherever one garland dominates a section, hand-weave a few strands of the other over and under it until both are visible throughout.


Beautiful results from minimal supplies.