
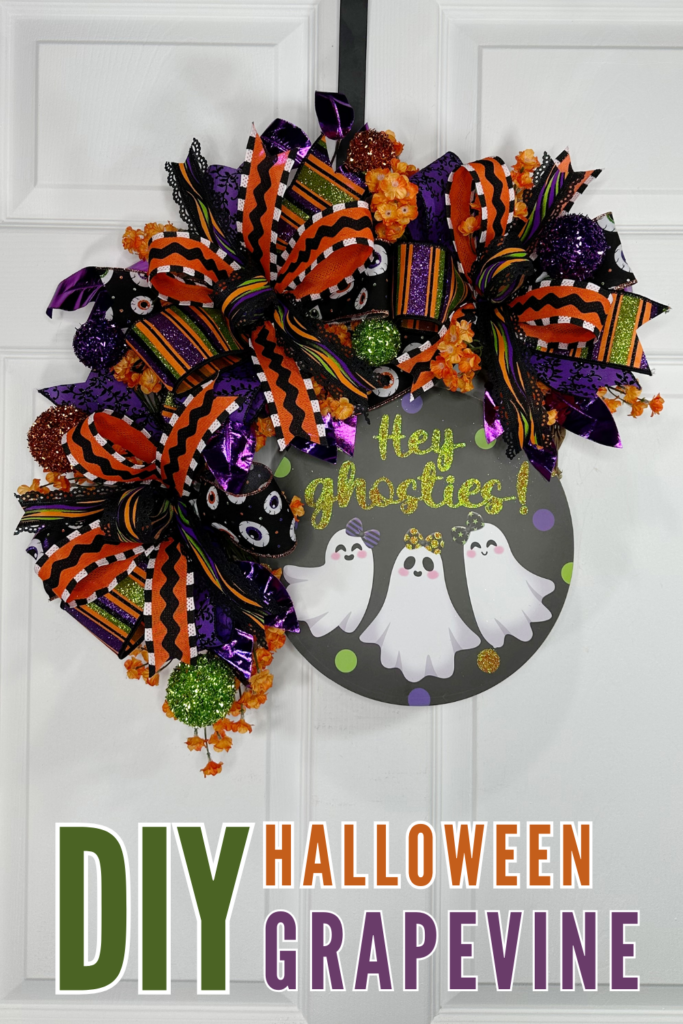
If you want a Halloween front door wreath that is bold, colorful, and a little bit spooky without being gory, this Halloween grapevine wreath is the project to make this season.
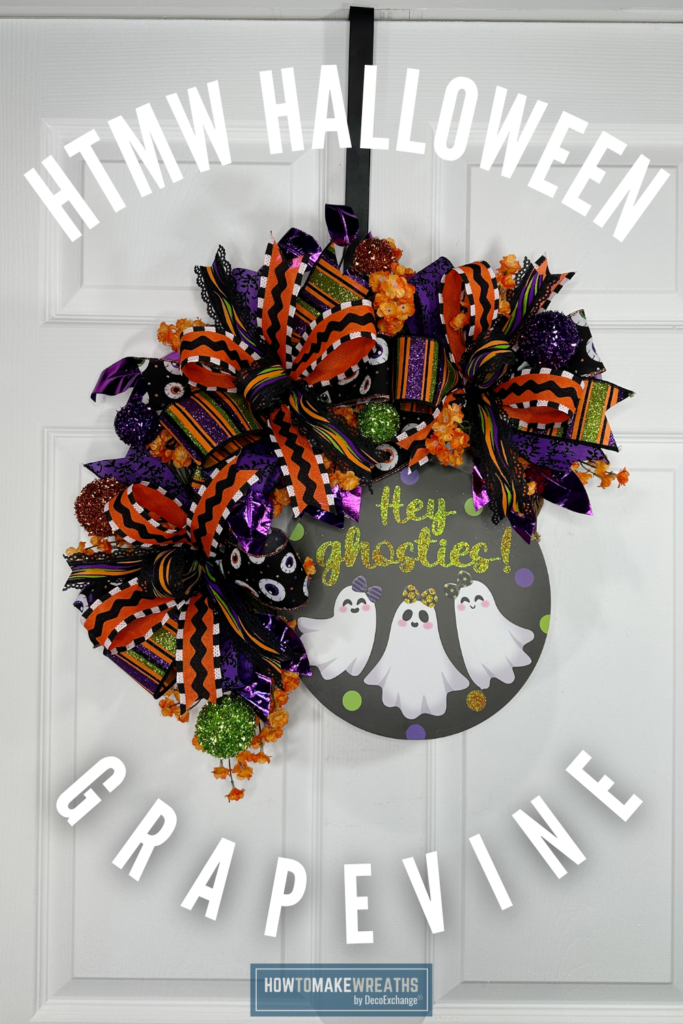
In this tutorial, Melissa shows how to build a full, festive wreath on a 14-inch grapevine base using orange baby’s breath, purple metallic ficus, a 10-inch round sign as the focal point, and five ribbon styles including an eyeball print ribbon that is equal parts fun and creepy. The finished wreath is layered, eye-catching, and ready for front door display from early October through Halloween.
Why a Grapevine Base Works for Halloween
Grapevine has a naturally twisted, slightly eerie quality that suits Halloween decor in a way that smooth wire or foam bases do not. The dark brown vine texture reads as branches or thorns at a glance, which adds to the spooky aesthetic without requiring any extra effort. It also gives orange and purple florals a rich, contrasting background that makes the colors pop more than they would against a neutral green or white base.
At 14 inches, this wreath is a versatile size for a front door, porch wall, or interior display. It is also a strong craft show size for Halloween inventory since it is large enough to look substantial but compact enough to display and transport easily.
Supply List
- 1 round grapevine wreath base, 14 inches
- 1 round sign, 10 inches (DecoExchange WSB July 2026)
- Orange baby’s breath floral filler
- Purple metallic ficus
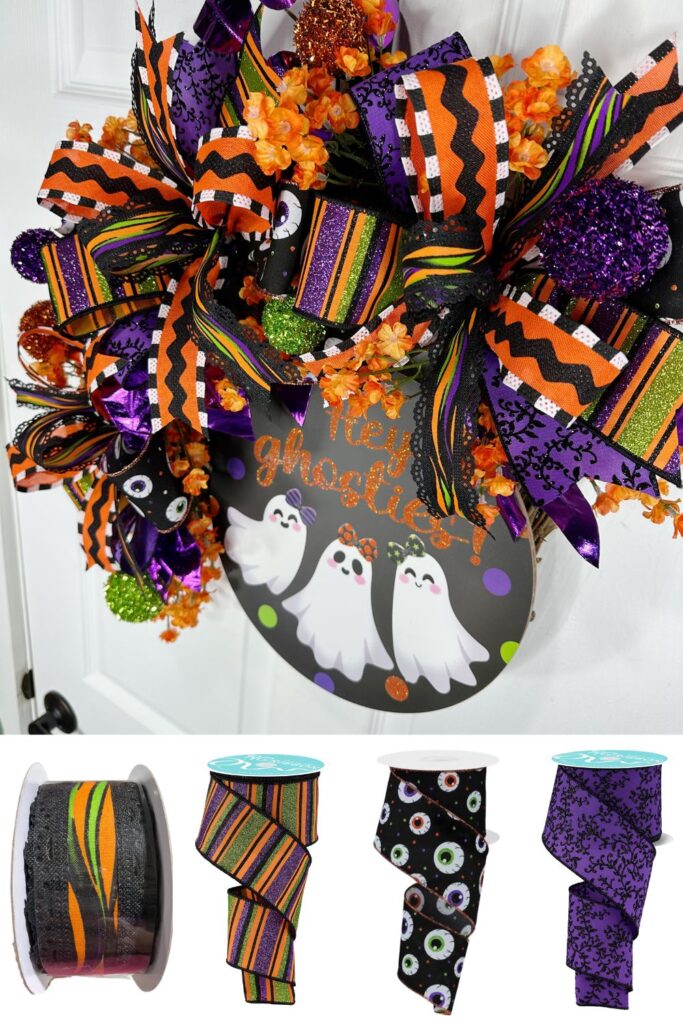
- 1 roll 2.5-inch purple ribbon (DecoExchange WSB July 2026)
- 1 roll 2.5-inch eyeball ribbon (DecoExchange WSB July 2026)
- 1 roll 2.5-inch stripe ribbon (DecoExchange WSB July 2026)
- 1 roll 1.5-inch wave ribbon (DecoExchange WSB July 2026)
- 1 roll 1.5-inch black, orange, and white ribbon (DecoExchange WSB July 2026)
- Hot glue gun and glue sticks
- Wire cutters
- Zip ties
- Scissors
How to Make a Halloween Grapevine Wreath
Step 1: Prepare Your Grapevine Base
Lay your 14-inch grapevine base flat on your work surface. Decide which end will be the top before adding any florals or ribbon. Attach a loop of floral wire or a zip tie to the top back of the base now so the hanger is ready before the wreath is built out.
Fluff the grapevine if any sections have been compressed during storage. The more open and textural the vine looks before you start, the more natural and intentional the finished wreath will look once the florals are in place.
Step 2: Add the Purple Metallic Ficus
Begin with the purple metallic ficus as your greenery base. Cut or separate the ficus into individual stems or clusters and insert them into the grapevine, covering a portion of the base and establishing the main floral arrangement area.
Purple metallic ficus has an iridescent, slightly dramatic quality that reads as perfectly Halloween without being overtly themed. It adds depth and color to the base that makes the orange florals pop against it when they are added in the next step.
Work the ficus into a main arrangement area rather than distributing it evenly all the way around the wreath. Concentrating the florals in one section, typically the upper left or lower right quadrant, gives the wreath a more designed, asymmetrical look that photographs and displays well.
Step 3: Add the Orange Baby’s Breath
Cut the orange baby’s breath into small clusters and tuck them in throughout the ficus arrangement and into the surrounding grapevine. Baby’s breath used as a floral filler is one of the most effective ways to add color and softness to a grapevine wreath without the weight or expense of larger blooms.
Orange baby’s breath against purple ficus is a high-contrast combination that reads as unmistakably Halloween while still looking refined and intentional. Distribute the orange clusters so they appear throughout the floral section and spill slightly beyond it into the open areas of the grapevine for a more organic look.
Hot glue each cluster firmly into the vine and ficus base.
Step 4: Attach the Round Sign
Position the 10-inch round sign at the center of the floral arrangement or just below it as the focal point of the wreath. On a 14-inch grapevine base, a 10-inch sign will fill most of the inner opening of the wreath, making it the dominant visual element of the design.
Hot glue the sign firmly to the grapevine base and hold for at least 30 seconds. If the sign has holes or a hanging slot, reinforce the attachment with floral wire threaded through the sign and twisted around the vine for added security.
Make sure the sign is centered and level before the glue sets.
Step 5: Build the Five-Ribbon Bow
This wreath uses five ribbon styles across two widths. Build a layered bow by working through the ribbons from widest to narrowest:
- Start with the 2.5-inch eyeball ribbon. This is the most themed and attention-grabbing ribbon in the combination. Make two to three loops and position them so the eyeball print faces forward prominently in the bow. This ribbon does more storytelling than any other element in the bow, so give it visible placement.
- Add loops of the 2.5-inch purple ribbon alongside the eyeball ribbon. The solid purple loops frame the eyeball print and reinforce the Halloween color palette.
- Follow with loops of the 2.5-inch stripe ribbon for a graphic, tailored accent that adds pattern variety without competing with the eyeball print.
- Add the 1.5-inch wave ribbon as mid-size accent loops. The wave edge adds texture and a slightly playful quality that fits the Halloween theme.
- Finish with the 1.5-inch black, orange, and white ribbon tucked into the center and used as bow tails. This ribbon ties the orange from the florals and the black from the grapevine back into the bow and pulls the full color story of the wreath together.
Secure all loops at the center with floral wire, twisting tightly at the back. Fluff each loop after securing.
Step 6: Attach the Bow and Final Adjustments
Attach the bow to the wreath at the base of the sign or at the main floral grouping using wire or hot glue. Adjust the bow loops so they fan out evenly and the eyeball ribbon is clearly visible from the front.
Step back and check the overall shape. Fluff any ficus stems that have settled flat. Adjust the orange baby’s breath clusters if any have shifted out of the floral section. Make sure the sign face is fully visible and the bow tails fall naturally alongside the lower portion of the wreath.
Tuck all exposed wire ends or glue strings out of sight behind the vine or florals.
Tips for This Project
Lead with the eyeball ribbon in the bow. The eyeball ribbon is what makes this wreath unmistakably Halloween at a glance. Build the bow around it rather than burying it in the center. Front-facing eyeball loops positioned at the outer edge of the bow communicate the theme immediately and are the detail that stops shoppers at a craft show or viewers on social media.
Concentrate the florals rather than spreading them. A 14-inch grapevine wreath with florals distributed evenly all the way around looks sparse because there is not enough material to cover the full circumference at density. Concentrating the ficus and baby’s breath in one or two main groupings creates a fuller, more finished arrangement in the area that matters most.
Let the grapevine be part of the design. Not every section of the vine needs to be covered. The exposed grapevine between the floral section and the bow adds to the Halloween aesthetic because the twisted vine reads as branch-like and slightly eerie. Leave intentional open areas rather than trying to fill every gap.
Use orange baby’s breath generously. Baby’s breath is one of the most forgiving fillers in wreath making because it can be cut small and tucked into tight spaces without looking forced. Use it wherever the arrangement needs a pop of orange, including in the gaps between the sign edge and the vine, along the outer edge of the ficus section, and tucked into the bow center alongside the ribbon loops.
Where to Display This Wreath
This Halloween grapevine wreath works well for:
- A front door from early October through Halloween night
- A covered porch wall, fence, or gate
- An interior entryway, living room, or mantel for a festive seasonal accent
- A craft show booth as a Halloween inventory piece that appeals to buyers who want something fun and colorful rather than traditional orange and black only
Store the finished wreath in a wreath bag or flat box after the season. The grapevine base is reusable for future seasonal builds.


