
Learn how to make your own Ice cream cone wreath using leftover materials and a UTIC board. This festive, fun, and easy craft project is perfect for the summer months!
I love the summertime because it’s a time for enjoying delicious ice cream cones. In honor of this favorite summer treat, I made an ice cream cone wreath. It was really easy to make and turned out so appealing! If you want to make one too, keep reading for the step-by-step tutorial.
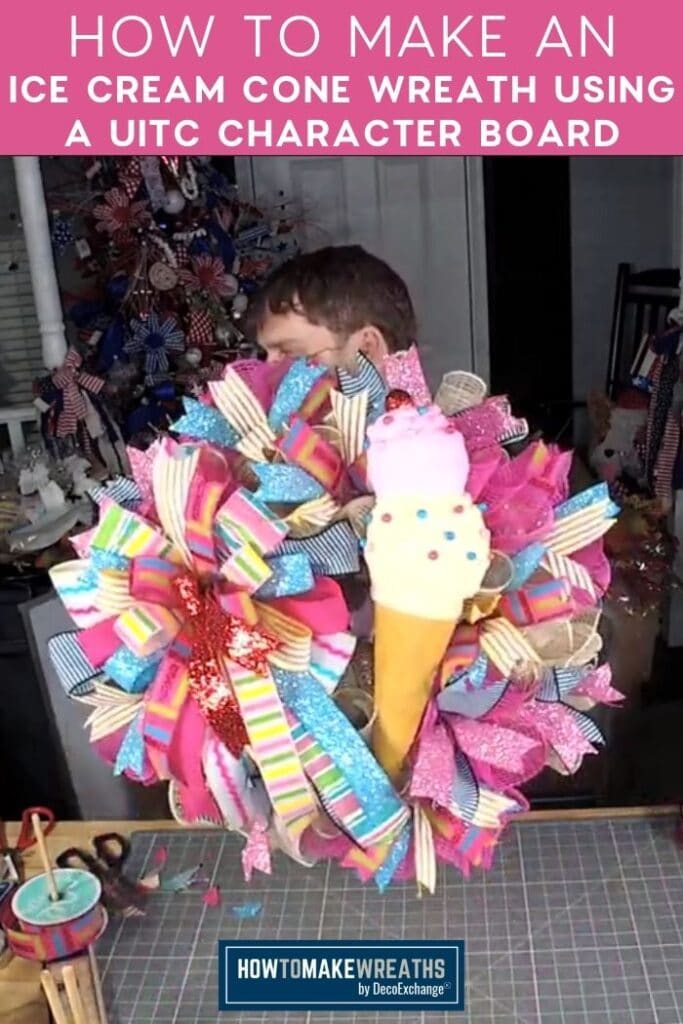
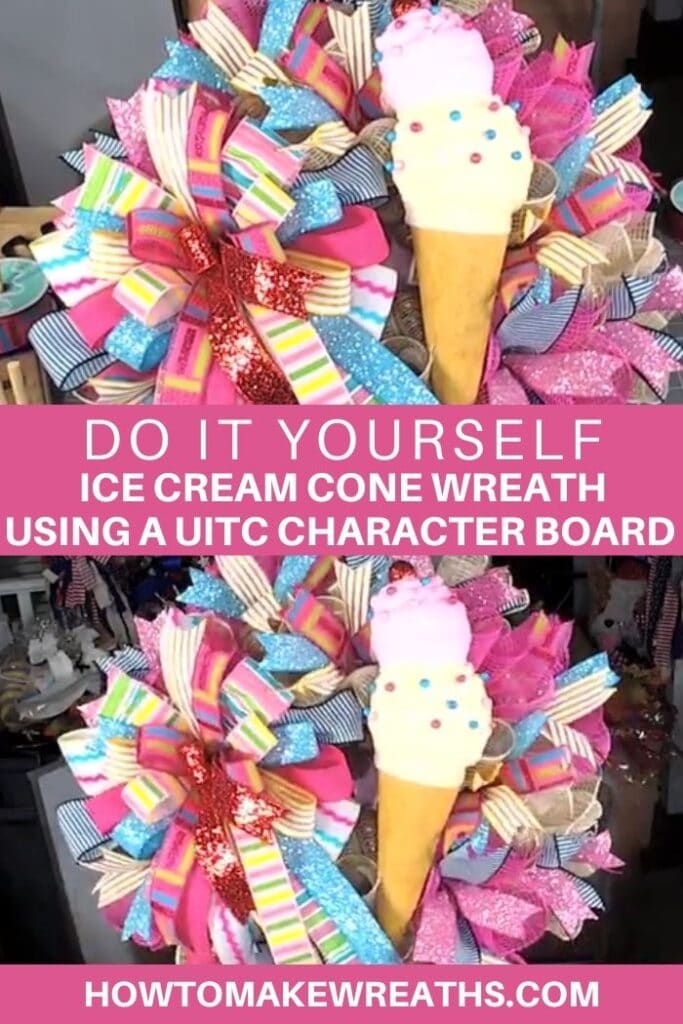
Ice Cream Cone Wreath
If you love ice cream (and who doesn’t?), then you’re going to love this next wreath creation! This ice cream cone wreath is made using an UITC board and it’s the perfect way to show your love for this summer treat. Plus, it’s a great way to add some fun decor to your home.
I’ve shown you how to use this same board to make other simple and easy wreaths. Like the Simple Flower Mesh Valentine’s wreath. While using this same board and leftover material I was able to make a fun wreath for summertime. Although I was supposed to be cleaning for the arrival of guests I thought this would be much more fun. I mean look at it, wasn’t this a better choice than cleaning?!
Supplies
- Pink vinyl sticker
- UITC Board
- Ice Cream Cone Attachment #62669PKCM
- Pipe Cleaners
- Mesh
- Scissors
- Ribbon for bow
- EZ Bow Maker
- Ribbon Tail Board
How to Make An Ice Cream Cone Wreath Using A UITC Character Board
- Place pink vinyl stickers in the middle of your UITC Character board before starting.
- Insert pipe cleaners in every other hole along the inside ring. Then twist. That gives you 8 total
- Now repeat the same process but in the outer holes.
- Take your mesh and fold it down, bring in the outside edges and bring it into the middle and hold tight.
- Alternating holes make mesh poofs with the burlap mesh at 10 inches. Repeat on every other pipe cleaner on the inside ring.
- Cut your pink and stripe mesh into 4 pieces at 20 inches and 4 pieces at 30 inches.
- Take each individual mesh pieces you just cut of your 30-inch pieces and make a ruffle. Fold in your end pieces, then crinkle in till you meet in the middle.
- Place each ruffle into the outer pipe cleaners you already placed.
- Alternate your ruffles with your pink and beige striped mesh pieces
- Now with your 20 inches pieces of mesh, you cut and add to the inside of your board between your poofs. Alternate your colors.
- Make your bow to make your ice cream cone. Start making your bow by using your 2.5 inches of black and white striped ribbon. Measure out a 12-inch tail. Make a 7 inches loop. Pull down the tail.
- Repeat the same steps with the next ribbon choice.
- With your 3rd ribbon color, you are repeating the same steps. Two loops and two tails opposite
- Now with your 4th color ribbon make your loops and we don’t want these tails the same length. Make them shorter.
- Throw in some blue ribbon with a bit of sparkle. Measure the loops the same as all the others.
- Bring in some yellow with a yellow and white striped ribbon. Making only two loops and two tails.
- Bring in two more colors and finish with a red ribbon to top off your bow. Secure your bow with a red pipe cleaner.
- Fluff your ribbon loops and make your bow presentable.
- Using the pipe cleaner stems attach your bow to your wreath.
- Using either floral pins or pipe cleaners attach your ice cream cone wreath attachment opposite where you placed your bow.
- Dovetail your ribbon tails.
- Use 5 of the ribbons you used in your bow. Cut into 13 inches each. Dovetail the ends on both sides.
- Add in your ribbon tails starting around the outside.
- Gather three tails on top of each other and pinch in the middle. Then Place in a pipe cleaner that is securing your mesh.
- Use your last two ribbons, layer them and add them to the outside of the wreath.
- Attach a hanger to your board.
FAQs
Can You Spray Paint Your Board?
When it comes to crafting, there are so many different ways to get creative. One of the ways you could use to cover up the beige color of your UTIC board is by spray painting. So, if you are asking can you spray paint your UTIC board? The answer is yes
Can You use Floral Pins To Attach A Foam Wreath Attachment?
If you’re a crafter, then you know that the fun of crafting is finding new and innovative ways to attach your wreath attachments to your wreaths. Instead of using pipe cleaners, you can of course use floral pins to attach a foam wreath attachment to your wreath.
Follow these simple steps and you will have a beautiful ice cream cone wreath to hang on your door or in your home this summer. Be sure to share a picture of your creation with us on social media so that we can admire it!
If you need any help with centerpiece-making, bow-making, wreath-making, or crafting in general, be sure to check out more of our tutorials on How to Make Wreaths.
We would love to see your beautiful summer wreaths! Please share with us over at the How To Make Wreaths Facebook Group.


Ice Cream Cone Wreath
Materials
- UITC Ring Wreath Board
- Ice Cream Cone Attachment
- pipe cleaners
- 10" deco mesh
- 5 2.5" wired ribbon
- scissors
- EZ Bow Maker
- ribbon tail board
Instructions
- Place pink vinyl stickers in the middle of your UITC Character board before starting. Insert pipe cleaners in every other hole along the inside ring. Then twist. That gives you 8 total. Now repeat the same process but in the outer holes.
- Take your mesh and fold it down, bring in the outside edges and bring it into the middle and hold tight. Alternating holes make mesh poofs with the burlap mesh at 10 inches. Repeat on every other pipe cleaner on the inside ring.
- Cut your pink and stripe mesh into 4 pieces at 20 inches and 4 pieces at 30 inches. Take each individual mesh pieces you just cut of your 30-inch pieces and make a ruffle. Fold in your end pieces, then crinkle in till you meet in the middle.
- Place each ruffle into the outer pipe cleaners you already placed. Alternate your ruffles with your pink and beige striped mesh pieces. Now with your 20 inches pieces of mesh, you cut and add to the inside of your board between your poofs. Alternate your colors.
- Make your bow to make your ice cream cone. Start making your bow by using your 2.5 inches of black and white striped ribbon. Measure out a 12-inch tail. Make a 7 inches loop. Pull down the tail. Repeat the same steps with the next ribbon choice. With your 3rd ribbon color, you are repeating the same steps. Two loops and two tails opposite. Now with your 4th color ribbon make your loops and we don't want these tails the same length. Make them shorter.
- Throw in some blue ribbon with a bit of sparkle. Measure the loops the same as all the others. Bring in some yellow with a yellow and white striped ribbon. Making only two loops and two tails. Bring in two more colors and finish with a red ribbon to top off your bow. Secure your bow with a red pipe cleaner.
- Throw in some blue ribbon with a bit of sparkle. Measure the loops the same as all the others. Bring in some yellow with a yellow and white striped ribbon. Making only two loops and two tails. Bring in two more colors and finish with a red ribbon to top off your bow. Secure your bow with a red pipe cleaner.
- Fluff your ribbon loops and make your bow presentable. Using the pipe cleaner stems attach your bow to your wreath. Using either floral pins or pipe cleaners attach your ice cream cone wreath attachment opposite where you placed your bow. Dovetail your ribbon tails.
- Use 5 of the ribbons you used in your bow. Cut into 13 inches each. Dovetail the ends on both sides. Add in your ribbon tails starting around the outside. Gather three tails on top of each other and pinch in the middle. Then Place in a pipe cleaner that is securing your mesh.
- Use your last two ribbons, layer them and add them to the outside of the wreath. Attach a hanger to your board.
Video
Just pin this Ice Cream Cone Wreath tutorial to save the instructions for later!
If you’re a dog lover or know someone who is, check out our Support Dog Rescue t-shirts and click on the picture below!


