
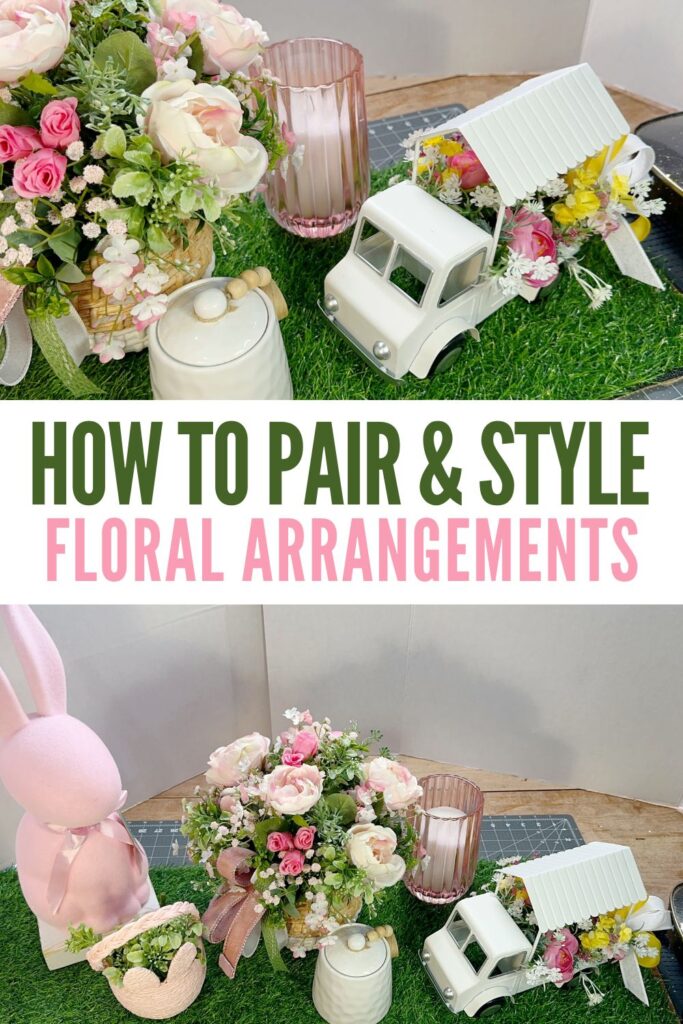
Coach Melissa recently created a beautiful Spring floral arrangement in The Makers University Design School. We got quite a few questions after about pairing the arrangement and styling with elements to create a cute Easter or Spring display.
If you are a wreath maker or a creative business owner, this skill is gold. It helps you use what you already have, mix leftovers in smart ways, and create pieces that look intentional instead of thrown together. This keeps your costs down and your profit margins healthy.
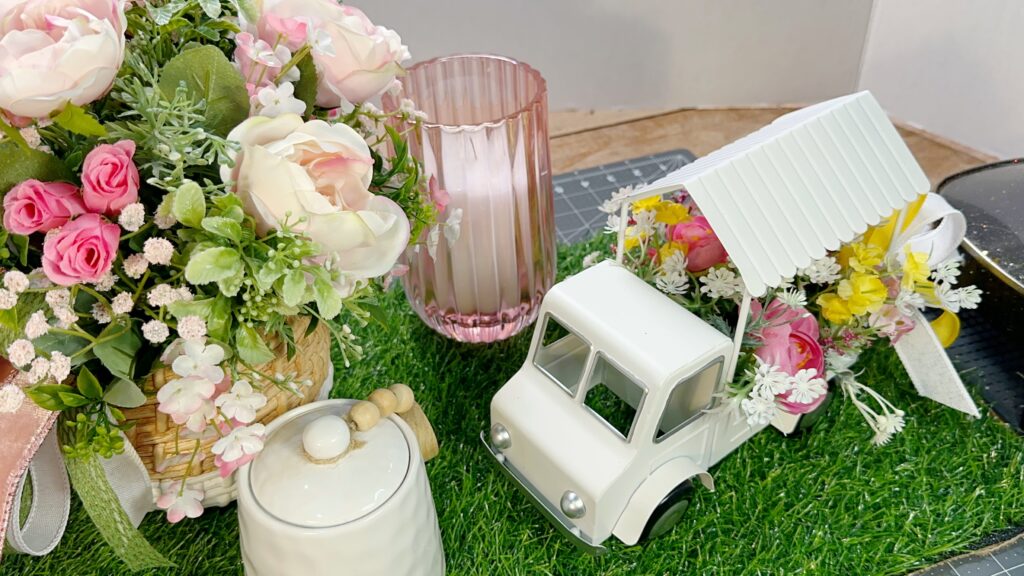
Start With a Base That Sets the Season
Melissa begins with a simple floral arrangement as the base. You can use anything you have on hand. The goal is to choose a starting point that already says spring. Good options include:
- Soft pastels
- Bright greenery
- Early spring flowers like tulips and daffodils
- A neutral container you can dress up
Your base should do some of the work for you. You are just building on top of it.
Add Supporting Stems for Shape and Movement
Once the base is selected, Melissa shows how to pull in supporting florals. These can be simple greenery or filler flowers that help create height, width, and direction.
Supporting stems help you define the overall shape before you add any themed Easter accents. Think of them as the frame of your design. If you skip this step, your arrangement can feel flat or unbalanced.
Good choices include:
- Wispy greenery
- Berry sprays
- Branches for height
- Light filler flowers
These are inexpensive and easy to keep stocked, especially if you sell spring pieces during the season.
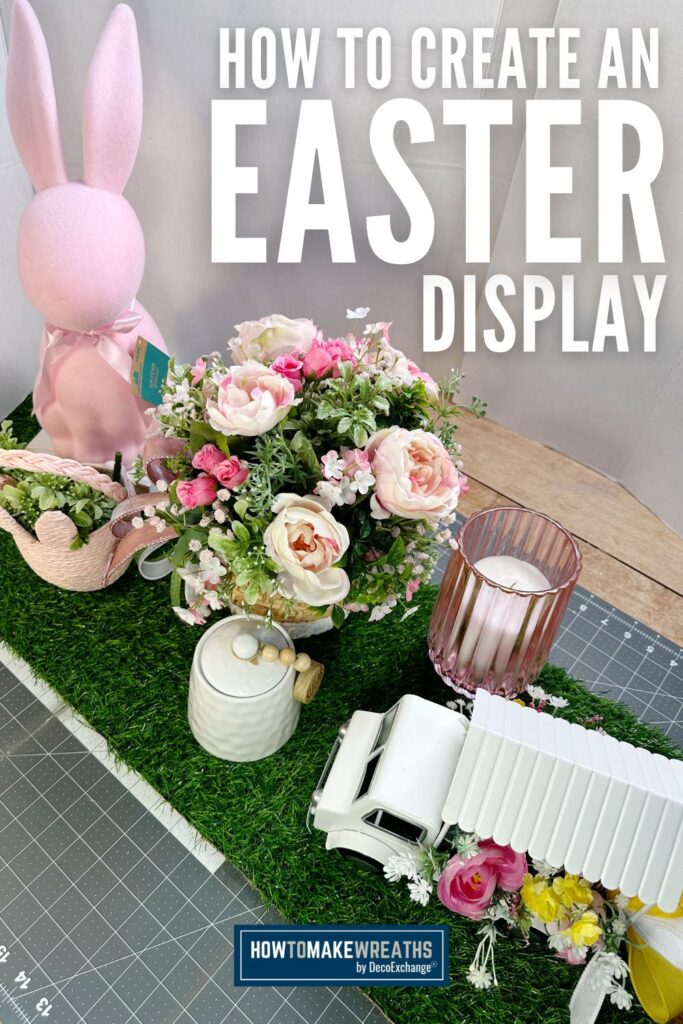
Layer in Easter Accents
This is where Melissa shifts the design from everyday spring to Easter. You do not need a lot of themed pieces. A few well placed accents can transform the whole arrangement.
She uses:
- Easter egg picks
- Bunny accents
- Pastel sprays
- Ribbon in spring colors
- Carrot picks or novelty items
The key is focusing on placement. Let the accents support the design instead of taking over. When you add them with intention, you can swap the accents out later and reuse the floral base for Mother’s Day, summer, or general home decor.
Watch for Color Repetition
Melissa explains that color repetition is one of the easiest ways to make your arrangement feel finished. You want your eye to follow a gentle path across the piece.
Here is what to look for:
- Repeat one or two colors from the main arrangement in your accents.
- Add darker tones if the design looks washed out.
- Use greenery to soften bold pieces.
Color repetition is what helps your design feel cohesive and sellable.
Texture Brings Everything Together
Spring arrangements look best when they have a mix of textures. If your base is smooth or simple, add something with a bit more interest. If your base is busy, choose lighter fillers to balance it out.
Melissa shows how texture works by combining:
- Smooth pastel stems
- Glittered Easter accents
- Soft greenery
- Ribbon with a slight pattern
Texture creates depth, which helps your design look professional whether you are creating for your home or gearing up for a craft show.
Know When to Stop Adding
This is the part makers struggle with the most. Melissa demonstrates how to check your design as you go so you avoid overcrowding.
Your arrangement is complete when it has:
- A clear focal point
- Balanced height and width
- Repeated colors
- Breathing space between elements
If you keep adding pieces after this point, your design starts to feel cluttered instead of intentional.
If you LOVED this!
This tutorial is a helpful reminder that you do not always need to start from scratch. When you learn how to pair floral arrangements and elements, you can stretch your supplies, save money, and create designs that work for both Spring and Easter.
If you love tutorials like this and you want to improve your skills, join us inside The Makers University Creative Coaching Program. You will get step by step training, live coaching, and a community of makers who support your success.

