
Having trouble assembling your EZ Bow Maker? Watch the short video below, or follow the written steps to get it set up in minutes.
If you’ve followed along with us for any time, you know how often I reach for the EZ Bow Maker. It’s one of my go-to tools for making bows like a Terri Bow or other decorative bows.
We’ve been hearing from customers that the pegs keep falling out on newer units, and that the original instructions weren’t in English. So we ordered a fresh unit from the latest batch and put it together ourselves to see what was going on. (Good news: the included booklet is fully in English.)
Video Tutorial: EZ Bow Maker Assembly
The video below will show you how we assembled this bow maker. In the box, there’s a pamphlet that has instructions in other languages, but the actual booklet is 100% in English.
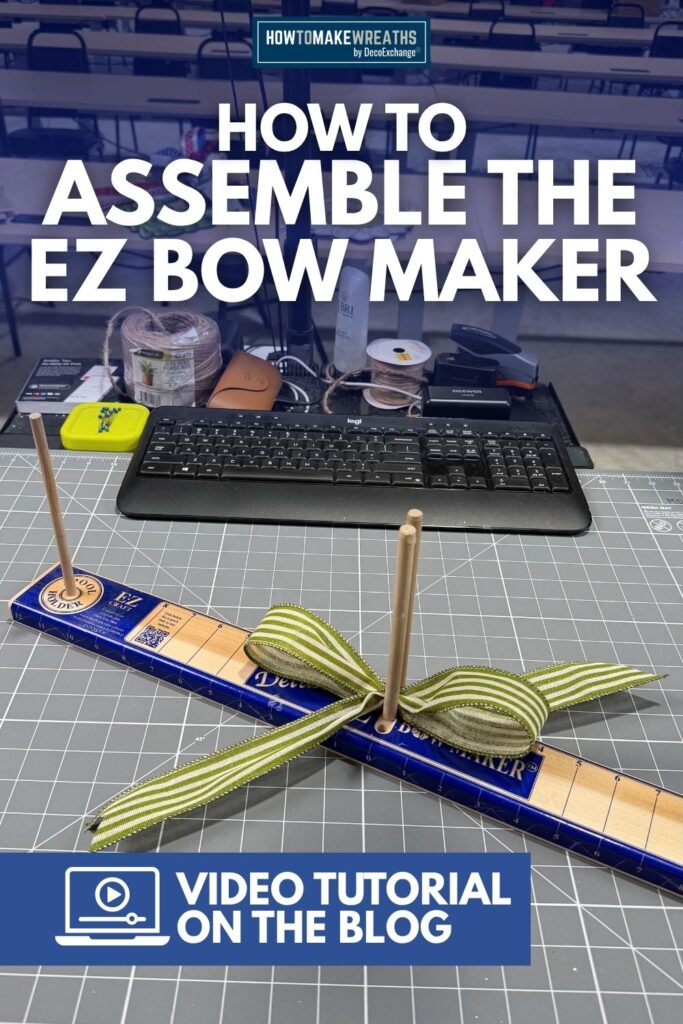
How To Assemble The EZ Bow Maker
Just in case you prefer to follow written instructions, here’s how to put your EZ Bow Maker together.
Tip: You can also print out the handy instructions card at the bottom of this post!
What’s in the box: 1 base, 3 tall pegs, 1 short peg
Step 1
Go ahead and grab a hammer before you start because you’ll need it to assemble your bow maker.
Remove the contents from your box. You should find a base and 4 pegs (3 tall ones and 1 short one).
Step 2
Once you have everything laid out, put the base down in front of you. Then, take the short peg and your hammer and tap the short peg into the front small hole until it’s all the way in.
Step 3
Next, use the hammer to tap the two taller pegs into the holes above the short peg until they are each fully inserted into the holes.
Step 4
For the spool holder, you’ll take the last tall peg and use the hammer to tap the peg in to the hole on the left end of the base.
Note: Now remember, the holes are smaller than the pegs. The maker is designed to create a tight fit to keep the bows you make in place. Once the EZ Bow Maker is completely assembled, the pegs are not to be removed.
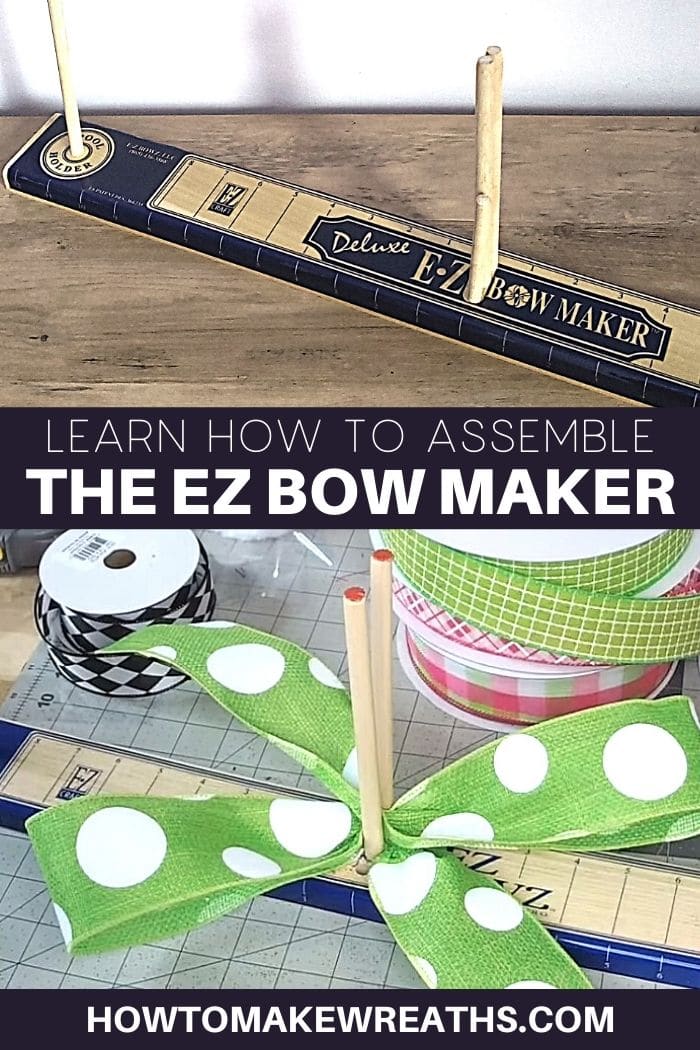
Now, Use Your EZ Bow Maker for Your Crafts!
I hope this tutorial was helpful for you! Once you get your new EZ Bow Maker put together, you can use it to create all different types of bows to decorate your wreaths or home. It’s one of my favorite wreath-making tools because it just makes creating bows SO easy.
If you found this post helpful, be sure to also check out:
- Bow Maker Tools- The Great Bow Debate
- How To Make Bows: 6 Bow-Making Tutorials You Need
- Favorite Wreath Making Tools
- Must-Have Tools to Cut Artificial Flower Stems
- Where To Buy the Best Ribbon For Wreaths
If you need any help with centerpiece-making, bow-making, wreath-making, or crafting in general, be sure to check out more of our tutorials on How to Make Wreaths.
If you’re interested in more info on learning how to make wreaths or being in a community of like-minded crafters, check out our The Makers University Design School.

How to Assemble the EZ Bow Maker
Materials
- EZ Bow Maker
- hammer
Instructions
- Remove the contents from your box. You should find a base and 4 pegs.
- Set the base down in front of you. Then use your hammer to tap the short peg into the front small hole until it’s all the way in.
- Next, repeat the process to tap the two taller pegs into the holes above the short peg until each is fully inserted.
- Now is time to insert the spool holder. You’ll take the last tall peg and use the hammer to tap the peg into the final hole down on the end.
Notes


How must is the ez bow maker
Hi Ksy,
You can find them on DecoExchange for $14.99 at this time.
how long is the short peg i have the 3 long ones need a short one
Everything you need to put the EZ Bow Maker together is in the package.
I only have two large pegs and one small. Incomplete package
Hi Pam, you can contact [email protected] for any customer service related questions. Thanks!
You can contact our customer service with regards to your order. Just email [email protected] Thanks!
i have same one short two same size but one is skinner
IM SOOOO GLAD U DID THIS VIDEO because I CAN NEVER GET ONE OF MY PEGS TO STAY IN!! Tks
What is the short peg used for?
Short pegs are for smaller bows.