
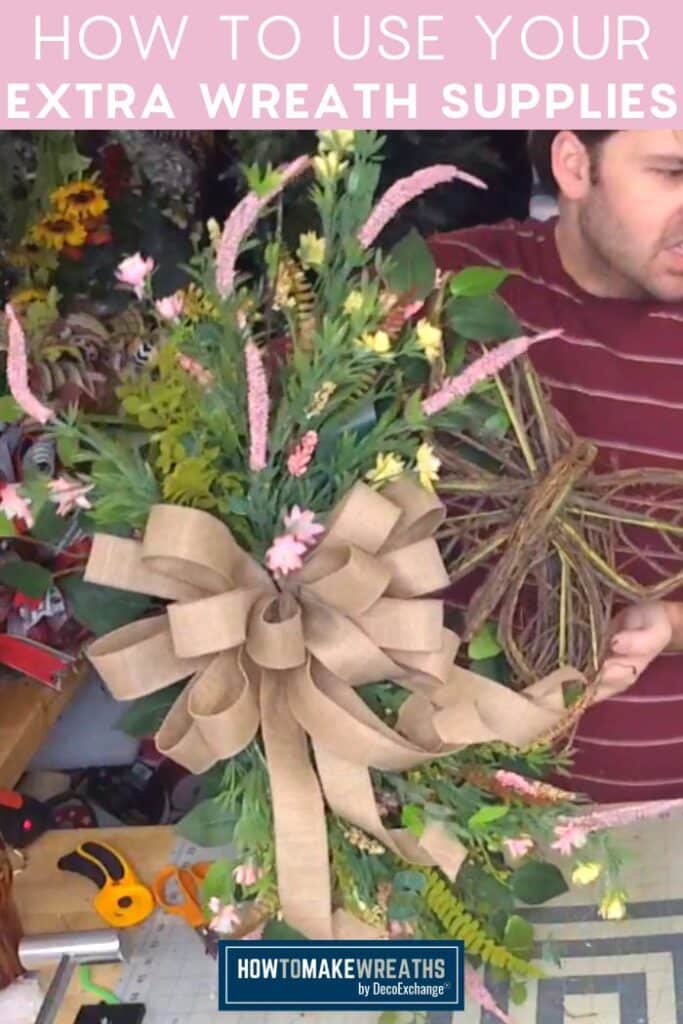
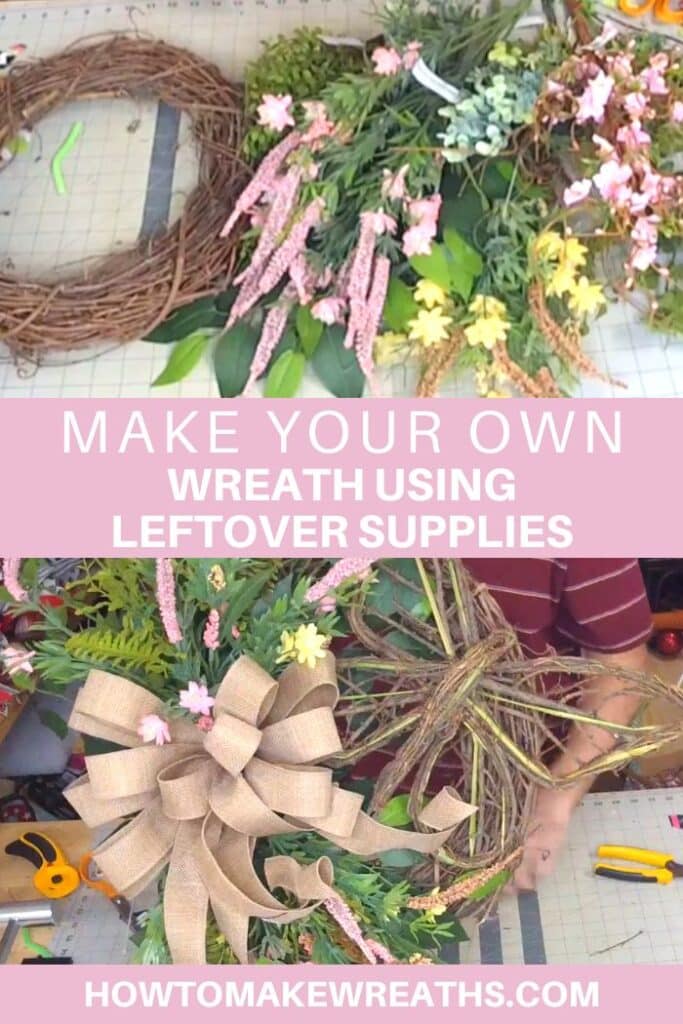
Have an abundance of wreath-making supplies lying around that you’re not sure what to do with? No problem! Learn how to turn those extra supplies for making wreaths into a beautiful wreath display with no shopping required!
Hey, y’all! Ok, let’s get real for a minute. I know many of you crafters were freaking out when the craft stores were closed for a bit. That got us thinking: how can we still do what we love doing when we can’t (or can’t afford to) go to the craft store?
Even now, with continued supply chain issues that just won’t ease up and inflation sky high, how can you take the scrap wreath-making supplies you have and turn them into something beautiful?
If we’re really honest with ourselves, most of us are craft supply hoarders with a perfectly good stash at home! No, you may not have the exact color ribbon you wanted, or the greenery may not be quite as feathery as you envisioned.
But, I’m willing to bet that you have enough supplies for wreaths at home that you can come up with something CLOSE and equally as beautiful.
And, if you need some inspiration for simple designs, check out our Sunflower Oval Grapevine, Simple Grapevine Lavender Wreath, and Spring Grapevine Wreath designs!
What To Do With Extra Wreath-Making Supplies
If you want to do some crafting but are lamenting the supply chain being cut (pun intended!) or budget issues, listen up. I guarantee you that you can walk around your house right now and find plenty of extra wreath-making supplies that you can use!
I’m going to show you exactly how to do so.
Needed Supplies For Wreaths
Here’s what I recommend gathering together:
- Grapevine wreath
- Sign/attachment
- Ficus stem
- Floral picks
- Greenery stems
- Bolt cutter
- Hot glue gun
- (1) 2.5″ wired ribbon
- EZ Bow Maker
- Pipe cleaners
- Floral Wire
Video Tutorial
This wreath project is a bit more freestyle than normal. You may not have a wreath turn out exactly like mine because your extra wreath-making supplies are likely different from mine.
However, this video should give you some good ideas about what to do and help you think outside of the box a bit. Grab a cup of your favorite drink and follow along with me!
Check out the video tutorial at the end of this post!
Process To Make A Beautiful Wreath With Your Extra Supplies For Wreaths
Here’s the process for making this wreath. Remember, you can take this basic process and create your own unique design by using your own colors and embellishments!
Step 1
Using the stem cutter or bolt cutters, trim the greenery off the main stems. Add them to the grapevine wreath and secure them using the hot glue gun.
Step 2
Next, trim your florals off the main stems. Insert them into the grapevine wreath base and secure them using the hot glue gun. Layer the different floral stems to create a natural look.
Step 3
Get your EZ Bow Maker and ribbon to make a simple bow.
With your 2.5″ ribbon, measure a(1) 12″ tail and (3) 6″ loops on each side.
Make another layer with 2 loops slightly smaller, and then one more layer with 1 loop slightly smaller.
Make a center loop with two tails and add it to the bow.
Take a long pipe cleaner (or twist 2 pipe cleaners together) and then wrap it around the center of the bow. Twist nice and tight.
Step 4
Add the bow in the center of the greenery and florals. Fluff out bow and trim ends at an angle. Curl tails for a nice finished look.
Step 5
Secure the bow by adding a little bit of glue behind the bow. This is optional, but it might be helpful.
Step 6
If you have any bare-looking areas, trim and add some additional greenery stems to add texture and fullness to the wreath design.
Step 7
Add the butterfly attachment using floral wire to secure the top of the butterfly to the grapevine base. Secure using the hot glue gun. Trim floral wire and tuck any excess back into the grapevine base.
Step 8
Fluff out the mix of greenery and florals to make your wreath look nice and full. You’re done!
Use Extra Supplies For Wreaths As A Creative Challenge
As you can see, by following basic wreath-making principles, you can turn your leftover supplies into a beautiful masterpiece.
Trust me, I know how easy it can be to just run to the store to grab whatever you want in order to make the “perfect” wreath design. But sometimes you just can’t do that for whatever reason.
I love doing creative exercises like this once in a while because they force me to get out of any rut that I might be in and try new techniques. And, we all need a little push once in a while, right?
Go ahead and give yourself a little push in the form of a challenge: make a beautiful design using only your extra supplies to make wreaths!
Before you go, check out these other wreath designs:
- DIY Fall Grapevine Blue Truck Wreath
- How To Make A Simple Fall Grapevine Wreath
- Winter Grapevine Snowflake Wreath
- Winter Silver Grapevine Wreath Kit Tutorial
If you need any help with centerpiece-making, bow-making, wreath-making, or crafting in general, be sure to check out more of our tutorials on How to Make Wreaths.
We would love to see your beautiful summer wreaths! Please share with us over at the How To Make Wreaths Facebook Group.

Just pin what to do with extra wreath making supplies to save these tips for next time!
What To Do With Extra Wreath Making Supplies
Materials
Instructions
- Using the stem cutter or bolt cutters, trim and fluff the ficus stems. Secure using the hot glue gun.
- Trim and add floral stems. Secure using the hot glue gun. Layer the different floral stems.
- Get your EZ Bow Maker and ribbon.
- With your 2.5" ribbon, measure a 12" tail and a (3) 6" loop on each side. Then do 2 loops slightly smaller, and then 1 loop slightly smaller. Cut tail.
- Make a center loop and add to the bow. Cut a ribbon tail and add to the back of the bow.
- Twist 2 pipe cleaners and then wrap around the center of the bow. Twist nice and tight.
- Add bow in the center of the greenery and florals. Fluff out bow and trim ends at an angle. Curl tails.
- Secure bow by adding a little bit of glue behind the bow.
- Trim and add some greenery stems to add texture to the wreath.
- Add the butterfly attachment. Secure using the hot glue gun. Use floral wire to secure the top of the butterfly to the grapevine base. Trim floral wire and tuck the excess back into the grapevine base.
- Fluff out the mix of greenery and florals for a fuller look.
Video
Notes
If you love to craft, check out our Eat. Sleep. Craft. Repeat. t-shirts and click on the picture below!


