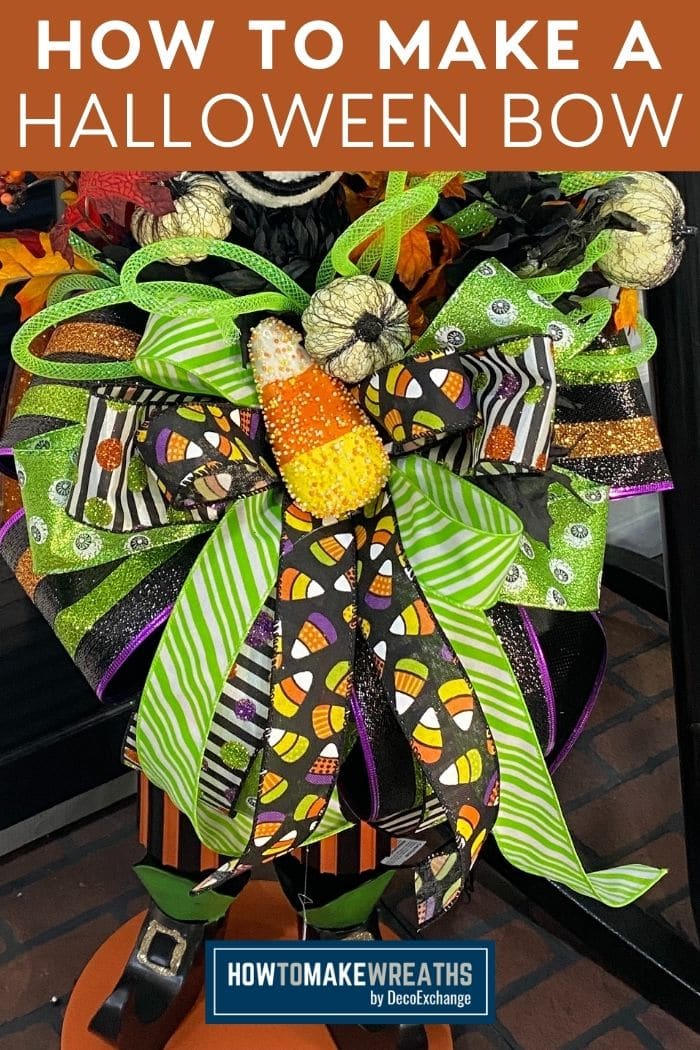
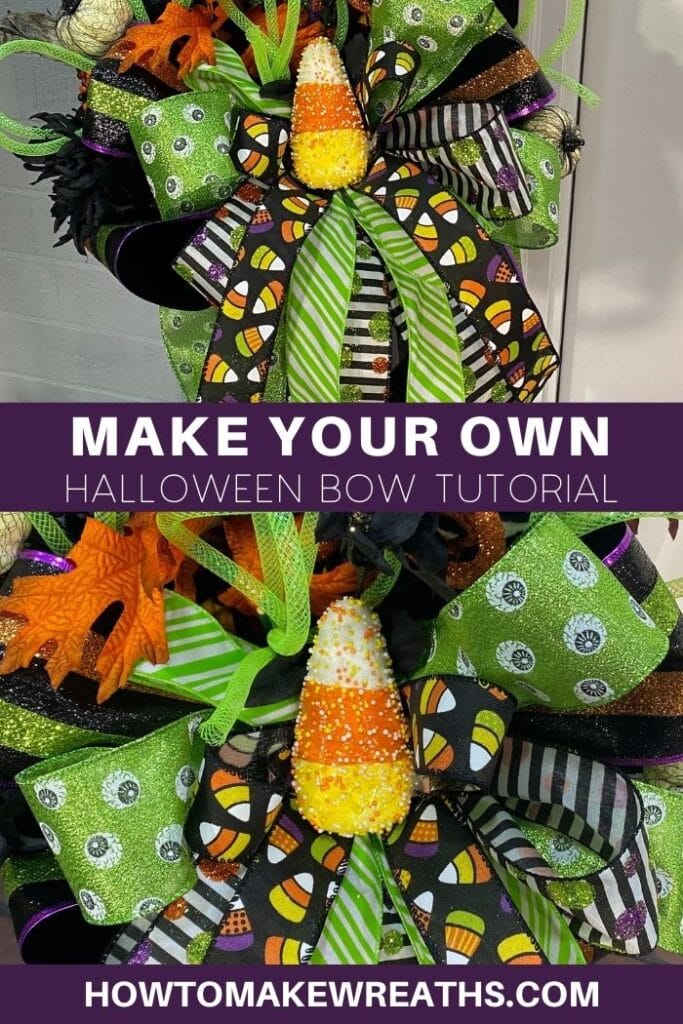
In this bow tutorial, you will learn how to create a fun Halloween bow with our EZ Bow Maker. There’s no need for stress. Just follow our step-by-step instructions and watch the video!
Ya’ll know bow making is something that takes time and practice. It also takes someone teaching you exactly how to make those loops and tails the correct way and length. That is why today I am teaching you how to not get confused as you learn how to make a Halloween bow.
This bow recipe is super easy once you get the hang of it and using the EZ bow maker is really your key to making a successful bow. As you follow along and learn the techniques to bow making you will be able to add bows to any wreath or centerpiece for all occasions!

How to Make a Halloween Bow
Once you learn how to make some fun Halloween bows you can start creating lots of fun Halloween decorations for all those parties and events you signed up to help out at! You can even “WOW” your guest with these fun multi ribbon Halloween bows attached to some cute Halloween Centerpieces. Once you learn this technique you will be making bows for days and adding them to any wreath, centerpieces, garlands, and anything else you can find to add a bow too!
Supplies to make a Halloween Bow
- 1- 4″ wired ribbon, Halloween-themed
- 2- 2.5″ wired ribbon decorative Halloween-themed
- 2- 1.5” wired ribbon spring green ribbon, candy corn ribbon
- EZ Bow Maker
- Pipe cleaners
Make Your Own Halloween Bow with this tutorial
Step #1: This first layer of bow will have 3 loops. We’re going to measure out a 12 inch tail pointing down out of our Halloween colored ribbon. Pinch and twist it in the center. Slide it into the EZ Bow Maker. We want our pretty side up, ugly side down. We’re going to measure our loop out to 6.5 inches. Bringing it back through, twist it. We want a tail and a loop facing the same direction. That way we have our tail and our loop both pointing towards us. So we’re just making an X every time. Our first layer of loops will have two loops on one side and 1 loop on the other.
Step #2: For this next layer of 2.5” wired ribbon, we will have the exact opposite set up, with an ending product of 2 loops on the other side and 1 loop on the other. You will use another ribbon entirely. I chose a fun bright green ribbon with eyeballs.
Step #3: For this layer of ribbon, we will have one loop on both sides, with your tails still facing downward. I am using a 2.5” wired black and white striped ribbon, using my same technique of slide, pinch, and twist in the center of my EZ Bow Maker.
Step #4: Repeat steps to make your next layer of your bow with a 1.5” wired spring green ribbon. In this layer there will just be 1 loop on each side, and long tails.
Step #5: To finish up, I will create a 2 loop per side layer of bow from a 1.5” candy corn wired ribbon. Cut from spool, leaving your tails nice and long.
Step #6: Get 2 pipe cleaners and twist it together to make a longer pipe cleaner, then fold in half. Wrap it around all the layers of ribbon with the center of the pipe cleaner at the top. Hold the layers tight and holding each side of the pipe cleaner as close to the bow, twist nice and tight, and you’ll see the loops and tail start to form the bow.
Create your Halloween bow today!
Go ahead and get started on your Halloween decor. This bow recipe will be the perfect bow to add to any centerpieces, wreaths, or garlands. When you make your bows in advance and several at a time you can really get a jump start on all the things you plan on making to sell or decorate with.
If you need any help with centerpiece-making, bow-making, wreath-making, or crafting in general, be sure to check out more of our tutorials on How to Make Wreaths.
We would love to see your beautiful summer wreaths! Please share with us over at the How To Make Wreaths Facebook Group.
Halloween Bow Tutorial
Materials
- 1 4" wired ribbon Halloween-themed
- 2 2.5" wired ribbon decorative Halloween-themed
- 2 1.5 wired ribbon spring green ribbon, candy corn ribbon
- EZ Bow Maker
- pipe cleaners
Instructions
- Step #1: This first layer of bow will have 3 loops. We’re going to measure out a 12 inch tail pointing down out of our Halloween colored ribbon. Pinch and twist it in the center. Slide it into the EZ Bow Maker. We want our pretty side up, ugly side down. We’re going to measure our loop out to 6.5 inches. Bringing it back through, twist it. We want a tail and a loop facing the same direction. That way we have our tail and our loop both pointing towards us. So we’re just making an X every time. Our first layer of loops will have two loops on one side and 1 loop on the other.
- Step #2: For this next layer of 2.5” wired ribbon, we will have the exact opposite set up, with an ending product of 2 loops on the other side and 1 loop on the other. You will use another ribbon entirely. I chose a fun bright green ribbon with eyeballs.
- Step #3: For this layer of ribbon, we will have one loop on both sides, with your tails still facing downward. I am using a 2.5” wired black and white striped ribbon, using my same technique of slide, pinch, and twist in the center of my EZ Bow Maker.
- Step #4: Repeat steps to make your next layer of your bow with a 1.5” wired spring green ribbon. In this layer there will just be 1 loop on each side, and long tails.
- Step #5: To finish up, I will create a 2 loop per side layer of bow from a 1.5” candy corn wired ribbon. Cut from spool, leaving your tails nice and long.
- Step #6: Get 2 pipe cleaners and twist it together to make a longer pipe cleaner, then fold in half. Wrap it around all the layers of ribbon with the center of the pipe cleaner at the top. Hold the layers tight and holding each side of the pipe cleaner as close to the bow, twist nice and tight, and you’ll see the loops and tail start to form the bow.
Video
Just pin this Halloween bow tutorial to save the instructions for later!

If you love to craft, check out our Eat. Sleep. Craft. Repeat. t-shirts and click on the picture below!


