Y’all, this is a crazy time we’re living in. But there is one thing I know for sure and that is that we’re all in this together! I’m showing y’all an easy way to spread some love and solidarity using supplies you probably already have on hand.
A wonderful soul in Houston started the trend of hanging red bows around their city as a way to show love and support during this time. We thought “Wait, we know bows!” so we are making some of our own to hang in our neighborhood and I’m going to show you how to make those bows perfect using the EZ Bow Maker.
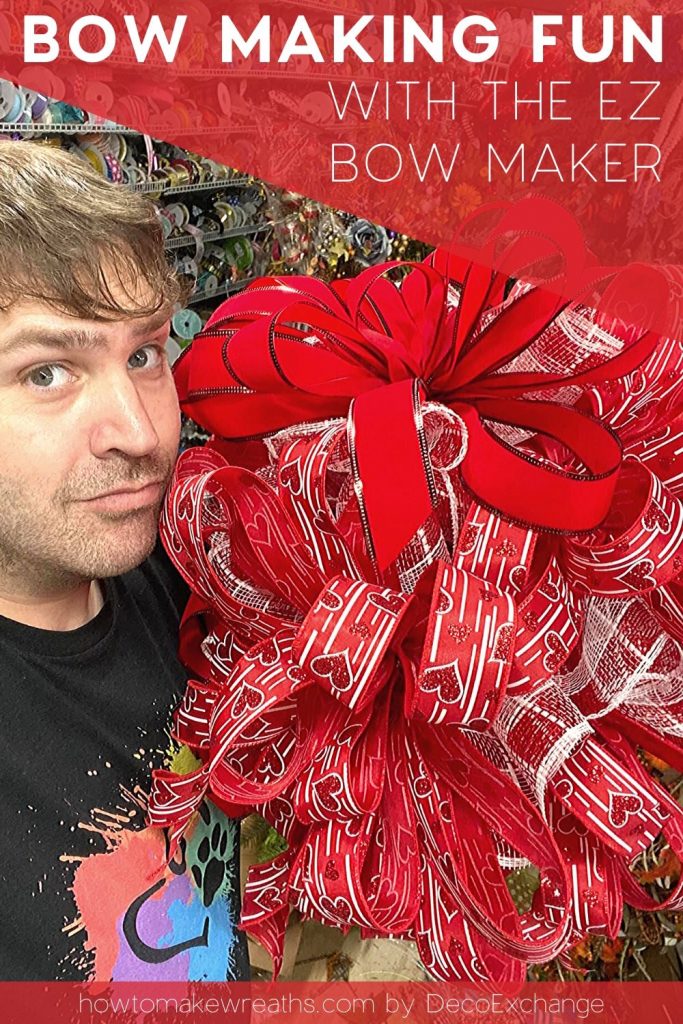
Bow Making Fun using the EZ Bow Maker
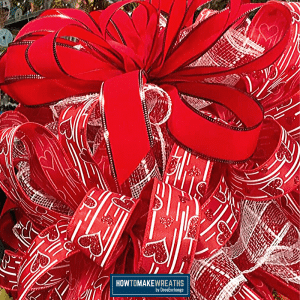
Y’all know that bows make me happy and this movement lets me spread some of that happiness to the people in my neighborhood! Right now it’s all about coming together and, with just some ribbon and pipe cleaners, we can spread some cheer. This video will show you how to make simple and beautiful bows using the EZ Bow Maker. I am sure y’all have a lot of ribbon lying around (I repurposed some of my Valentine’s Day and Christmas stash) and who doesn’t need a little bit of bow practice?! You can snag the bow maker or any of the supplies you saw in this video on Decoexchange.
Y’all will see that I use A LOT of 1.5 and 2.5 inch ribbon with some deco mesh for support to make my bows but 4 inch ribbon makes beautifully layered bows too so if that is what you have on hand, use it up! If you are looking for some help with using the 4 inch ribbon, you can check out our blog post where I show you how it’s done!

3-2-1 Bow Using the EZ Bow Maker
Materials
- 1 roll 10" deco mesh 10", 20", 25" cut
- EZ Bow Maker
- 1 2.5" wired ribbon
- 2 1.5 wired ribbon
- scissors
- pipe cleaner
Instructions
- Take out your deco mesh, EZ Bow Maker, and ribbon.
- Bow #1: With your 10" cut of deco mesh, curl ends and scrunch to the center. Add to EZ Bow Maker. This will be the base of your bow.
- Take your 1.5" ribbon and measure a 16" tail with (3) 7" loops on each side.
- Using the same ribbon, measure a 16" tail with (2) 6.5" loops on each side.
- Using the same ribbon, measure a 16" tail with (1) 6" loop on each side.
- Using the same ribbon, measure a 16" tail and add a center loop.
- Take 2 pipe cleaners and twist together to make a longer tie. Wrap tie around the center of the bow and twist nice and tight.
- Fluff out your bow. Cut tails at an angle and curl your tails.
- Bow #2: With your 25" cut of deco mesh, curl ends and scrunch to the center. Add to EZ Bow Maker. This will be the base of your bow.
- Repeat steps 3-8 using a 1.5" ribbon.
- Bow #3: With your 20" cut of deco mesh, curl ends and scrunch to the center. Add to EZ Bow Maker. This will be the base of your bow.
- Repeat steps 3-8 using a 2.5" ribbon.
Notes
Sharing these red bows with your neighbors is a chance to feel united in a time when taking care of each other means physically staying apart. It’s also a great way stay busy doing something with purpose and meaning. If you are finding yourself with more crafting time on your hands than you normally do, this could also be a great time to give your favorite wreaths a re-vamp. I put together a whole post on how to replace faded ribbons on your sun kissed wreaths!
There are a lot of things happening that are tough and scary right now but there are also some wonderful things! We are all in this together y’all! We WILL get through this and at the end; some of us will be even better bow makers, neighbors, and friends!
If you need any help with centerpiece-making, bow-making, wreath-making, or crafting in general, be sure to check out more of our tutorials on How to Make Wreaths.
We would love to see your beautiful summer wreaths! Please share with us over at the How To Make Wreaths Facebook Group.

We Think You’ll Enjoy These Related Posts: