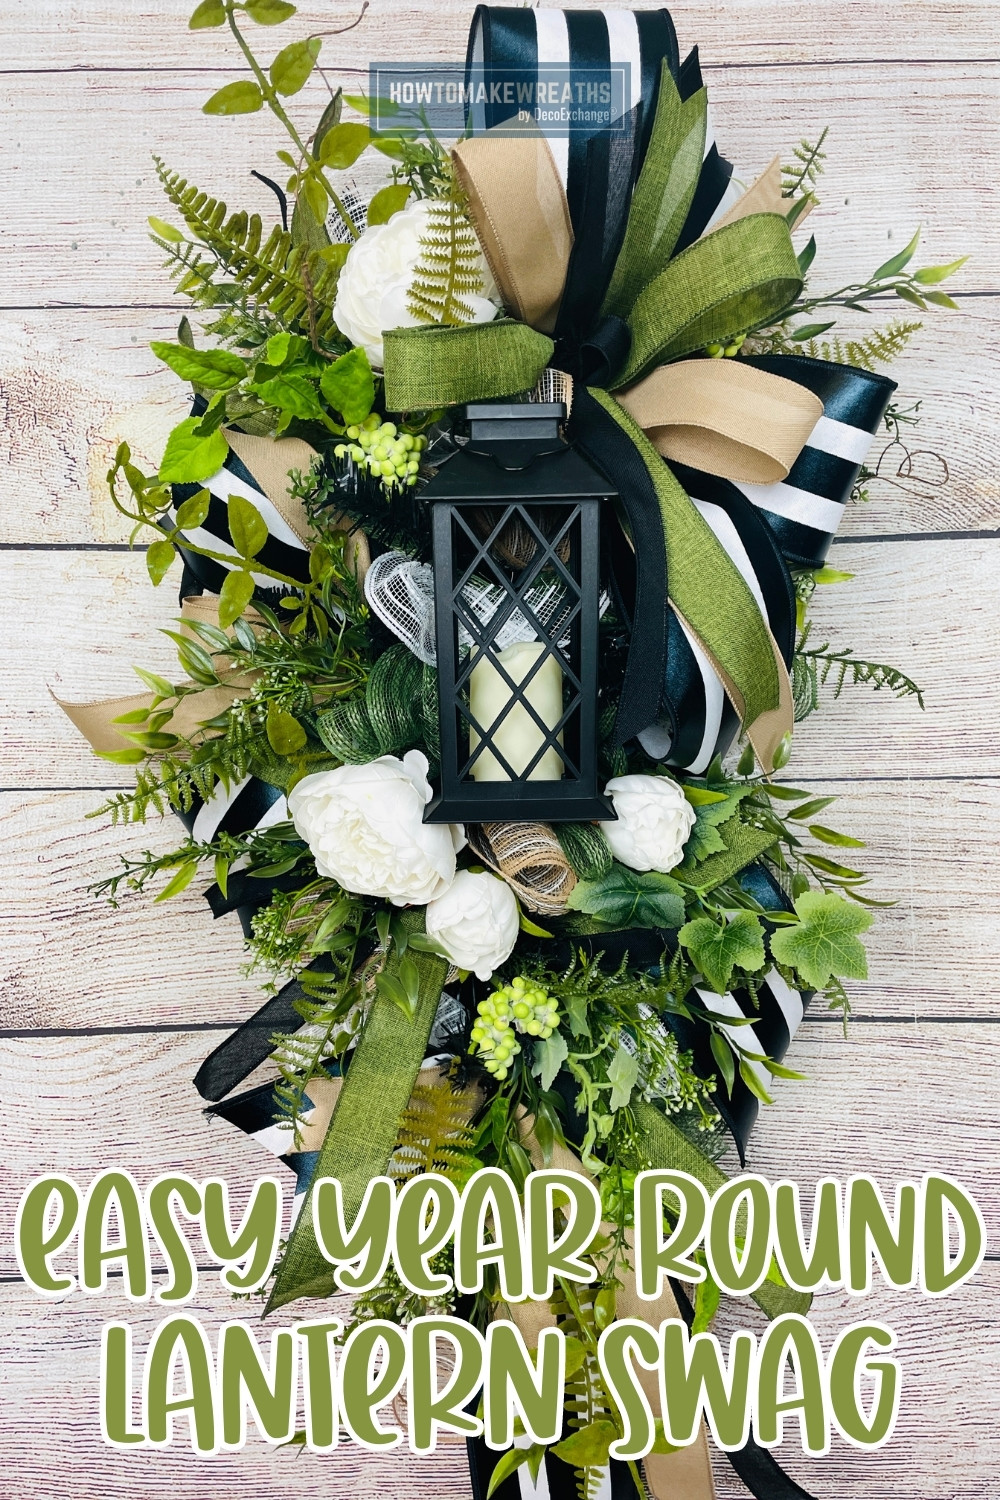
We are going to be working on an easy peasy lush lantern swag. Hopefully this is going to inspire y’all to stretch your floral design muscles and try out swag making.
In this piece we’re using a 28-inch swag you can use any size you want though. Since it’ll be hung outside it’s very important for you to buy a lantern that’s meant to be outdoors.
What is a Lantern Swag?
A lantern swag is a decorative accent that can be added to a lantern to to give it a makeover.
It typically consists of elements such as faux flowers, ribbons, decorative berries, and other ornaments, arranged in a flowing or draping fashion. The swag is usually attached at the top or handle of the lantern and falls down one or both sides, giving the lantern an elegant, festive, or seasonal look.
Lantern swags are popular for events like weddings or holidays like Christmas, but they can also be used to add a touch of charm to everyday home décor.
As you can see from the photos below, lantern swags can be accents or part of the full design. It just all depends on the look you’re going for.


Supplies
- 20″ swag base
- 3 different types 20″ mesh
- 1 Mixed greenery sprays
- 1 Mixed berry/fern spray
- 1 Hydrangea bush
- Zip Ties
- 4” Farisilk black and white stripe ribbon
- 1.5″ Burlap wired ribbon
- 1.5″ Moss green wired ribbon
- 7/8″ black wired ribbon
- 1 White Peony bush
How to Make a Year Round Lush Lantern Swag
Prep the Base
Fluff out the pine tines on the swag base, so they are all separated out. This makes it easier to use them as ties when added mesh.
Cut 4 x 22″ inch strips from each of your mesh.
Cruffle two of the mesh strips (curling the ends and gathering at the middle) separately and add both to the swag base starting at the crown. Use the pine tine to twist in place.
Continue adding your cruffled mesh down the swag.
Incorporate the mesh ends together to cover bare spots.
Zip tie your lantern above the middle point of the swag nearer the thickest point. Snip any excess zip tie tails.
Create a Bow
Starting with the 4″ ribbon, create an 8″ tail and accordion pinch it. Twist to make a loop, pinch and twist. Make another loop on the opposite side.
Next layer on the 1.5″ burlap wired ribbon making slightly smaller loops on each side.
Next layer is the 1.5″ moss green wired ribbon, again making smaller loops.
Finally add the 7/8″ ribbon to make a center loop.
Use a pipe cleaner or zip tie to secure layers together.
Cut only the 7/8″ ribbon from the spool. Leave the other tails attached to spools so you can create cascading tails down the design. Use pine tines to secure the cascade downward.
Attach to the swag based using a pipe cleaner or zip tie.
Give the loose tails a dovetail cut.
Create a 2 smaller single loop bows using the 4″ striped and 1.5″ burlap ribbon and attach to swag base using the pine tine.
Next, using the 2.5″ moss green ribbon and 7/8″ black ribbon, create ribbon tails on the lower half of your design.
Trim any pine tines that are sticking out too much from the design.
Add Greenery and Florals
Trim individual stems of the greenery bush and bend the stems in a u shape so it catches more glue.
Add greenery stems around the entire design.
Repeat the process with the berry/fern spray.
Add peony blooms of different sizes around the lantern.
Give your design a final fluff.

Simple Everyday Large Lantern Swag
Materials
- 20" swag base
- 3 20" mesh different color
- 1 Mixed greenery sprays
- 1 Mixed berry/fern spray
- 1 Hydrangea bush
- Zip Ties
- 1 4” Farisilk black and white stripe ribbon
- 1 1.5" Burlap wired ribbon
- 1 1.5" Moss green wired ribbon
- 1 7/8" black wired ribbon
- 1 White Peony bush
Instructions
- Fluff out the pine tines on the swag base, so they are all separated out. This makes it easier to use them as ties when added mesh.
- Cut 4 x 22″ inch strips from each of your mesh.
- Cruffle two of the mesh strips (curling the ends and gathering at the middle) separately and add both to the swag base starting at the crown. Use the pine tine to twist in place.
- Continue adding your cruffled mesh down the swag.
- Incorporate the mesh ends together to cover bare spots.
- Zip tie your lantern above the middle point of the swag nearer the thickest point. Snip any excess zip tie tails.
Create a Bow
- Starting with the 4″ ribbon, create an 8″ tail and accordion pinch it. Twist to make a loop, pinch and twist. Make another loop on the opposite side.
- Next layer on the 1.5″ burlap wired ribbon making slightly smaller loops on each side.
- Next layer is the 1.5″ moss green wired ribbon, again making smaller loops.
- Finally add the 7/8″ ribbon to make a center loop.
- Use a pipe cleaner or zip tie to secure layers together.
- Cut only the 7/8″ ribbon from the spool. Leave the other tails attached to spools so you can create cascading tails down the design. Use pine tines to secure the cascade downward.
- Attach to the swag based using a pipe cleaner or zip tie.
- Give the loose tails a dovetail cut.
- Create a 2 smaller single loop bows using the 4″ striped and 1.5″ burlap ribbon and attach to swag base using the pine tine.
- Next, using the 2.5″ moss green ribbon and 7/8″ black ribbon, create ribbon tails on the lower half of your design.
- Trim any pine tines that are sticking out too much from the design.
Add Greenery and Florals
- Trim individual stems of the greenery bush and bend the stems in a u shape so it catches more glue.
- Add greenery stems around the entire design.
- Repeat the process with the berry/fern spray.
- Add peony blooms of different sizes around the lantern.
- Give your design a final fluff.
Video
FAQs on Designing Lantern Swags
Where can you find lanterns to attach to a larger swag?
You can find outdoor lanterns on Amazon, Harbor Freight, Home Goods, Big Lots, and many other home store.
What seasons can you customize this swag to?
It all depends on the sign or embellishment you use. It’s such a versatile “how to” that you could really make it work for any season by switching out the lantern to a sign or wreath attachment and changing out the ribbon colors and patterns.
Why do you use the cruffle method with mesh?
The cruffle technique keeps the fraying down and adds a little dimension to your design.
Are there any other swag tutorials?
Yes! Check out our other swag tutorials below.
This store bought swag got a makeover with soft extra greenery and a bow.

You also got a peek at a cute Christmas lantern swag at the beginning of the post.
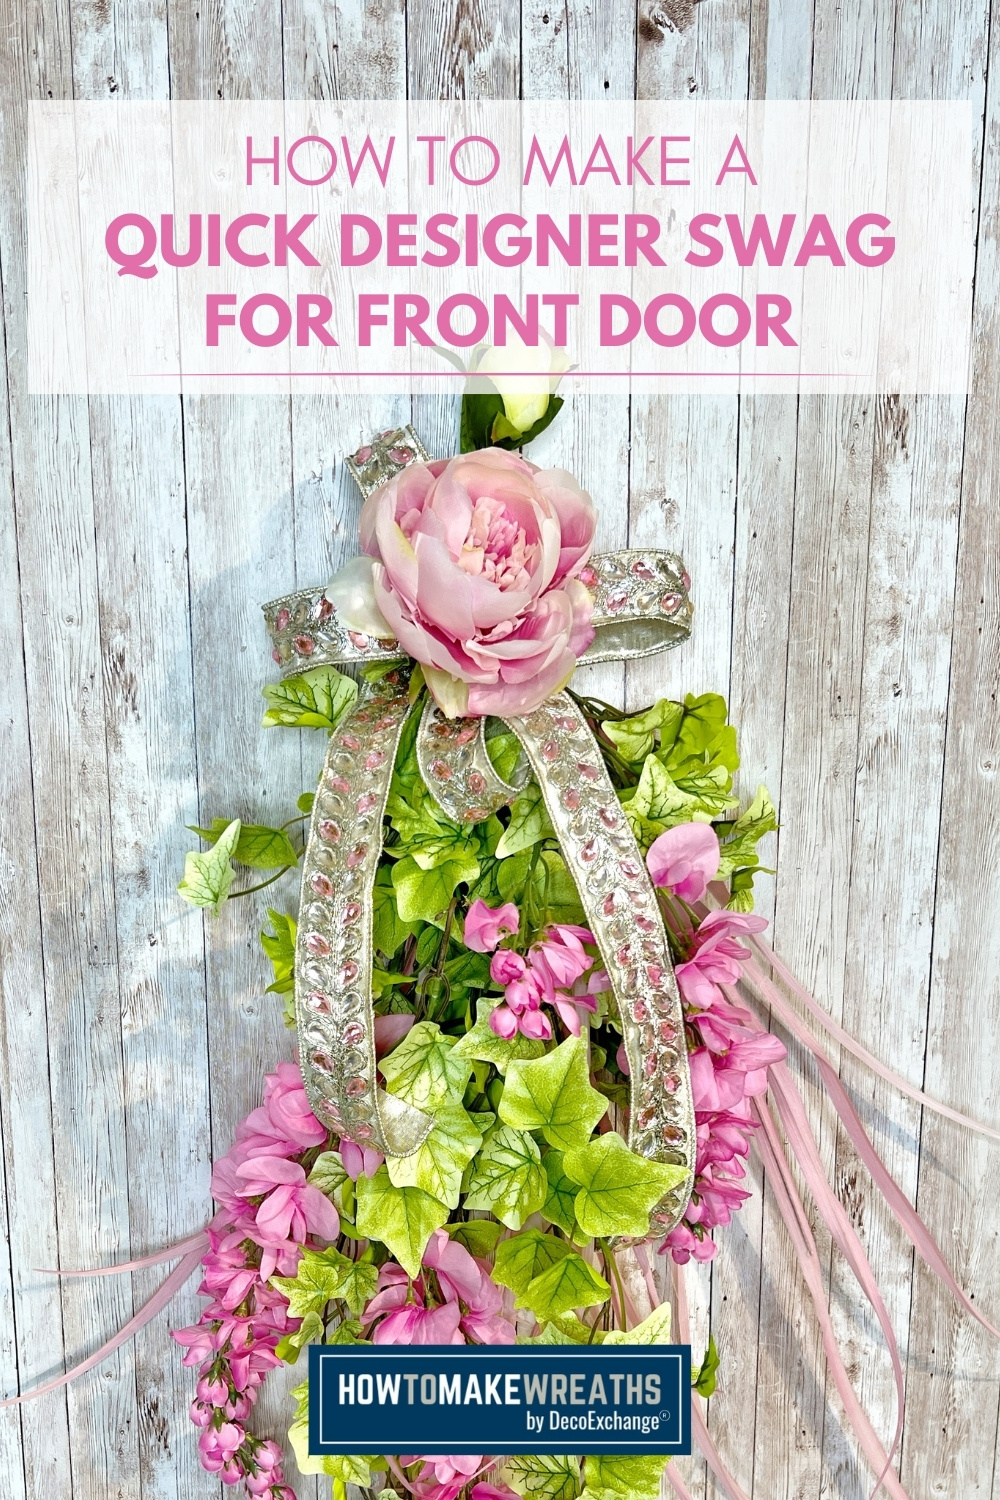
The Makers University’s Coach Fancy even shared a designer pink swag with faux ivy and wisteria!