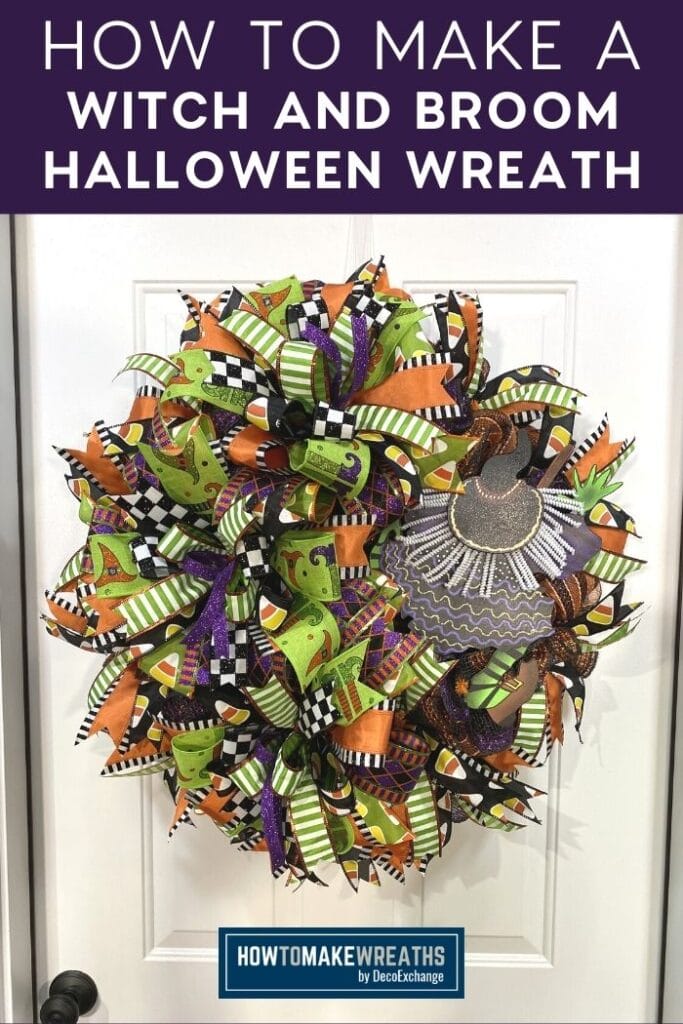
Y’all, I love all things Halloween! Especially a big and beautiful Halloween deco mesh wreath. Today, I’m showing you how to make an adorable witch and broom wreath that is sure to make your day!
When it comes to Halloween in my world, the bigger the better! For this Halloween deco mesh wreath I’m using lots of mesh and a variety of gorgeous ribbon. In the video below, I show you step-by-step how to make this super cute witch and broom wreath. The final result is fabulous and will impress your friends and trick-or-treaters.
How to Make Your Own Halloween Deco Mesh Wreath
Those of you who have been following me for awhile know that Halloween is my favorite holiday to craft for. I love all the colors and all the creatures! Today’s project fits right in with its adorable crashing witch sign and bright Halloween colors. Y’all, I make some big ole bows for this project. I use lots of ribbon and the EZ Bow Maker to really spice this wreath up. I show you how to make the bows in the video but if you want a more detailed bow making tutorial check out my post that shows bow making fun with the EZ Bow Maker.
While making this wreath I return to a deco mesh tradition that seems to be being abandoned: using 21″ mesh. I use the 21″ mesh for the base of this wreath and here’s why… You can use a 10″ mesh for your base but it just doesn’t fill in as well as the 21″ mesh. 10″ mesh has risen in quality over the last few years but that means it has also risen in cost. The improved quality is important when you are using it for curls and ruffles but not if you are using it as a base.
The nice thing about the longer mesh is that we only use it for the filler. We don’t use it for curls or additional ruffles which means there isn’t any cutting. Because you don’t need to cut it so often you don’t need to worry about it fraying. All of that means that you don’t necessarily need such a high quality 21″ mesh. You aren’t cutting it and you are just going to cover it up so go ahead and get that value mesh if you want to! Using the 21″ mesh is a great way to get a nice full wreath base while also cutting your costs. If you want to learn more about how to make a deco mesh wreath base that will hold up to all the bits and bobs you can throw at it, we have a post on that too!

Terri Bow on the EZ Bow Maker
Instructions
- Take your first 2 1/2" ribbon and measure an 8" tail. Next make a 6" loop on one both sides securing the center of your loops between the pegs on the EZ Bow Maker. Trim ribbon from spool.
- Repeat this process with your second 2 1/2" ribbon.
- Repeat again with the remaining 2 1/2" ribbons.
- Using your 1 1/2" ribbon use the same method but make your loops slightly smaller than your previous ones.
- Repeat with the remainder of your 1 1/2" ribbons.
- Take the 5/8" ribbon , measure an 8" tail and make one loop right at the center.
- Take two pipe cleaners and twist them together at one end to make one large pipe cleaner.
- Pinch your bow in the center and twist the pipe cleaners around your pinch to hold the bow together.
- Fluff your loops into a beautiful Terri bow.
Witch and Broom: Halloween Deco Mesh Wreath
Materials
Instructions
- Attach your 21" deco mesh to wreath form. Start with an 8" poof at the top then work your way around the top of the wreath form attaching a 10" poof at each twist tie.
- Repeat this process along the bottom rung of the wreath form.
- Take your 10" mesh and cut 8 20" strips. Curl them slightly at the end and scrunch up the center to make a ruffle. Attach one to each twist tie on the top rung or the wreath form.
- Use the 10" mesh again; cut 20 10" strips this time. Roll two of them up in curls and cross them to make an X. Attach the center of that X to a twist tie on the bottom rung of the wreath form. Repeat at each twist tie along the bottom rung.
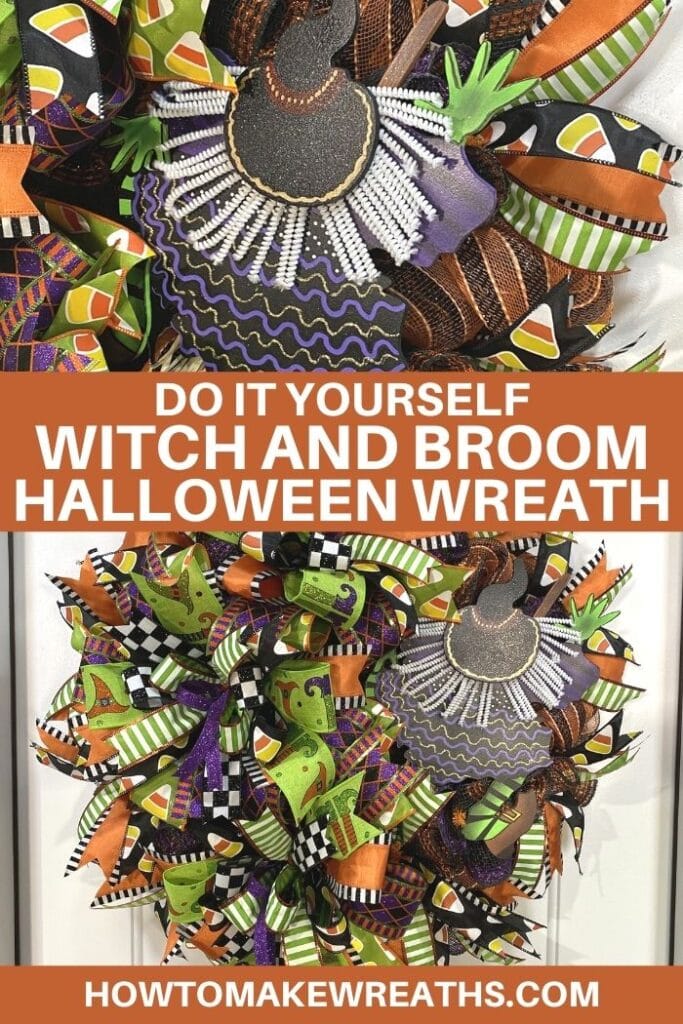
- Now it's time to attach the witch! Secure the mounting squares to the back side of the ghost using rapid fuse glue. Attach a pipe cleaner to each mounting square. Use the pipe cleaners to attach the witch to the right side of the wreath.
- Attach your three Terri bows starting with the top, then bottom, then left side opposite your ghost.
- If you used different color ribbon in your bows than in your ribbon tails like I did, balance out the side with the ghost by adding in the missing ribbon(s). Do this by using the ribbon tail board to cut approximately 10 14" strips of the ribbons that are in your bows. Choose one 2 1/2" ribbon and two 1 1/2" ribbons. Dove tail trim the ends.
- Place two 1.5" ribbon tail on top of a 2.5" one. Fold them in half and pinch at the center point. Add these tails to the twist ties around the ghost until the colors in your wreath are balanced.
So that’s it, y’all! This wreath looks super intricate but, when you break it down, it’s actually pretty simple. I really wanted to use a large variety of ribbons for this project because I thought they looked awesome together and with the sign. You don’t have to use that many though! If you don’t have as many different ribbon patterns, your wreath will still turn out looking fantastic when you use the methods in this video. Get creative with it and have fun crafting y’all!
If you need any help with centerpiece-making, bow-making, wreath-making, or crafting in general, be sure to check out more of our tutorials on How to Make Wreaths.
We would love to see your beautiful summer wreaths! Please share with us over at the How To Make Wreaths Facebook Group.

We Think You’ll Enjoy These Related Posts: