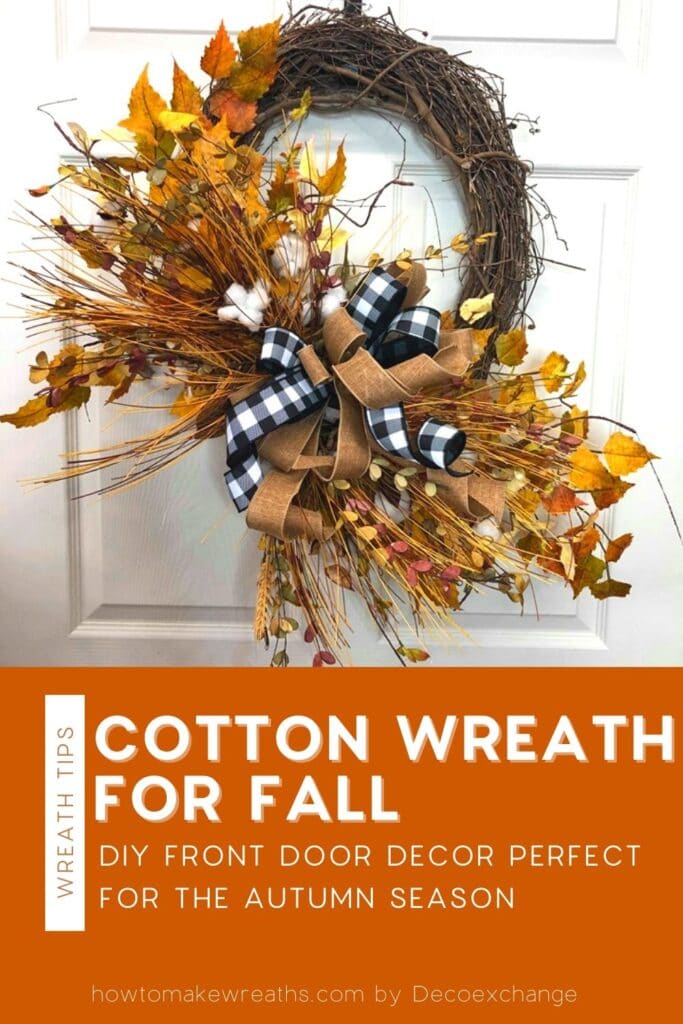
This cotton wreath screams fall. Your neighbors will all admire your handiwork once this one is up on your door. Plus, if you sell wreaths, this one is practically guaranteed to be a money-maker.
It’s fall, y’all. Or practically is, anyways. Can you believe fall is just around the corner? This is one of my favorite seasons to decorate for, and of course I have to start with the perfect fall cotton wreath.
There are plenty of options when it comes to simple fall wreaths you can use to spruce up your home. This one has always been a favorite of mine, however. The black and white ribbon in this wreath tutorial will definitely bring a nice contrast to the neutral tones that are used in this fall wreath.
How to Make a Black and White Fall Cotton Wreath
Fall sometimes gets skipped over while people go straight to the holiday season. But wreath creating and decorating is a year-round experience! So break the holiday mold, and think about creative ways to make variations of seasonal wreaths.
You don’t always have to stick to the typical seasonal colors. Think outside the box. You can always switch out some of the supplies to create an entirely different theme. In the meantime, let’s get started on our fall cotton wreath.
Video: How to Make a Cotton Wreath
I have a video showing you all exactly how to make this wreath. It’ll only take about ten minutes to watch, and it will definitely help you understand how to put this one together. Plus, there are written instructions below too.
Instructions for the DIY Black and White Fall Wreath
How to Make a Cotton Wreath for Fall
Materials
Instructions
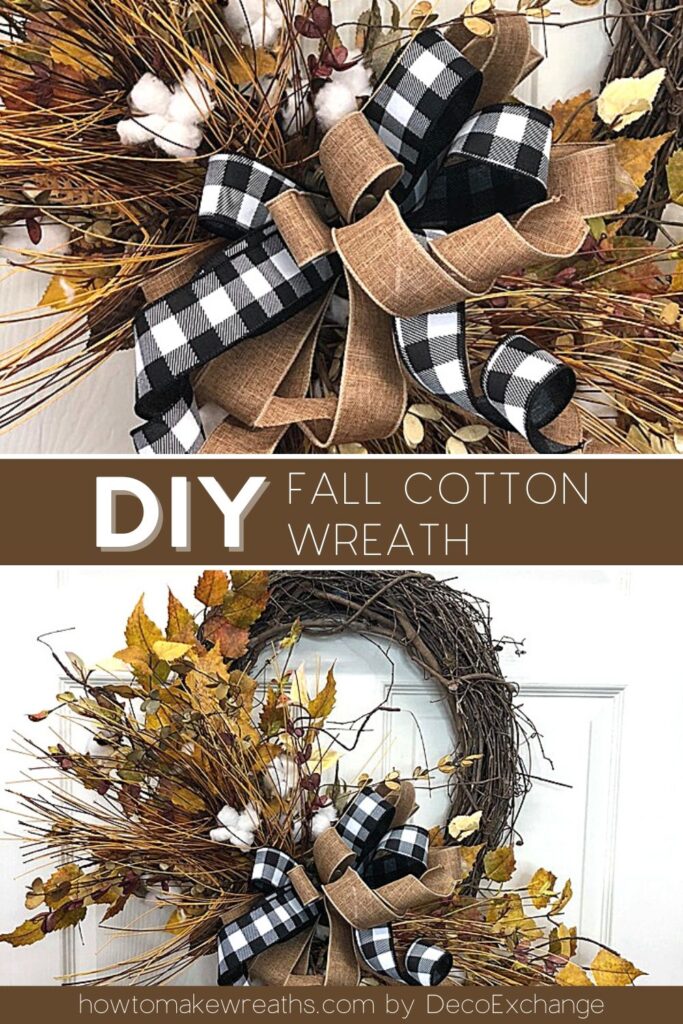
- Start with the bow. Use a mixture of burlap and black and white ribbons.
- Start with a 16-inch tail and a 6-inch loop. You want that loop to land on that 6-inch mark. You’re going to do 3 loops on each side with the burlap. Get that cut off.
- You’ll do 2 loops on each side with the black and white ribbon. This will have a shorter tail. Because it’s a little bit shorter, you’re going ½-inch shorter on every loop. This ribbon has a nice texture and nice wire in it, so it’ll really hold its shape. It’s super simple to work with.
- You’ll cover this back up with the pop of the burlap to kind of mute the stark bright black and white.
- Use a zip tie. Zip ties sometimes hold your bows better into the grapevine wreaths. If you struggle using zip ties, y’all, just use pipe cleaners.
- Now you want to get it somewhat secure, so that you can slide the next ribbon back there.
- Before you tighten this off, make sure your bow looks somewhat how you want it. It’s harder to move these loops around once your have it all tightened up.
- Set the bow aside for now. We’re going to add our bow on last.
- Starting with our basic leaves, you’re going to build out to the left and right sides of the wreath. Leave a gap in the center for the bow where it will hang down.
- Next, you’ll go with the cotton stem right on top of the basic leaves. If you see it falling forward a bit, you may take a pipe cleaner or a zip tie and attach it to the grapevine wreath. Just see how it looks when you get closer towards the finished product. Sometimes, the other stems will help hold it in place.
- You just layer up the basic leaves and cotton stems. Get a nice amount of glue on there. The idea is to keep layering these over and over again, so that they just build right on top of each other.
- Once that glue dries, let it sit there and mingle in the pieces.
- So you saw, as I built, I made this, the hole, in the middle got smaller and smaller. That way, when you go to add the bow, you don't have any issues.
- Let's get this bow in here. The only issue I may run into is getting it attached. So try not to go around the outside of the grapevine, always try to weave it inside through the middle.
- Pull this tight, and you'll get it flopped over a little bit. So you see how this piece [basic leaves] back here is sticking out all willy nilly? Try to bend these in just a little bit. They're all wired, so they should do just about anything you want them to.
- Find a little baby zip tie, come down below the area where it's noticeable, and just zip tie this little guy right onto the grapevine. Get that where you want it.
- Almost done, y’all. After this, we've just got to clean the bows up a little bit. All right. So we'll start on those and just curl these tails.
You can find all of these supplies at DecoExchange.com. We have one more nice, quick, eye-popping black and white wreath to go into our stores. As you create and design your wreaths, share pics or tips you’ve learned along the way down in the comments!
If you are interested in more info on learning how to make wreaths, where to buy supplies, and being in a community of like-minded crafters, check out our Creative Coaching Subscription Group.







Love this!!!!
This is so pretty! Thanks or the inspiration!
Thanks …..the quick grapevine ideas are very helpful
The grapevine quick 6 minute wreaths and this one are very helpful
Thanks!
Oh the ideas this gives me. Thanks for posting.
As always, loved it. Thanks so much for sharing your talents ?♀️
Love it! ❤️❤️❤️
Just Beautiful.