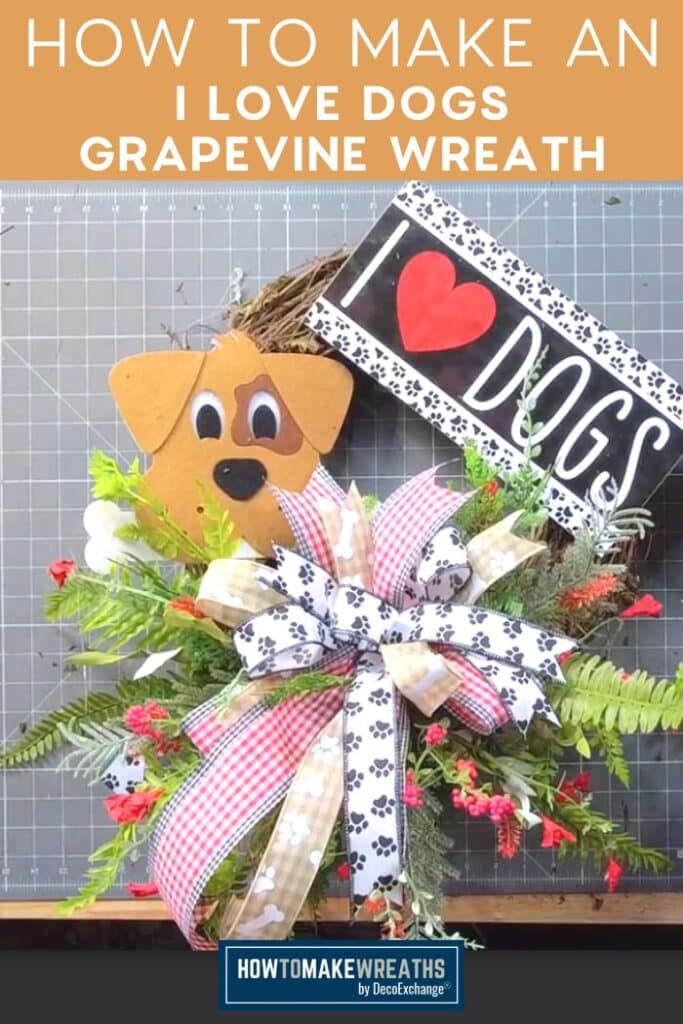
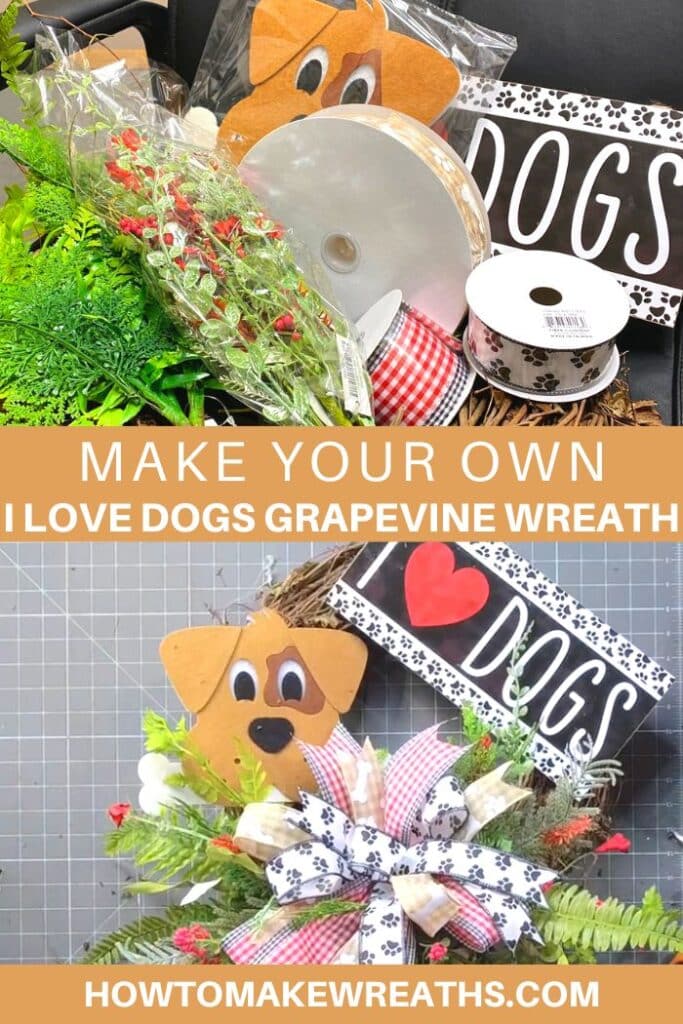
Is your front door looking a little bare? Why not try making this grapevine dog wreath with an adorable sign to greet your guests? This project is perfect for wreath makers of all levels and can be completed in just under an hour if that. So get creative and make a new front door wreath to let your guest know your dog is much loved in your home.

Grapevine Dog Wreath Tutorial
Do you love grapevines as much as I do? They are so versatile and can be used to make all different types of wreaths. In this tutorial, I’ll show you how to make a Grapevine Dog Wreath that will help you show your love for your best friend.
This wreath is an easy way to spruce up the front door, so look no further than this grapevine wreath tutorial. It’s simple to make and takes only a few minutes. Plus, your pup will love the attention they get from your guest looking for the cut puppy who lives inside!
So grab some grapevines and let’s get crafting.
Supplies
How to Make A Grapevine Dog Wreath
Step #1: Prep the sign by placing a little dab of super glue on the back four corners. Then place your mounting squares and allow them to dry.
Step #2: Slide pipe cleaners through the holes of your mounting squares and then twist.
Step #3: Take your puppy dog head and thread a pipe cleaner through the bottom and the top center of the face. You can poke your holes using a sharp small object. Secure the pipe cleaners with a dab of hot glue.
Step #4: Make your bow.
Step #5: Using an EZ bow maker measure out your tails, twist, and fold over making your loops. Just two loops and one tail going up and one down with your first ribbon color.
Step #6: Using your second ribbon color repeat the steps.
Step #7: Add in your white ribbon with black puppy dog prints and then bring back your first ribbon color to the top, just making tails repeating with each color.
Step #8: Twist your ribbon off with a pipe cleaner to secure your bow.
Step #9: Clean your grapevine by clipping away any straggly pieces
Step #10: Attach the sign using pipe cleaners threading it through the grapevine and twisting to secure it.
Step #11: Place the dog with bone attachment underneath the bottom left of your I love dogs sign.
Step #12: Secure the bow under your dog bone.
Step #13: Add some greenery pieces around your bow. Securing by adding hot glue to the ends and pushing into the grapevine. Keep adding greenery until you have filled the empty spaces and no vine can be seen.
Step #14: Place some floral stems coming down around the bottom of your wreath form. Then dovetail your ribbon
FAQs
How do you attach things to a wreath?
Sometimes it can be hard to figure out how to attach things to a wreath. When working with a grapevine wreath I like to use pipe cleaners or zip ties to attach things like a sign or a wreath attaching to the wreath form. Just remember that when attaching something to a grapevine be sure your thread through the form now around. That way you are not tightening the wreath form making it difficult to push your stems and greenery in.
If you need any help with centerpiece-making, bow-making, wreath-making, or crafting in general, be sure to check out more of our tutorials on How to Make Wreaths.
We would love to see your beautiful summer wreaths! Please share with us over at the How To Make Wreaths Facebook Group.

Grapevine Dog Wreath
Materials
- grapevine wreath base
- floral stems
- greenery sprays
- pipe cleaners
- sign/attachment I Love Dog sign
- scissors
- 1 2.5" wired ribbon red and white check
- 2 1.5 wired ribbon paw print
- hot glue gun
Instructions
- Prep sign by placing a little dab of super glue on the back four corners. Then place your mounting squares and allow to dry.
- Slide pipe cleaners through the holes of your mounting squares and then twist.
- Take your puppy dog head attachement and thread a pipe cleaner through the bottom and the top center of the face. You can poke your holes using a sharp small object. Secure the pipe cleaners with a dab of hot glue. Make your bow.
- Using an EZ bow maker measure out your tails, twist, and fold over making your loops. Just two loops and one tail going up and one down with your first ribbon color. Using your second ribbon color repeat the steps.
- Add in your white ribbon with black puppy dog prints and then bring back your first ribbon color to the top, just making tails repeating with each color. Twist your ribbon off with a pipe cleaner to secure your bow. Clean your grapevine by clipping away any straggly pieces
- Attach the sign using pipe cleaners threading it through the grapevine and twisting to secure it. Place your dog with bone underneath the bottom left of your I love dogs sign. Secure bow under your dog bone
- Add some greenery pieces around your bow. Securing by adding hot glue to the ends and pushing into the grapevine. Keep adding greenery until you have filled the empty spaces and no vine can been seen.
- Place in some floral stems coming down around the bottom of your wreath form. Dovetail your ribbon
Video
Just pin this grapevine dog wreath tutorial to save the instructions for later!

If you love to craft, check out our Eat. Sleep. Craft. Repeat. t-shirts and click on the picture below!


