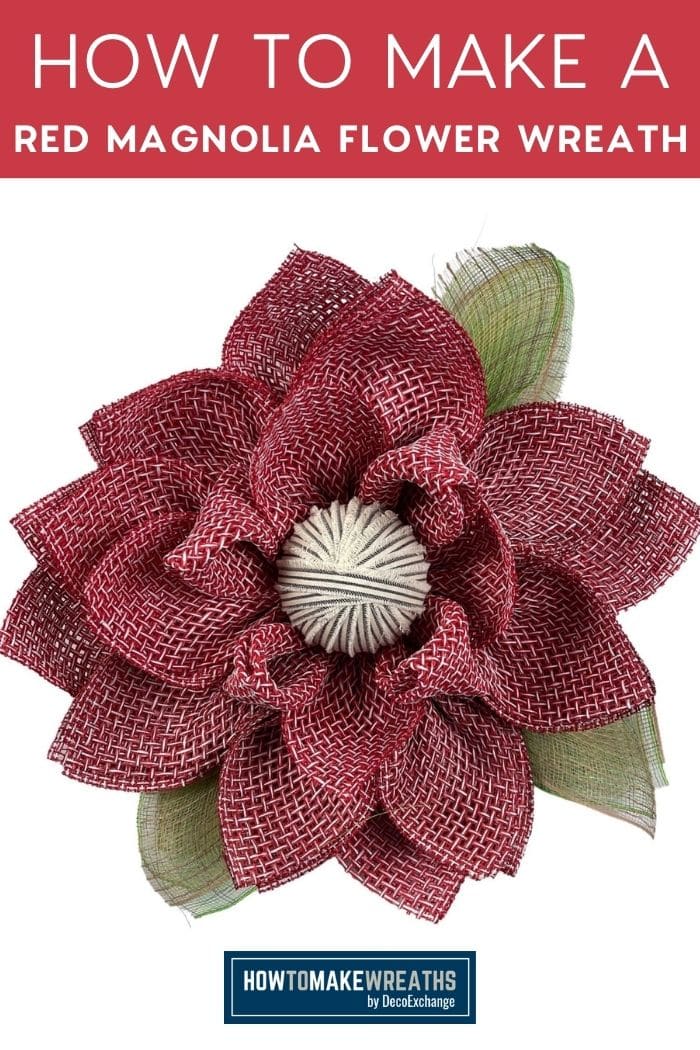
Learn how to make this pretty flower wreath for your home. With very little supplies this DIY Red Magnolia Flower Wreath project is easy and can be done in one hour or less!
We are all familiar with the magnolia flower. It is a beautiful, delicate flower that is often used in floral arrangements or bouquets, but have you ever seen them on wreaths? Today I will teach you exactly how to make a red magnolia flower wreath.
Making a red Magnolia Flower Wreath is the perfect wreath to bring beauty to your home. You can hang it on your front door, an empty wall, or in an entryway. Gather your supplies today and let’s get started!
Red Magnolia Flower Wreath
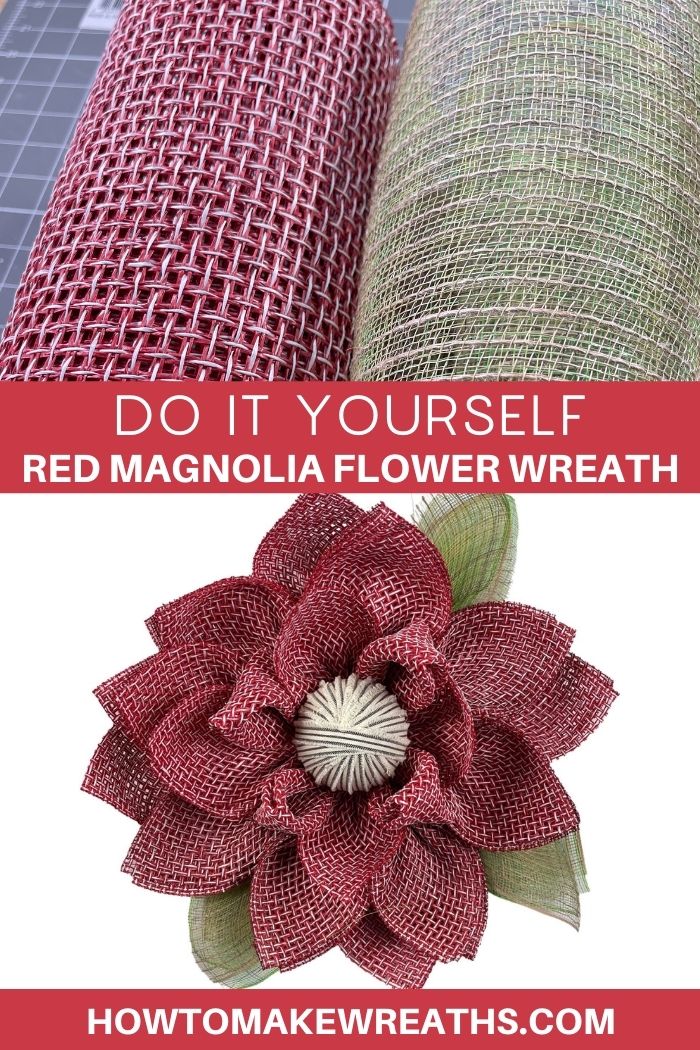
In this Red Magnolia Wreath, we will be using the same type of petals we made in our white Magnolia wreath design. I decided to use a thicker poly burlap this time and am not really sure what the outcome will be but excited to get started and see what we can create!
This is an easy project so just follow along as I teach you step by step how to make your own wreath using a flower board, zip ties, and burlap squares!
Supplies to make a Red Magnolia Flower Wreath
- Flower Board
- Zip Ties
- Cross stitched polyburlap
- Burlap colored mesh
- Green Burlap
Steps To Make A Red Magnolia Flower Wreath
- Prep by cutting 8 – red 10 x 20 squares and 12 red 10×10 squares. Cut your green and brown mesh into 10 x 10 squares. You will have 3 of each.
- Start by making your red petals by folding them in half, giving it a little tug, and taking the outside edges and accordion it all together bringing everything into the center. Hold it tight and you will place this petal on the outside row. Slide the end under a zip tie and pull it all the way tight. Continue this method by skipping every other one on the outside ring.
- Using your brown and green mesh lay them on top of each other. Fold them both in half give the edge a tug and scrunch together just like a normal petal you have been making. Slide it under the outside zip tie and place it in between the two red petals. Be sure you are cutting off the excess mechanics of your zip tie. Repeat this step two more times.
- Find the top of your flower board and thread a pipecleaner through the top two holes. This will be where you hang your wreath from.
- With your 10 x 20 red burlap square fold it in half, then in half again to make a triangle. Crease the edge and scrunch up bringing the top and bottom corners to meet. You will have a cup-shaped petal when done. These will be places all the way around the second from outside zip ties. Be extra patient as these are super thick and can be extra hard to get into the zip tie before pulling it tight. You can use a set of pliers to make sure you get it nice and tight. Repeat this step all the way around
- Working now on the centerpiece. Fold your 10 x 10 square in half, then in half again like a triangle. Scrunch up the sides and make your petal. Place the end of your petal into the innermost ring of cable ties and secure tight. However, this time you are going to place them in every other one.
- Fold the square in half, fold in half again, then make your long side of the triangle tips touch. Since we have a little hole in the bottom I am adding a little bit of hot glue to seal it up. If yours does not have that hole no need to do this step. Now you are placing these petals in the cable ties we skipped in the last step. Repeat this step until you have made enough petals to fill the empty places.
- Using an ornament for the center, load it up with hot glue and then place right in the center and hold it tight for 2 minutes
- Now go around your wreath and take every other petal and spread the leaves out and give them a nice little tug. This will help give the wreath more dimension.
- Just note I like having odd number leaves so I left my green leaves at 3. If you would like 4 you most certainly can do that.
This wreath is perfect for anyone who has been making wreaths for years or as a beginner. You will not regret learning this technique as these flower petals can make so many different flower wreaths for you over the years!
If you need any help with centerpiece-making, bow-making, wreath-making, or crafting in general, be sure to check out more of our tutorials on How to Make Wreaths.
We would love to see your beautiful summer wreaths! Please share with us over at the How To Make Wreaths Facebook Group.
How to Make A Magnolia Flower Wreath
Materials
- Flower Board
- Poly Burlap Brown
- Poly Burlap Green
- Poly Burlap Red
- Zip Ties
- Ornament
Instructions
- Prep by cutting 8 – red 10 x 20 squarse and 12 red 10×10 squares. Cut your green and brown mesh into 10 x 10 squares. You will have 3 of each.
- Start by making your red petals by folding them in half, giving it a little tug, and taking the outside edges and accordion it all together bringing everything into the center. Hold it tight and you will place this petal on the outside row. Slide the end under a zip tie and pull it all the way tight. Continue this method by skipping every other one on the outside ring.
- Using your brown and green mesh lay them on top of each other. Fold them both in half give the edge a tug and scrunch together just like a normal petal you have been making. Slide it under the outside zip tie and place it in between the two red petals. Be sure you are cutting off the excess mechanics of your zip tie. Repeat this step two more times.
- Find the top of your flower board and thread a pipecleaner through the top two holes. This will be where you hang your wreath from.
- With your 10 x 20 red burlap square fold it in half, then in half again to make a triangle. Crease the edge and scrunch up bringing the top and bottom corners to meet. You will have a cup-shaped petal when done. These will be places all the way around the second from outside zip ties. Be extra patient as these are super thick and can be extra hard to get into the zip tie before pulling it tight. You can use a set of pliers to make sure you get it nice and tight. Repeat this step all the way around
- Working now on the centerpiece. Fold your 10 x 10 square in half, then in half again like a triangle. Scrunch up the sides and make your petal. Place the end of your petal into the innermost ring of cable ties and secure tight. However, this time you are going to place them in every other one.
- Fold the square in half, fold in half again, then make your long side of the triangle tips touch. Since we have a little hole in the bottom I am adding a little bit of hot glue to seal it up. If yours does not have that hole no need to do this step. Now you are placing these petals in the cable ties we skipped in the last step. Repeat this step until you have made enough petals to fill the empty places.
- Using an ornament for the center, load it up with hot glue and then place right in the center and hold it tight for 2 minutes
- Now go around your wreath and take every other petal and spread the leaves out and give them a nice little tug. This will help give the wreath more dimension.
- Just note I like having odd number leaves so I left my green leaves at 3. If you would like 4 you most certainly can do that!
Video
Just pin this Red Magnolia Flower Wreath tutorial to save the instructions for later!