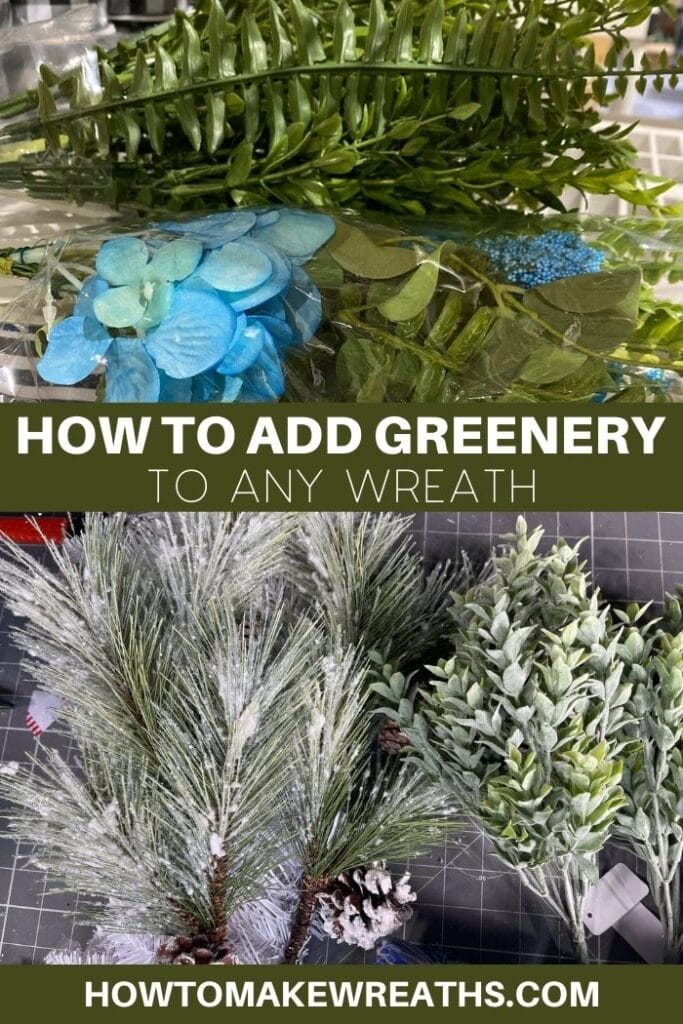
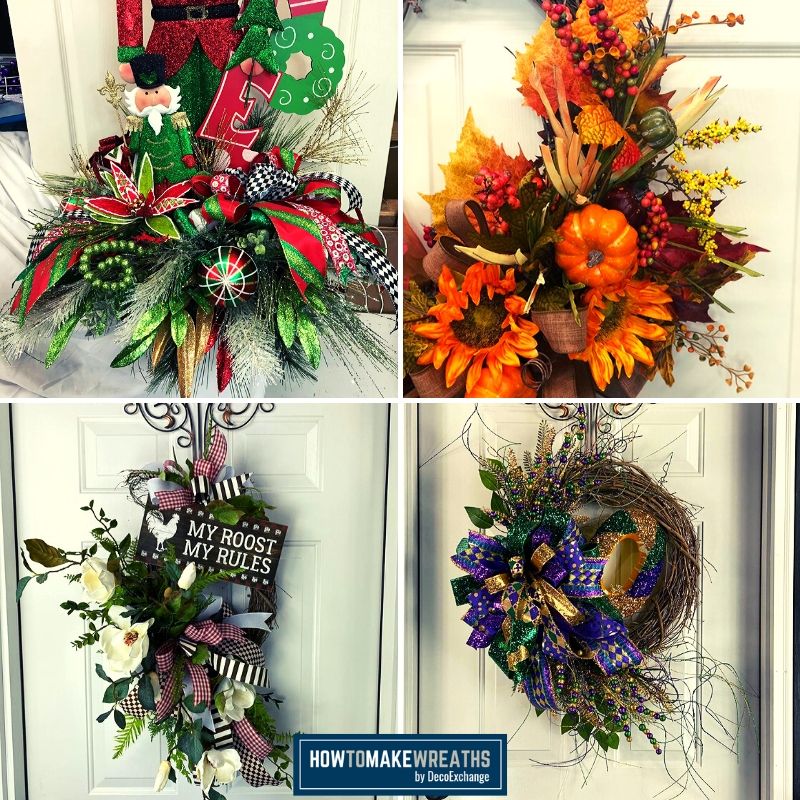
Boost your crafting skills by learning how to add wreath greenery to any wreath to achieve a completely new and beautiful design filled with visual interest. Here are all the tips and tricks you need to know.
Hey, y’all! Making wreaths is obviously something I’m passionate about. I think wreath-making is often overlooked, but it’s a craft that is easily adaptable and appropriate for a huge variety of occasions and situations. Plus, it’s fun!
However, the real beauty of a wreath isn’t just about how you can use them for each holiday or season. Rather, the absolute best part about making wreaths is how much depth and interest you can add with elements such as bows, greenery, florals, and more.
It’s just plain fun, y’all!
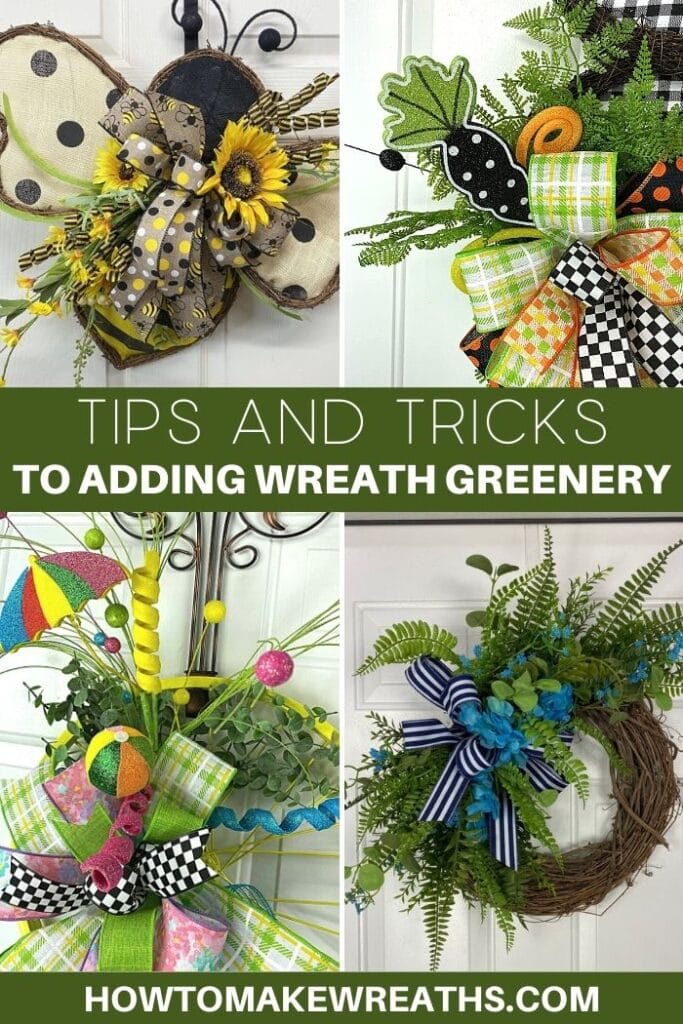
In particular, adding greenery to your wreath gives you and your customers something to look at besides mesh and ribbon. This additional element adds a whole new dimension to your wreaths and gives each one a more complete look.
Whether you are a hobby wreath maker or a Craftpreneur, these tips will help you take your wreath-making skills to a whole new level. By learning this technique for adding wreath greenery, you’ll be able to impress your friends and family with your wreath designs.
Alternatively, as a Craftpreneur, these same tips will enthrall your customers and keep them coming back for more designs that you create.
I have our friend and fellow wreath-maker Joni from Belle Chase Wreaths here to walk you through how to elevate any wreath design by adding greenery to it.
Meet Joni from Belle Chase Wreaths!
Hi, everyone! Joni here.
Today I’m going to walk you through step-by-step how to take any wreath and make it an evergreen wreath by adding greenery and florals to it – without using a greenery wreath base.
But first, here’s a quick refresh regarding how to make your deco mesh wreath! This can be a good classic base project that you can customize it any way you’d like before we start adding more layers to the wreath.
Note: We recently shared a detailed video walking you through the process of creating your deco mesh wreath to help make the process even easier to learn.
How To Make A Wreath With Greenery
Alright, now that you have your wreath ready, it’s time to add a bow (or two)… and while you’re at it, perhaps a Terri Bow and some greenery and florals as well.
Here are all the insider tips and tricks for easily adding florals and wreath greenery so they stay right where you want them.
Tools And Supplies Needed
- Steelpix Stemming Machine
- Floral picks
- DAP Rapid Fuse Gel Glue or hot glue
- Needle-nose pliers
- Greenery and florals
Where To Buy Wreath Greenery For Your Wreath
There are several places to purchase wreath supplies, including your local craft stores. Make sure to take advantage of coupons and sales to help keep the cost down!
If you’d like a great online option, DecoExchange has a nice selection of affordable and beautiful greenery and florals for all your wreath-making needs. You can find different colors, textures, and even different shades of green to elevate any wreath design.
Instructions
Picture this: you have created your basic wreath design. Now, it’s time to add your greenery and florals to give it that final, completed look. Follow this process to add wreath greenery.
Step 1
Grab a piece of greenery that you want to add.
Step 2
Use the stemming machine to add a floral pick to the end of the greenery stem.
Step 3
Dip the end of the floral pick into your glue (you don’t need a lot).
Step 4
Find the spot where you want to add the greenery to your wreath.
Step 5
Stick the floral pick into one of the ties where you bundled your deco mesh together (because it’s thicker and more stable there). Push it through the pipe cleaner.
Step 6
Keeping in mind that the picks are sharp, take your needle-nose pliers and bend the end of the floral pick around the deco mesh. Now it’s glued and bent around the mesh and should stay in place.
Now you have an evergreen wreath just by adding wreath greenery!
The Secret Tips And Tricks To Adding Wreath Greenery
While it might sound simple to add greenery to your wreath (and it can be), here are some of my secret tips and hacks when it comes to taking your wreath to the next level.
1. Use The Rule Of Three When Adding Larger Plants
Things arranged in odd numbers are more appealing, memorable, and effective than even-numbered groupings. Also, when you see an odd number of things, your eye moves around more, creating a more interesting visual experience.
2. Only Use Industrial Strength Glue
We don’t want the design to be ruined by a falling succulent, plant, or stem.
3. Use A Variety Of Textures And Plants To Fill The Base
Make sure that your base doesn’t show through. It just looks better not to be able to see it. To do that, use plenty of greenery and florals in a variety of textures and colors to fill it out.
For example, you might use wreath greenery that has broad leaves and mix it in with fern and florals that have wispy, feathery leaves.
If, however, you are using a grapevine, you may decide to show some of the base and that’s just fine.
4. Use A Variety of “Greens”
Don’t stick to just one color for your greenery. Think about nature! The most interesting plants are the ones that have variegated leaves.
Use a variety of light and darker greens, not only with your ferns and other greenery but also with your florals. Take advantage of the variety to add depth and visual interest to your project!
5. Make Sure Your Wreath Greenery Does Not Lay Flat On The Base
I’m not sure it can get any more boring than using greenery exactly the way you buy it.
Your greenery and florals have wires to allow you to bend and shape them so you can pose your plants and greenery for added visual interest. Take advantage of that and spread everything apart to make it look more natural.
6. Place Greenery Stems At An Angle
When you are adding greenery to grapevine wreaths, avoid having stems sticking out the back. If you need to, cut the extra-long stems down to make them shorter so they don’t stick out.
7. Stand Back And Take A photo
Look at your photo to decide whether your design is complete. Seeing your wreath in a photo as opposed to looking at it up close will help you see any missing gaps that you need to fill.
I find it best to take a break from working on your design and clear your mind before coming back to take that photo. When you do that, it’s like looking at the design with fresh eyes. You’ll likely find a spot or two you want to adjust.
I hope you guys learned a trick or two about how to add florals and greenery to your wreaths today!
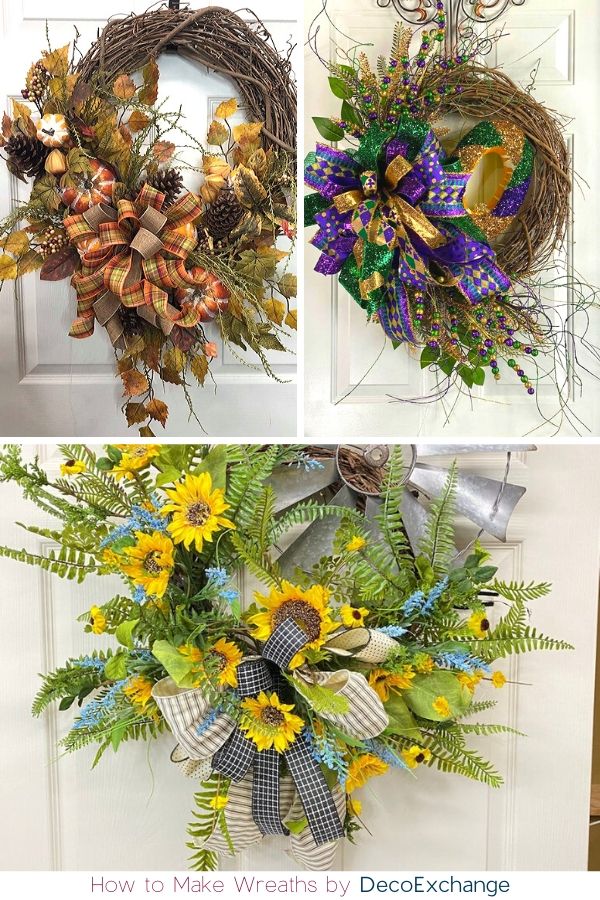
FAQs
Here are a few answers to questions I frequently see readers ask to help you out even more!
What is the best type of glue to use when working with greenery and florals?
Actually, that’s up to you! I mentioned both superglue and hot glue up above. I tend to vary the type of glue I use based on the design and the products I have on hand.
And, if I’m being honest, I use hot glue more than any other type because it dries faster but still has a strong hold.
What greenery do you use for a wreath?
There are lots of wreath makers who use fresh greenery when making wreaths. And, if I were to make a fresh holiday wreath, I might do that.
However, I make wreaths that I want people to be able to display all season long, and a wreath using fresh greenery won’t last long enough. So I always turn to faux florals for that fresh look every day.
Try Adding Greenery To Your Wreath Design Today!
If you’ve never worked with greenery before, it might seem intimidating at first. I actually didn’t like working with greenery and florals at first. But with these tips and a little practice, the process becomes much easier and faster – almost like second nature!
If you wreaths that use greenery and florals, check out these designs!
- Simple Grapevine Lavender Wreath Tutorial
- Spring Grapevine Wreath Idea
- Winter Grapevine Snowflake Wreath
- Hello Pumpkin Autumn Grapevine Wreath
If you’re interested in more info on learning how to make wreaths, where to buy supplies, and being in a community of like-minded crafters, check out our Creative Coaching Subscription Group.
Not ready to jump into the subscription group? That’s okay; you can always just purchase our complete step-by-step videos to all of our favorite wreath bases here.
If you are interested in more info on learning how to make wreaths, where to buy supplies, and being in a community of like-minded crafters, check out our Creative Coaching Subscription Group.
We Think You’ll Also Love These Other Posts:
If you enjoyed this fun spin on creating a unique wreath with greenery, check out some of these other posts:
How To Add Wreath Greenery To Any Wreath
Materials
- stem cutter
- floral picks
- rapid fuse glue or hot glue
- needle nose pliers
- greenery sprays and floral stems
Instructions
- Gather the greenery and florals you want to use.
- Use the stemming machine to add a floral pick to the end of the floral stem.
- Add glue to the end of your floral pick.
- Look at your wreath design and decide where you want to add your greenery.
- Stick the floral pick into one of the ties where you bundled your deco mesh together because it's sturdier there.
- Use your needle-nose pliers and bend the end of the floral pick around the deco mesh and let it dry. Now it's glued in place.
Just pin these tips and tricks to adding wreath greenery below to find the instructions later!
