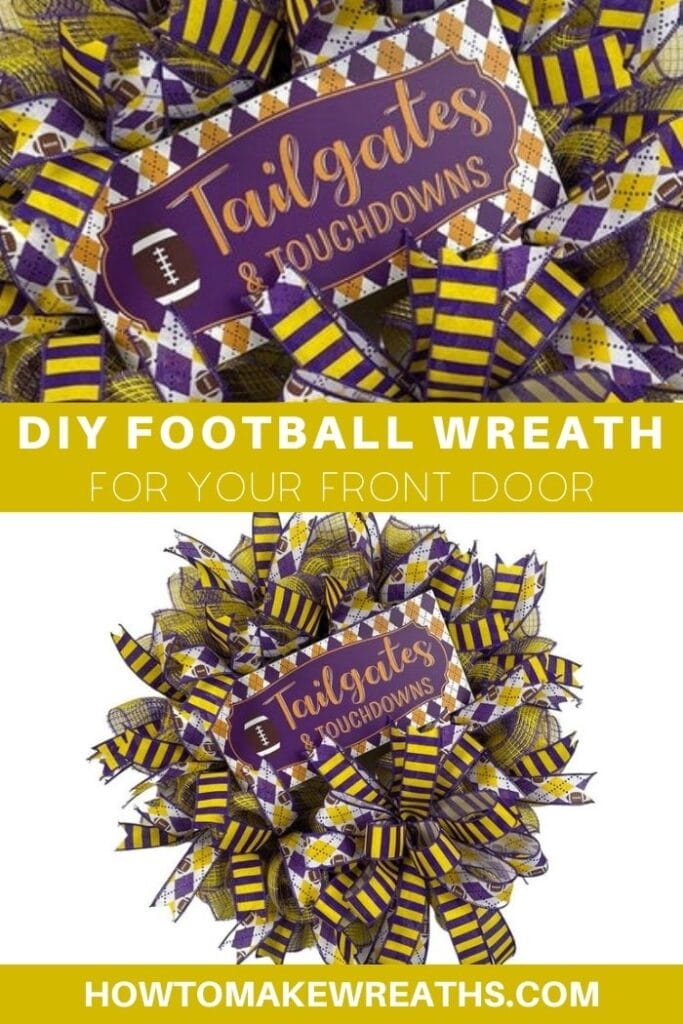
Learn how to make this fun purple and gold football wreath to proudly display all football season long! We’re celebrating football fans with purple and gold fun!
Hey, y’all! Today, I’m showing you how to make a purple and gold football wreath that pays homage to LSU’s football team without getting ourselves into copyright trouble by using any trademarked names or logos.
It’s CRUCIAL that you pay attention to trademarks and copyrights because these companies WILL come after all your profits if you use their names, logos, or designs without permission. However, you can totally use the team colors and a fun, generic sign like we are today to still accomplish the same goal without violating any of those laws and risking the companies coming to sue you.
For anyone who lives in or near New Orleans (me!), it’s practically in your DNA to be a Tigers fan! Football season will be here before we know it, so today we’re getting ready for it by making this fun wreath.
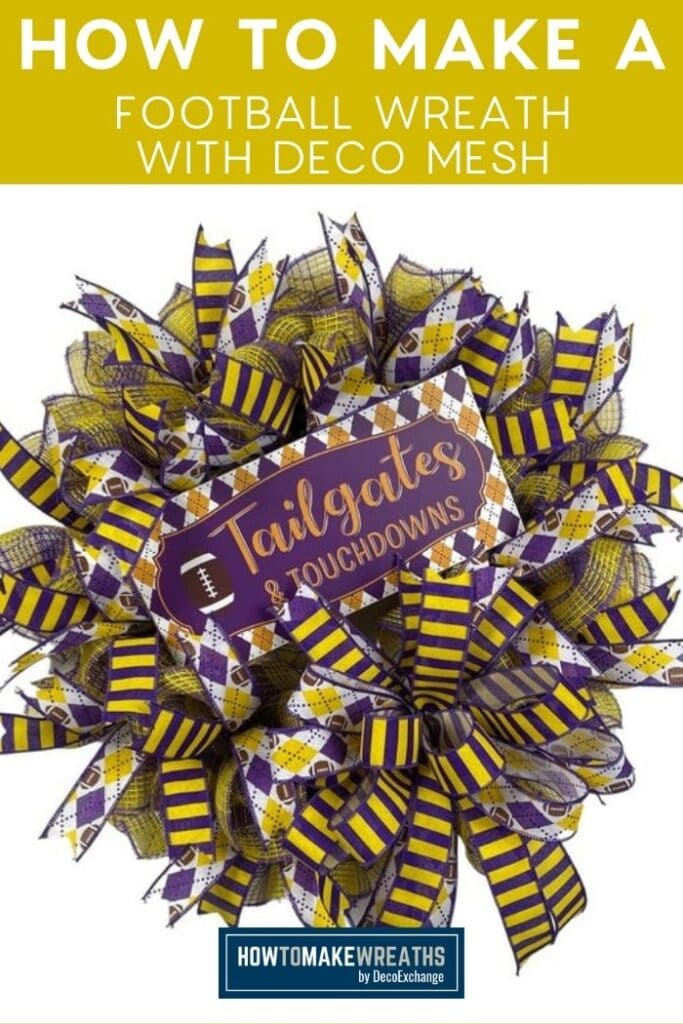
I created this deco mesh football wreath design that I know you’re gonna love. You don’t even have to be an LSU fan to love all the purple and gold fun!
However, if you are a fan of another team, use their colors instead. Or, if you want to sell your wreaths to fans of different teams, simply tailor each wreath to the colors of the team you want to support.
If you love purple and gold, we have all kinds of DIY Mardi Gras Decor Ideas. And you won’t want to miss our Football Themed Door Hanger!
Purple and Gold Mesh Football Wreath Supplies Needed
Here’s everything you need to make this beautiful wreath to show your support for your own local team.
- Wreath board base
- 16 strips of mesh, 20-inches long
- Football sign
- Mounting squares
- Superglue
- Hot glue gun and hot glue
- Rotary mesh cutter
- (2) 1.5” ribbons
- Pipe cleaners
- Ribbon tail board
- EZ Bow Maker
How to Make A Football Wreath With Deco Mesh
Use these step-by-step instructions to put your wreath together.
Step 1
Take your wreath board base and some pipe cleaners. You board will have sets of 3 holes all around the base. Loosely bend the pipe cleaners in half (not creating a crease in the middle) and insert both ends into adjacent holes, alternating the placement.
In one set of holes, the pipe cleaner will go through the top and middle holes, and in the next set, it’ll go through the middle and bottom holes. Keep alternating all the way around the board.
Once you put the pipe cleaners in, give each one a good twist so they are secured in place. You’ll have 16 pipe cleaners total.
Step 2
Now it’s time to cut 16 pieces of mesh. Once they’re cut, take each piece, curl the ends, and scrunch it up towards the middle. With the ruffle down, add it to one of the pipe cleaners and twist the pipe cleaner to secure it.
Follow this same process for each of your pieces of mesh and each pipe cleaner. You’ll basically end up with an “outside” row and an “inside” row of ruffled mesh.
Step 3
It’s time to make our 5-layer bow. Take your 1.5” ribbon and EZ Bow Maker and measure out 12-inch tails and 7-inch loops in an “X” shape. Repeat the same process with your other ribbon, and make sure that your “X”s offset each other.
Step 4
Keep alternating the ribbons and repeat the process. Each time you start again with the first ribbon), reduce the loop size by ½”.
Twist 2 pipe cleaners together to create a longer pipe cleaner and wrap it around the center of your bow. Twist it tightly.
Attach your bow to your wreath board by putting the pipe cleaner through the holes in the board.
Step 5
Prepare your sign. Cut off any hanger on the back. Attach 4 mounting squares (one in each corner) with a dab of super glue on the back. Add a little hot glue all the way around each square to make sure they’re secure.
Once all the glue is dry, add pipe cleaners to your mounting squares.
Step 6
Let’s make 14 ribbon tails with each ribbon. Dovetail the ends.
Step 7
Form pairs of ribbon tails. One at a time, take your ribbon tail pair, pinch it, and attach it all around the outside of your wreath board using the same pipe cleaners you used for your ruffles.
Feel free to trim off any excess pipe cleaner length after you add the ribbon tails.
Step 8
Now let’s attach our sign. In this design, I put the bow towards the bottom of the wreath and the sign above that. Insert the pipe cleaners on the back of your sign through the wreath board and twist to secure them.
Step 9
Fluff your ruffles. Dovetail the ends of your bow and any tails you may have missed.
Make This Football Wreath For Your Door
Now your Deco Mesh Football Wreath is complete. Isn’t it fun and festive? I’m ready for football season now!
Once football season arrives, you know fall is JUST around the corner! Check out our “Hello Fall” Wreath, Fall Harvest Wreath, and other 17 Inspiring Fall Wreaths for The Front Door.
If you need any help with centerpiece-making, bow-making, wreath-making, or crafting in general, be sure to check out more of our tutorials on How to Make Wreaths.
We would love to see your beautiful wreaths! Please share with us over at the How To Make Wreaths Facebook Group.
If you’re interested in more info on learning how to make wreaths or being in a community of like-minded crafters, check out our Creative Coaching Subscription Group.

If you’re a dog lover or know someone who is, check out our Support Dog Rescue t-shirts and click on the picture below!


Purple and Gold Football Wreath
Materials
- wreath board base
- 10" deco mesh cut into 22" strips; colors of your choice
- sign/attachment generic football theme
- 1″ mounting squares
- super glue
- hot glue gun
- hot glue
- mesh cutter
- 2 1.5" wired ribbon colors of your choice
- pipe cleaners
- ribbon tail board
- EZ Bow Maker
Instructions
- Take your wreath board base, loosely bend 16 pipe cleaners and insert them one at a time into 2 out of the 3 holes. Alternate between inserting them into the top/middle and the middle/bottom holes all the way around the base.Twist to secure each one in place.
- Cut 16 strips of mesh, 22" long. One at a time, take a strip of mesh, curl the ends, and scrunch it into the center. Add each ruffle to a pipe cleaner with the ruffles facing down and twist to secure.
- We're going to make a 5-layer bow. Take your first 1.5” ribbon and EZ Bow Maker and measure out 12-inch tails and 7-inch loops in an “X” shape. Repeat the same process with your other ribbon, making sure that your “X”s offset each other.
- Repeat the process, alternating ribbons until you have 5 layers. After using each ribbon once, reduce the loop size by ½". Keep the tail lengths the same.Wrap a pipe cleaner around the middle of your bow and twist it tightly to secure it. Attach the bow to the bottom part of your wreath using the same pipe cleaners.
- Prepare your sign by removing any stickers and attachments from the back. Use superglue to attach a mounting square to each corner. Add a line of hot glue around each square and let the gue dry.Once the glue has fully dried, add a pipe cleaner to each square.
- Cut 14 ribbon tails from each ribbon. Dovetail the ends.
- Pair up your ribbon tails and one pair at a time, pinch it in the middle and attach it all around your wreath board using the same pipe cleaners you used for your ruffles. Cut off any excess pipe cleaner lenghts.
- Attach the sign to the top portion of the wreath (above the bow) by inserting the pipe cleaners on the back of your sign through the wreath board and twist to secure them.
Video
Just pin this purple and gold football wreath tutorial to save the instructions for a later time!