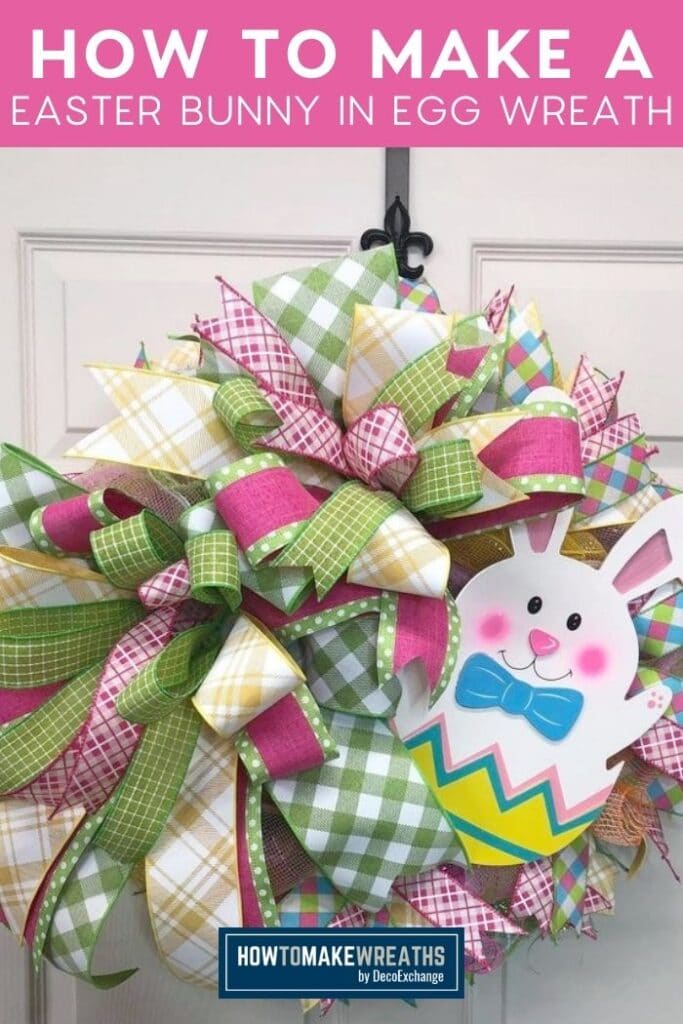
Learn how to make a bunny in an Easter egg wreath for the spring season! This wreath is an adorable, fun project that will fly off your shelves and/or look festive on your front door.
Hey, y’all! Today, we had a photoshoot in the shop to use on our new website, and the camera crew wanted to see me in action. So, I made a fun Easter bow while they filmed, and now I need to put that bow to use!
That means that today I’m showing you how to make a bunny in an Easter egg wreath. It just screams “Spring” and “Easter”!
Y’all, if you’re a Craftpreneur, then you need to make this wreath for your shop because it sells like hotcakes.
Egg Wreath Supplies Needed
Here’s everything you need to make this spring-themed egg wreath yourself.
- Evergreen wreath base
- Bunny in an egg sign
- 20” Pale pink deco mesh
- 6 – rolls 10” deco mesh in different spring colors cut in 30” strips
- Craft foam
- Heavy duty stapler
- 3” ribbon (green and white plaid)
- 2 – 2.5” ribbons
- 3 – 1.5” ribbons
- Pipe cleaners
- Ribbon tailboard
- EZ Bow Maker
How To Make The Bows For This DIY Easter Egg Wreath
Use these step-by-step instructions to put your bows together. The first bow will be the biggest. The second bow will follow the process of the first bow but have smaller measurements.
Step 1
Take your EZ Bow Maker and your 3” green and white plaid ribbon and make a 8” loop with 16” tails.
Step 2
Grab your 2.5” pink and green ribbon and make two slightly smaller loops with 16” tails.
Step 3
With a yellow and white plaid 2.5” ribbon, make a 7” loop and 16” tails.
Step 4
Using the green 1.5” ribbon, make two slightly smaller loops and 16” tails.
Step 5
Grab the 1.5” pink ribbon and make a 6” center loop and 16” tails.
Step 6
Carefully pull your bow off the EZ Bow Maker. Wrap the pipe cleaners around the middle of your bow and twist the bow for a tight twist to secure your bow.
Then, extend the ends of your pipe cleaners by attaching a pipe cleaner to each of the ends of the pipe cleaner on your bow.
Bow #2
Here’s how to make the second bow for your Easter egg wreath!
Step 1
For the second bow, start with using your 2.5” ribbon to make 7” loop and 8” tails. Take your next ribbon and follow the same process. Continue following this process in the order of the ribbons.
Step 2
Spread out the loops and tails of each ribbon layer so they make an “X”. With your final ribbon, make a center loop with 2 tails.
Step 3
Carefully pull the bow off your EZ Bow Maker and secure it with your pipe cleaner. Extend the ends of your pipe cleaner with additional pipe cleaners so you can secure your bow to the wreath base.
Dovetail the ends of your tails and now you have a bow!
Bunny in an Easter Egg Wreath Bows
Materials
- EZ Bow Maker
- 1 4" wired ribbon
- 2 2.5" wired ribbon different colors
- 3 1.5" wired ribbon different colors
- pipe cleaners
Instructions
- Take your EZ Bow Maker and your 4” ribbon and make a 8” loop with 16” tails.
- Using a 2.5” ribbon, make two slightly smaller loops with 12” tails.
- With another 2.5” ribbon, make a 7" loop and 16” tails.
- With a 1.5” ribbon, make a slightly smaller loop and 16” tails
- Grab the second 1.5” ribbon and make a 6” center loop and 16” tails.
- Carefully pull your bow off the EZ Bow Maker. Wrap the pipe cleaners around the middle of your bow and twist the bow for a tight twist to secure your bow. Then extend the ends of your pipe cleaners with 2 additional pipe cleaners.
Bow #2
- For the second bow, start with using your 4” ribbon to make a 7” loop and 8” tails. Take your next ribbon and follow the same process, continuing through the pattern of ribbon in your first bow.
- Spread out the loops and tails of each ribbon layer so they make an “X”.
- Carefully pull the bow off your EZ Bow Maker and secure it with your pipe cleaner then extend the ends of your pipe cleaner with additional pipe cleaners. Dovetail the ends of your tails.
How To Make An Easter Egg Wreath
Ok, it’s time to put it all together so that you have one cohesive and beautiful finished product!
Here’s how.
Step 1
Take the pink mesh and make 5 large poufs going around the frame to cover up the evergreen and create a base for your Easter wreath.
Make sure your poof heights are about the same all the way around and cut the mesh.
Step 2
Take your rolls of 10” mesh and cut them into 30” strips. I didn’t have enough of the pink mesh to fully cover the evergreen base, so we’re using this additional mesh to fill in the gaps.
Make ruffles with each mesh strip and add them onto your evergreen base, alternating colors at random.
Step 3
Prepare to attach your Easter Bunny sign by cutting out small squares of craft foam and stacking them 2-thick. Take one pipe cleaner for each stack of craft foam squares and staple the pipe cleaners (and squares) to the sign.
Add a dab of hot glue.
Double check the front of the sign to make sure your staples didn’t poke through. Do this 3 times total (2 across the top and 1 at the bottom of the sign).
Step 4
If you haven’t already, make your bows while the hot glue dries.
Step 5
Attach your bunny in an egg sign to your wreath with the pipe cleaners you just added to the back of the sign.
Step 6
Use the pipe cleaners on the bow to attach the first (bigger) bow to the wreath on the left side of the wreath frame.
Step 7
Attach the smaller bow to the top center section of your wreath with the pipe cleaners.
Step 8
Clean up the tails by dovetailing the ends. Then, fluff out the bows.
Step 9
Use a ribbon tail board to measure out 11 tails with two different 1.5” ribbons and one 2.5” ribbon. Cut the tails then dovetail the ends. Stack one of each ribbon type, fold them in half, and attach them to your wreath all around the outside of your base.
Fluff out the tails and trim up the ends. Space each set of ribbon tails so that the tails are close enough to almost touch.
Tip: If you want to attach ribbon tails in a spot that doesn’t have a twist from the wreath base that you can use, just use a pipe cleaner to attach it.
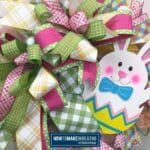
That’s it! Don’t you just love this Easter wreath?
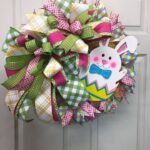
Bunny in an Easter Egg Wreath
Materials
- evergreen wreath base
- wreath sign Easter Bunny in an Egg
- deco mesh different colors
- craft foam
- pipe cleaners
- ribbon tail board
- staple gun
- hot glue gun
Instructions
- Take the large pink mesh and make 5 large poufs going around the frame to cover up the evergreen.
- Take your rolls of 10” mesh and cut them into 30” strips to fill in any gaps the deco mesh left. Take each mesh strip and make individual ruffles before adding them onto your evergreen base.
- Prepare to attach your Easter Bunny sign by cutting out small squares of craft foam and stacking them 2-thick. Take one pipe cleaner for each stack of craft foam squares and staple the pipe cleaners to the sign through the squares. Add a dab of hot glue to secure.Double check the front of the sign to make sure your staples didn’t poke through. Do this 3 times total across the back of your sign.
- Make your bows while the hot glue dries.
- Attach your bunny in an egg sign to your wreath with the pipe cleaners you just added to the back of the sign.
- Now attach the bigger bow to the wreath on the left side of the wreath.
- Attach your smaller bow to the top section of your wreath using the pipe cleaners.
- Clean up the tails by dovetailing the ends. Then fluff the tails and bows.
- Use a ribbon tail board to make 11 tails with two different 1.5” ribbons and one 2.5” ribbon. Cut the tails then dovetail the ends. Stack one of each of the 3 ribbon types, pinch them in the middle, and attach them to your wreath all around the outside of your base. Fluff out the tails and trim up the ends.
- Fluff out and arrange your ribbons and trim up any tails that you want.
Video
More Easter Themed Wreaths:
If you love this Bunny in an Easter Egg Wreath, check out more of our Easter designs:
If you need any help with centerpiece-making, bow-making, wreath-making, or crafting in general, be sure to check out more of our tutorials on How to Make Wreaths.
We would love to see your beautiful wreaths! Please share with us over at the How To Make Wreaths Facebook Group.
If you’re interested in more info on learning how to make wreaths or being in a community of like-minded crafters, check out our Creative Coaching Subscription Group.

Just pin this bunny in an Easter egg wreath tutorial below to find the instructions later!