
When you’re growing an online business, sales are dependent on 3 main areas high quality photos, search engine optimization (SEO), and a community. In this post, we’re going to focus on craft photography tips to improve your listing images.
Thankfully, you don’t need a big budget or a ton of equipment to do well with product photography – use these tips to learn how to take photos of items for sale so you get awesome shots of your crafts every single time.
Hey, y’all! When I talk about craft photography, I’m talking about how to take pictures of your wreaths and other crafts in a way that showcases them so that customers can’t wait to push that purchase button.

The way you present your products in your pictures online (like in your Etsy Shop) has a significant impact on your sales. Unprofessional-looking product pictures send consumers running in the opposite direction. That’s not what you want when you’re trying to sell items online!
The good news is that you don’t need to spend thousands of dollars on equipment or hiring a professional to create beautiful product photography that will infuse trust in your online store and help generate sales.
Today, I’m showing you 8 simple tips for improving your wreath pictures and other craft photography to enhance your store’s look and conversion rates.
What is craft photography?
Product photography uses certain techniques to display products in an attractive way in order to appeal to potential buyers.
Interesting Fact: Photos play a crucial role in a consumer’s decision-making process, ultimately impacting your conversion rates.
Yep, good photos are THAT important! And if you think about it, they are often your customers’ first impression of your work and your business – I’d say that’s pretty important, right?
Two Types Of eCommerce Craft Photography
You should focus on using two main types of images for your product pages and your marketing channels.
Product Images
These are the clean-cut, white background images that you see in online stores and show only the product itself.
This type of craft photography image should include your featured product and a variety of images displaying your product from different angles. That allows the customer to feel like they have a good idea of what to expect should they purchase your item.
These shots are meant to show your product in its best light and are usually shot with a white background to provide a consistent look across your product line. They’re also meant to build trust with potential new clients, so you want. to make sure these product images are high-quality.
Lifestyle Photos
These are in-context photos that showcase your product being used in its intended way. Lifestyle shots tell a story and are perfect for social media, blog posts, emails, and other marketing channels.
An example of a lifestyle photo would be showcasing your wreath on the front door of a house, or a centerpiece displayed on a table. We always take wreath pictures with the product hanging on a door so customers can see what it will look like in that context.
Craft Photography Tips for Taking Great Quality Product Photos
I can just hear you asking “How do you take good pictures of stuff to sell?”
If you don’t have experience with photography, trying your hand at craft photography can feel…daunting.
Luckily, I have 8 simple tips that will have you snapping quality craft photos and showcasing your products in the best possible way in practically no time!
1. Type Of Camera
This is your most important element for creating great-quality craft photography!
The prices of DSLR cameras have dropped over the last few years. But, they are still a pricey investment if you don’t already have one.
Fortunately, smartphone camera technology has come a long way. Sometimes you can take even better pictures with your phone than you might be able to take using a professional camera.
My recommendation would be to use your best judgment on which type of equipment you use.
As long as your lighting and background are good, your iPhone or Samsung phone can do a good job.
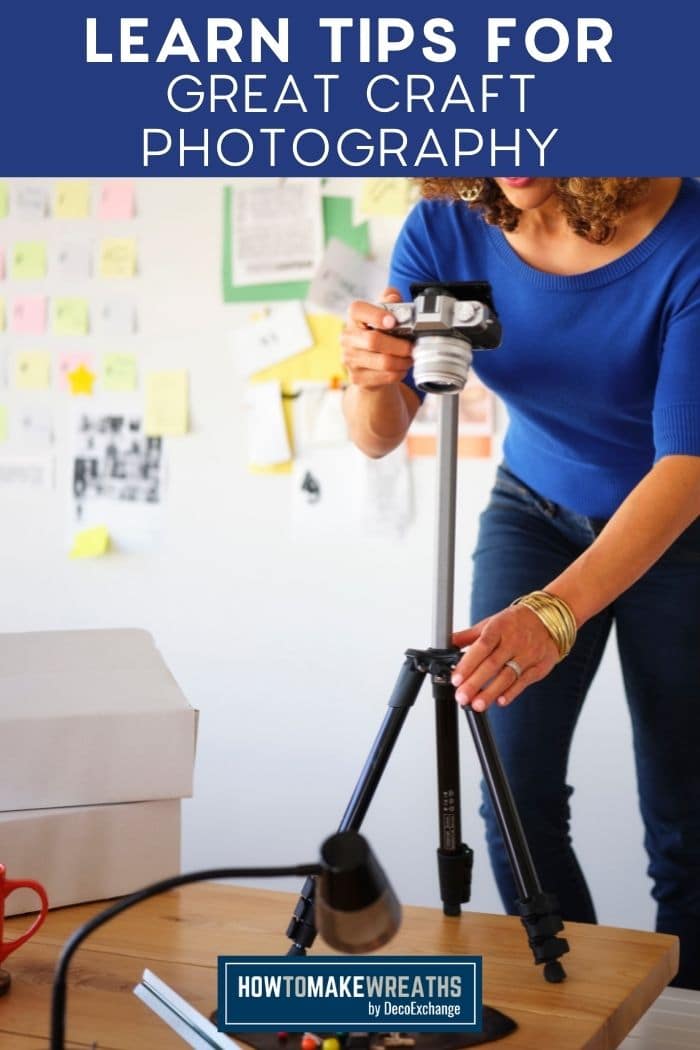
2. Steady Your Camera
If you don’t have one yet, I do suggest considering buying a camera tripod or stabilizer at some point to help reduce blur and speed up post-processing time.
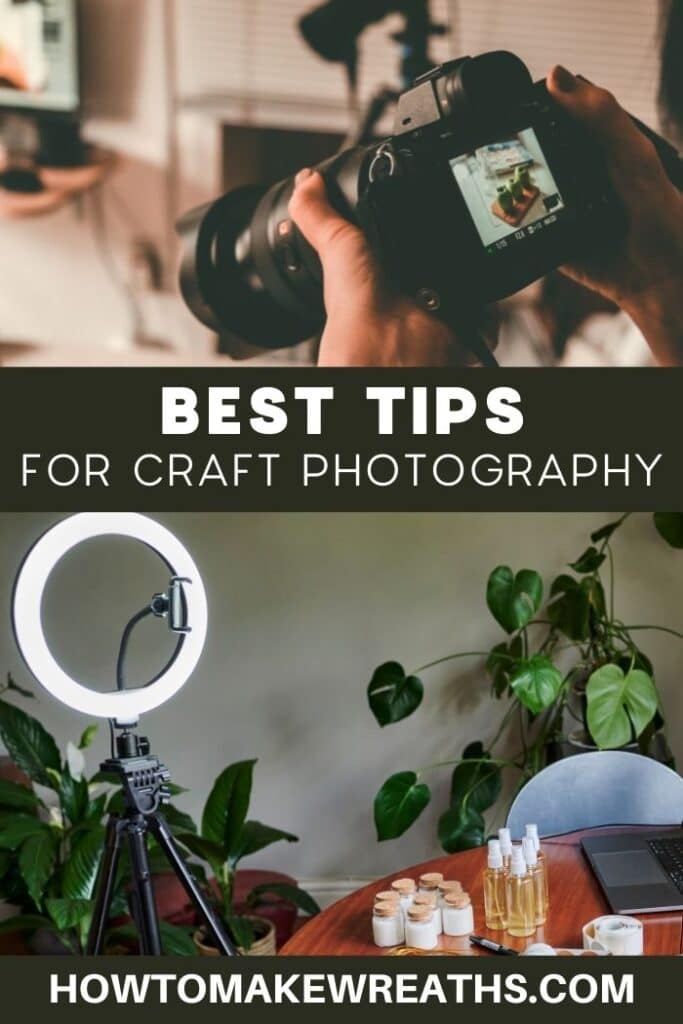
3. Lights
When taking photos of your crafts, you will need some good lighting to get the perfect photo.
Mother Nature has a great built-in option, but the sun is fickle and lighting can change in an instant.
For more consistent lighting, I recommend using a setup that allows you to use reflected light which isn’t as harsh as bright lighting. This will minimize shadows and showcase your product beautifully.

4. Set Up A Photography Backdrop
When taking product images, you want a simple, white or neutral background that doesn’t distract from your product. The opposite is what you want!
You actually want the photography backdrop to be simple but also contrast with your product. That will allow your product to stand out. You can find more craft photography background help at Practical eCommerce.
5. Use A Wide Aperture
The aperture is the opening that lets light into your camera and is specified by an “f-number” like “f/8”. A wide aperture (small f-number) produces a narrow depth of field that makes your photos look richer and more professional.
A small f-number will isolate your foreground from the background. That will make the product appear very sharp and in focus while the background is blurry. A large f-number will clearly capture everything in the frame.
If the numbers are confusing to you, just think of it this way: the lower the number (e.g., f/2.8), the smaller the area that will be in focus. The higher the number (e.g., f/22), the bigger the area that will be in focus.
6. Take Extra Photos
Try taking your pictures from several different angles and positions. Then, once you load them onto your computer, you’ll be able to pick the best one(s) and delete the rest!
It’s much better to take extra photos when you already have everything set up than to do it all over again. Isn’t digital photography handy?
7. Keep the Editing Simple
You want to represent your products as accurately as possible. It’s super frustrating to receive your online purchase and discover that it’s not at all like what you saw in the product listing!
Be accurate with the product. Keep the editing as minimal as possible. Only adjust the color balance of the photo to ensure that the colors in the photo match those in real life. Tweak the brightness and contrast to give it a more professional look.
Beyond that, leave it alone so you don’t end up changing the photo too much.
8. Experiment With Your Craft Photography
Don’t let doubt or fear stand in your way. Get creative and try experimenting!
You will make mistakes along the way, but they are teaching tools as you gain a deeper understanding and knowledge of the process. Your craft photography skills will improve!
With these simple tips, you are well on your way to creating outstanding craft photography. You’ll love that your photos will look like you spent a fortune on them when you did all the work yourself!
FAQs
Here are a couple of questions that I regularly receive from readers. If you have questions, please check to see if I’ve already answered them below. Don’t see your question answered? Leave it in the comments or on our Facebook page!
How do you take good pictures for Etsy?
In addition to the general tips I have highlighted above, I can offer a couple of Etsy-specific photography ideas for when you’re learning how to take photos of items for sale.
First, work to create a cohesive look for your shop. Essentially, you want to have the same set of backgrounds that you use for every set of photos so that customers look at your images and know which shop they belong to.
Second, limit the number of props you use in the photo. Especially when it comes to crafts (like wreath pictures), it’s better to let the item shine by itself rather than losing it among a crowd of props.
Can a smartphone take high-quality pictures?
Yes! Smartphone cameras are SO much better than they were just a few years ago.
If you want to use your smartphone to take craft photography images, make sure you’re using one that has a 12-megapixel (or better) camera. That will ensure that you’re capturing images that are detailed enough for your purposes.
As always, feel free to leave us a comment or question below or share this post with a friend. We appreciate getting your feedback and can’t way to provide y’all with more amazing content!
We would love to see your amazing photography too! Please share them with us over at the How To Make Wreaths Facebook Group.
Finally, if you’re interested in more info on learning how to make wreaths, where to buy supplies, and being in a community of like-minded crafters, check out our Creative Coaching Subscription Group.

READ NEXT:
- Selling At Craft Fairs: The Nitty Gritty
- How To Sell on Etsy: Top 7 Tips for Selling on Etsy
- Methods for Proper Wreath Storage
- 3 Keys to Successfully Selling Online
- Great Product Photography Tips For Selling On Etsy
Just pin these tips for craft photography below to find the instructions later!
If you’re a dog lover or know someone who is, check out our Support Dog Rescue t-shirts and click on the picture below!


It was interesting when you explained that it is important to have neutral backdrops when taking pictures of products. I would imagine that backgrounds play an important role in studio photography since it is inside a building. If I was a studio photographer, I would probably want to have a collection of backdrops to pick from.