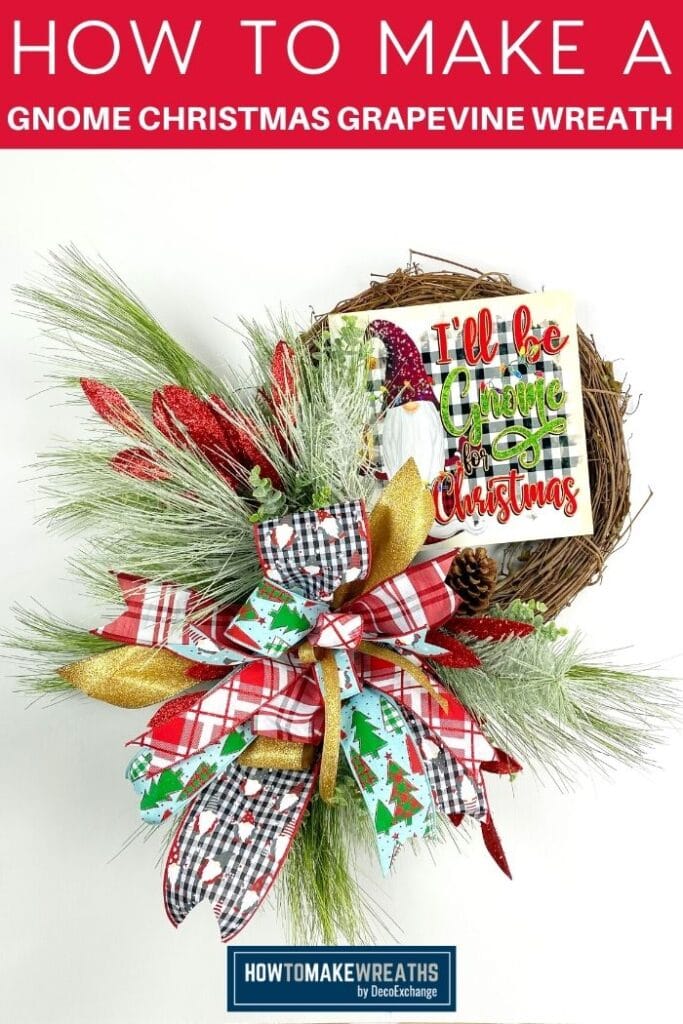
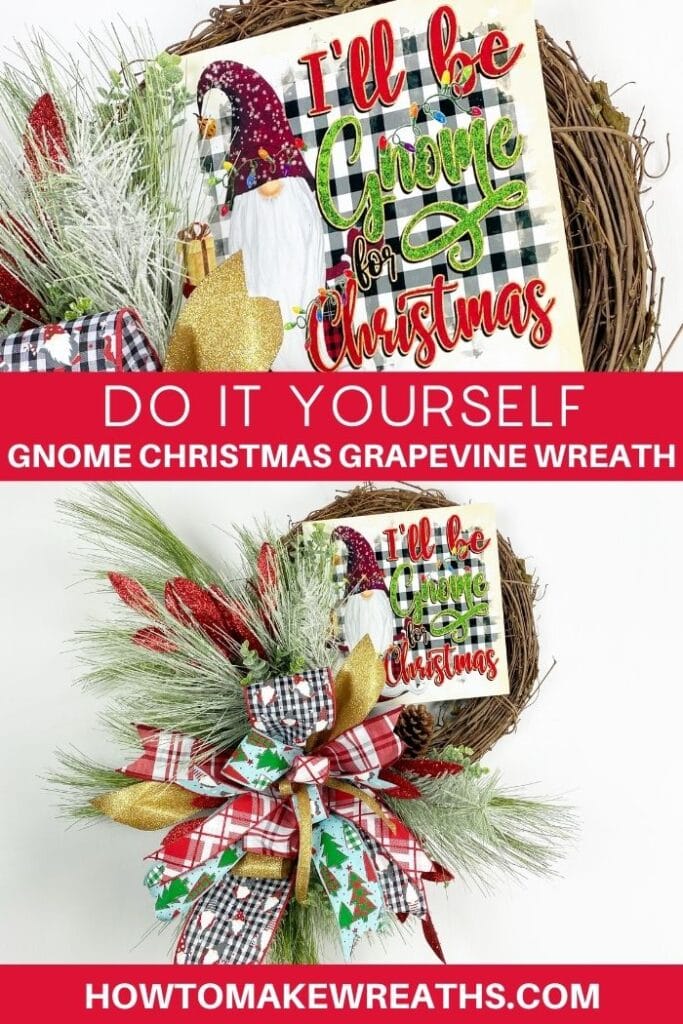
Check out this “I’ll Be Gnome For Christmas” Grapevine Wreath. It’s beautiful, easy to make, and colorfully festive! Make it for your door or it would also make a terrific design for your holiday inventory.
Hey, y’all! Believe it or not, Christmas is right around the corner and it’s time to start building your inventory (or creating your own wreath!). Shoppers start looking for their holiday wreaths early, so they can get their houses decorated.
I came across this “I’ll Be Gnome For Christmas” sign and loved it so much that we made a kit out of it. If the kit is still available, you can find it at DecoExchange.Etsy.com.
Besides, gnomes are just fun, aren’t they? Come check out how to make this Christmas grapevine wreath because you’ll love having a quick and easy design you can make for the busy holiday season.

If you like Christmas wreaths, don’t forget to also check out our Grapevine Christmas Pine Wreath, Christmas Glitter Bow by Hand, and DIY Christmas Wrapped Candy Cane Wreath.
Supplies Needed For This Gnome Christmas Grapevine Wreath
Here’s what you’ll need to make this fun and chic wreath.
- 16” round Grapevine wreath base
- I’ll Be Gnome For Christmas sign
- 2 sets of pine greenery
- 1 set of frosted pine greenery
- 1 frosted and glittered eucalyptus greenery sprig
- Glittery red leaf picks
- Pipe cleaners
- (1) 4” ribbon
- (3) 2.5” ribbon
- (2) 1.5” ribbon
- (1) 0.5” ribbon
- DAB glue
- Mini clamps
- Bolt cutters
- EZ Bow Maker
How To Make A Christmas Grapevine Wreath
Follow this step-by-step guide to put your holiday wreath together so you can get it ready to display for the season. Note: I’m using a slightly different technique for this bow that you won’t want to miss!
Step 1
Prepare your grapevine base by inspecting it to see if there are any leaves or stems that stick out too far. If there are, just cut them off.
Step 2
Prepare your sign by using DAB glue to glue mounting squares in the corners on the back of the sign. Insert pipe cleaners into the mounting squares.
Use mini clamps to clamp the mounting squares in place so they can dry as you continue to prepare your wreath.
Step 3
Take your EZ Bow Maker and your 4” ribbon and start making your bow. Start by making 12” tails on the right side with one 6.5” loop to the left side.
Then, make a corresponding loop and tails (the same size) with your first 2.5” ribbon.
Step 4
Grab your next 2.5” ribbon and make 12” tails to the right with one 6” loop to the left side. Then make a similar loop and tails for the other side with your 3rd 2.5” ribbon.
At this point, you’ll have 4 different ribbons on your EZ Bow Maker, but essentially only 2 traditional layers, if that makes sense.
Step 5
We’ll repeat this technique one more time with our (2) 1.5” ribbons. Make your 12” tails and one 5.5” loop with the first 1.5” ribbon. Do it one more time with your second 1.5” ribbon.
Step 6
Take your final ribbon and make one 5” loop with 12” tails as your center loop.
Step 7
Wrap a pipe cleaner around the middle of your bow. Twist it tightly to secure the bow.
Step 8
Remove the clamps from your sign and attach the sign to the top of your wreath form. Next, attach your bow to the bottom portion of your wreath base.
TIP: If you have trouble pushing the pipe cleaner through your grapevine, take your needle nose pliers and use them to push the pipe cleaner through the wreath. Then, use them to grab the pipe cleaner on the other side and pull it through so that the pipe cleaner comes out the back.
Step 9
Use your bolt cutters to cut your pine greenery apart to make it slightly smaller. Then, begin adding your greenery into the wreath frame in a triangle pattern around the bow.
Use a dab of hot glue to each stem after you stick it in the grapevine so that it stays in place after it dries.
Step 10
Now that we’ve built out our base, it’s time to add some color and texture. Take your frosted pine greenery, cut it apart, and insert a sprig around your bow in a triangle pattern.
Step 11
Fluff out your bow and dovetail the ends.
Complete the design by inserting a couple of glittery red leaf picks and eucalyptus sprigs into your wreath in a triangle pattern around your bow.
A Christmas Grapevine Wreath To Fall In Love With
I can’t get over how adorable this wreath is! The sign really makes it. Now, there aren’t many of these signs available.
So, if you can’t find this exact sign, you can use the same techniques to make a cute similar wreath with a different sign.
Isn’t Christmas crafting so much fun?
If you love Christmas wreaths, make sure to check out some of our other popular designs:
- Burlap Snowman Wreath
- Snowman Grapevine Wreath
- Vintage Santa Wreath
- Christmas Pancake Wreath
- Deco Mesh Elf Wreath
If you need any help with centerpiece-making, bow-making, wreath-making, or crafting in general, be sure to check out more of our tutorials on How to Make Wreaths.
We would love to see your beautiful wreaths! Please share with us over at the How To Make Wreaths Facebook Group.
If you’re interested in more info on learning how to make wreaths or being in a community of like-minded crafters, check out our Creative Coaching Subscription Group.
I’ll Be Gnome For Christmas Grapevine Wreath
Materials
- grapevine wreath
- sign/attachment "I'll Be Gnome For Christmas"
- 4 greenery sprays pine and frosted pine
- 1 greenery stems frosted eucalyptus
- Christmas Picks red glitter leaves
- 1 4" wired ribbon
- 3 2.5" wired ribbon
- 2 1.5" wired ribbon
- DAB glue
- mini clamps
- bolt cutter
- scissors
- EZ Bow Maker
Instructions
- Add a dot of glue to each corner on the back of the sign. Apply one mounting square on each glue dot. Use mini clamps to hold the squares in place until you're ready to attach the sign to the wreath.
- Use your EZ Bow Maker and your 4" ribbon to make 12” tails on the right side with one 6.5” loop to the left side. Make a corresponding loop and tails (the same size) with your first 2.5” ribbon.
- With your 2.5” ribbon make 12” tails to the right with one 6” loop to the left side. Make a similar complementing loop and tails for the other side with your last 2.5” ribbon.
- Take both of your 1.5” ribbons and repeat the technique again. Make 12” tails and one 5.5” loop with the first 1.5” ribbon. Then do it one more time with other 1.5” ribbon.
- Take the 1/2" ribbon and make tails with one center loop.
- Tightly twist a pipe cleaner around the middle of your bow to hold it together.
- Remove the clamps from your sign and attach the sign to the top of your wreath form. Next, attach your bow to the bottom portion of your wreath base.
- Cut your pine greenery apart with your bolt cutters to make it slightly smaller. Add your greenery sprigs into the wreath frame in a triangle pattern around the bow. Secure each sprig with a dab of hot glue.
- Repeat the same process with the frosted pine greenery.
- Complete the design by inserting a couple of glittery red leaf picks and eucalyptus sprigs into your wreath in a triangle pattern around your bow. Secure each one with a dab of hot glue.
- Fluff out your bow and dovetail the ribbon tails.
Video
Just pin this I’ll be gnome for Christmas Grapevine Wreath tutorial to save these holiday instructions for later!


