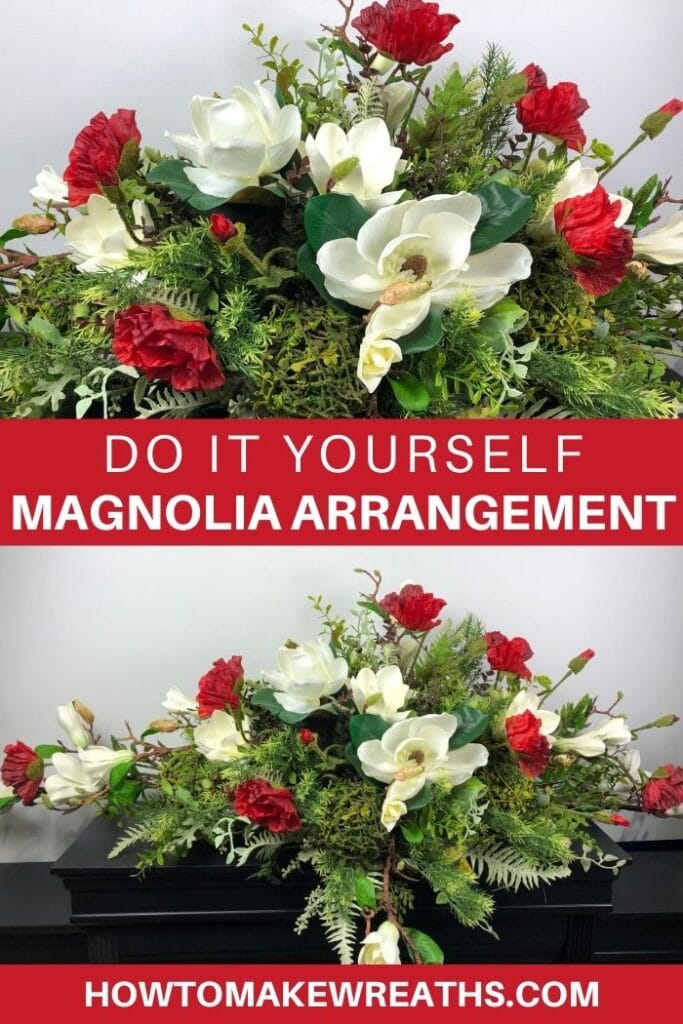
This simple but gorgeous magnolia centerpiece will look stunning on your table, a mantle, or anywhere in your home. Coach Jordan is here to show us how to make this floral design that’s easy enough for anyone to make!
Hey, y’all! It’s time for another centerpiece tutorial. We’ve made several different centerpieces over the years, and they were usually designed with specific holidays in mind such as Christmas or Mardi Gras.
I know we normally make a variety of wreaths, but centerpieces complement wreaths perfectly!
They make decorating your table or mantle easy peasy and bring together all the decorations around the house into one cohesive and festive design.
Today, Coach Jordan is here to show us how to make a lovely magnolia centerpiece that’s perfect to use all spring and summer. He’s putting his trademark style of simplicity to work to create a final product that looks much more complex than it is.
Let’s dive into this new magnolia centerpiece project!
Note: Have you seen some of our other centerpieces? We have one for Mardi Gras, Valentine’s Day, and Christmas. We even have a lovely spring centerpiece you’ll love.
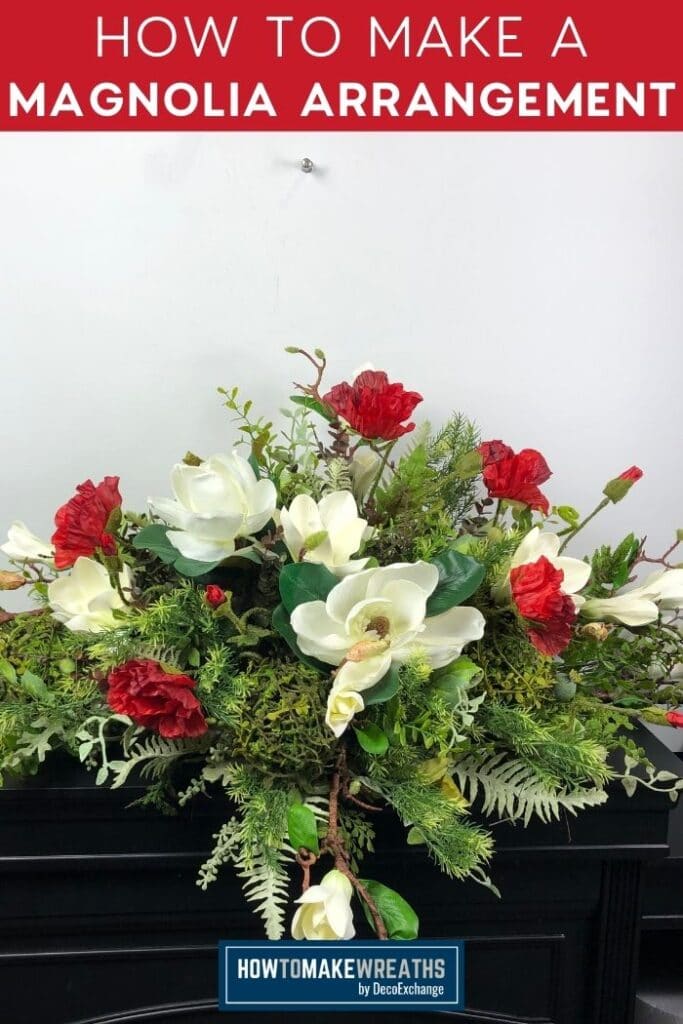
How To Make A Magnolia Centerpiece
Centerpiece designs like this one are pretty easy to create. You only need a few supplies and about 30-45 minutes to make something perfect for your own home or to add to your customer inventory.
Supplies Needed
Here’s everything you’ll need to complete this project. I have included links to some items to make them easier to find.
- 1 wood plank, about 12” long
- 1 foam block, about 10 inches long
- 4 greenery sprays (with white florals)
- 1 boxwood greenery spray
- 2 broad leaf curly-cue greenery sprays
- 12 various additional greenery sprays (including 5 eucalyptus)
- 8-10 magnolia flower sprays
- 3 greenery balls
- 6 poppy floral sprays
- Scissors
- Pipe cleaners
- bolt cutter
- stem cutter
- hot glue gun and glue gun
Instructions
Prepare to be amazed at how quick and easy this project is. Here’s your step-by-step guide.
If you struggle with making bows, you’re going to love this centerpiece because it doesn’t use any ribbon at all!
Note: This design has an open back so the centerpiece can sit against a wall and not be seen.
Step 1
Hot glue the foam block onto the wood plank. Then, add a line of hot glue all around the base where the foam meets the wood block to firmly secure it in place. Let it set.
Step 2
Next, take your greenery stems and pull them apart from the main stem. Then use hot glue to secure each small stem into place around the base. You’ll insert a couple of pieces into one side, in each end, and into the top of the foam block.
Step 3
Now it’s time to add in the boxwood greenery. Remove any tags and cut the stems off the main stem. Begin adding the boxwood stems into the foam throughout the design to add fullness and depth. Secure in place with hot glue.
Repeat the same process with the broadleaf greenery sprays.
Step 4
Insert additional pieces of greenery as needed to fill in any holes in the design. Hot glue them into place.
We’re just filling out the design by building up layers of different textures of greenery (except for the eucalyptus sprays).
Step 5
Now it’s time to begin adding the magnolia stems to the design. Take each stem and separate it into two stems. Insert each piece (with a dab of hot glue) throughout the design.
Step 6
Let’s fill in the magnolia centerpiece design and give it a little more visual interest by using pipe cleaners to attach our greenery balls anywhere you see gaps.
Add in the poppy sprays for a pop of color.
Step 7
Take your eucalyptus sprays and trim the stems short. We’re going to hot glue them to the back of this centerpiece to cover the foam block.
Step 8
Finally, give your centerpiece a visual once-over. Fluff out any greenery or florals so that the entire design looks full and varied.
An Everyday Magnolia Centerpiece For The Win
That’s it y’all! I made this magnolia centerpiece for Damon’s mom, but now you can make it too in about 30 minutes or so.
Centerpieces sell really well because they make decorating SO easy. This magnolia centerpiece project would be great for your Easter or spring/summer sales inventory in your shop because it’s quick to make and people will pay a decent amount of money for a beautiful centerpiece!
We encourage you to take this basic design idea and make it your own by adding your style and floral choices to it. Feel free to use different colors or make it holiday-themed!
Remember, customers start looking for their new seasonal decor way ahead of the actual season. If you plan to sell these, start building up your inventory and adding it to your shop now!
Don’t leave without checking out these other popular floral projects!
- Welcome To Our Honeycomb Floral Grapevine Wreath
- Lemon Grapevine Wreath With Blue And White Florals
- How to Make a Yellow Floral Grapevine Wreath
- Spring Floral Grapevine Wreath
- Blue Floral Wreath Kit
How did your centerpiece turn out? Show us by sharing a picture of your DIY holiday creations with us over at the How To Make Wreaths Facebook Group.
If you are interested in more info on learning how to make wreaths, where to buy supplies, and being in a community of like-minded crafters, check out our Creative Coaching Subscription Group.


How To Make A Magnolia Centerpiece
Materials
- wood plank 12 inches long
- styrofoam block 10 inches long
- 4 greenery sprays with white florals
- 1 greenery spray boxwood
- 2 greenery sprays broadleaf curly-cue style
- 12 greenery sprays various types, including eucalyptus
- 8-10 floral stems magnolia
- 3 greenery balls
- 6 floral stems poppy
- scissors
- pipe cleaners
- bolt cutter
- stem cutter
- hot glue gun and hot glue sticks
Instructions
- Put hot glue on the bottom of the foam block and attach it to the wood plank. Drizzle a line of hot glue all around the base of the foam block to firmly secure it in place.
- Once the glue has set, take your greenery stems and pull them apart from the main stem. Add a dab of hot glue to secure each stem into the styrofoam. You’ll insert greenery into 3 sides of the foam (plus on top). Leave one side open for the back.
- Pull apart the boxwood stems and insert them into the foam throughout the design to add fullness and depth.Repeat the same process with the broadleaf greenery sprays.
- Continue filling in the design by inserting various additional pieces of greenery as needed and hot gluing them into place.
- Begin adding the magnolia stems to the design. Separate each large stem into two stems. Then glue each piece into the foam throughout the design.
- Use pipe cleaners to attach greenery balls to the foam anywhere you see gaps in the greenery.Add the poppy sprays for some color.
- Separate the eucalyptus sprays and trim the stems short. Hot glue them to the back of the centerpiece to cover the foam block.
- Finish your magnolia centerpiece by looking it over carefully and fluffing out any greenery if you see gaps.
Video
Just pin this magnolia centerpiece below to find the instructions later!