
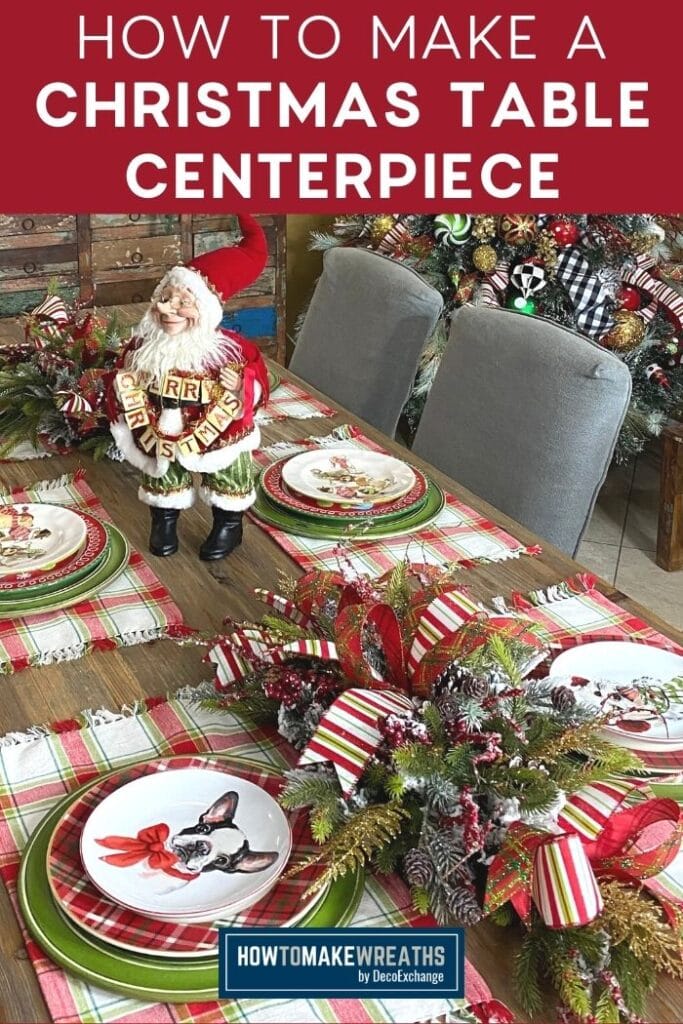
Make this simple but festive DIY Christmas Centerpiece for your own house or to sell. It’s one of my favorite Christmas centerpiece ideas, and it’s super quick to put together!
Hey, y’all! It’s time for another Christmas decor how-to. You’ve seen the pictures rolling out and might have gotten a glimpse of this centerpiece for Christmas in our chandelier makeover post. Isn’t it gorgeous?! Well, now you’re going to know how to make it!
We took an average Christmas centerpiece to the next level, friends! But, what really matters is that it looks fab, and it’s super simple to make (which means it hardly takes any time at all).
I wish we had taken before and after shots, but we were too excited and jumped right in. We did, however, make a video that you can check out down below.
Making an Easy Christmas Centerpiece
The Christmas season is a rich one for making and displaying a wide variety of crafts and decor pieces. Seriously, at what other time of the year can you cover your entire house in 2 or 3 colors for a month or more and have it look completely amazing?
Speaking of colors, I’m sure you’ll catch on right away that we’ve got a color theme going on. However, this tutorial leaves so much room for you to infuse your own creativity. Feel free to change the colors as you please to make it match your own holiday decor.
That’s not all! You easily tailor this Christmas centerpiece for this holiday. But what’s more, you can also use different greenery and ribbon patterns and colors to turn this into a centerpiece for Thanksgiving, 4th of July, Easter…you get where I’m going with this, right?
Remember, the basic supplies and steps are the same for all seasons! Personalize it to your heart’s content (or your customer’s desires!) by changing out the types of greenery and the ribbons you use.
Creating a Simple Design That Looks Stunning
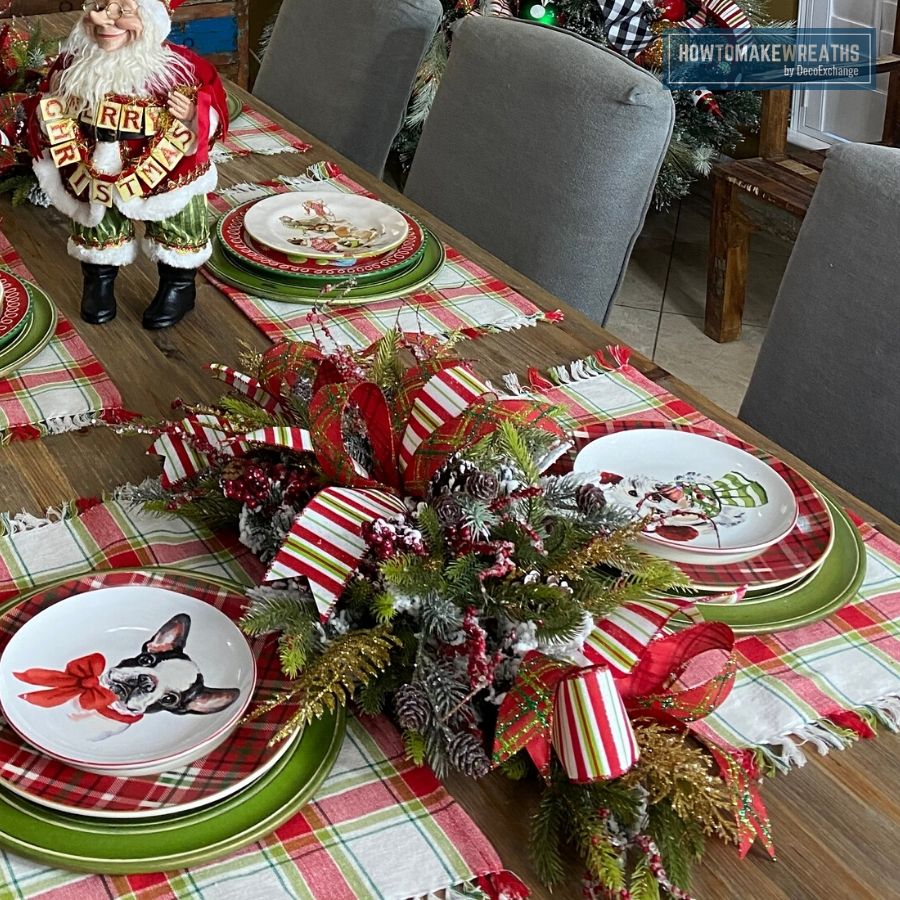
While we have many other Christmas project ideas on this site, I wanted to change things up just a little and create a very simple and easy Christmas centerpiece idea for your table. My goal was to design a piece that anyone can make but it looks much more complicated than it actually is.
And I love how it turned out! The colors and textures come together in a way that will make you proud to display it on your table for all to see.
Or if you put it up in your shop for sale, it will disappear like hotcakes because it looks so amazing. Since it’s so quick and easy to make, you can build up an inventory for sale in a very short period of time.
Remember, customers start looking for their new Christmas decor months before the actual holiday, so if you plan to sell these, start building up your inventory and adding it to your shop now!
However, before we dive into this Christmas centerpiece idea, be sure to check out these other fun Christmas projects:
- How to Make a Christmas Pancake Wreath
- DIY Christmas Tree Wreath
- How to Make a Snowman Christmas Tree Topper
- How to Decorate a Chandelier (this piece and today’s piece look fabulous together!)
- Decoupaged Wood Christmas Signs
- How to Make an Elf Leg Door Hanger
- How to Make a Simple Christmas Grapevine Wreath
How to Make a Christmas Centerpiece Video:
Some people just learn better from watching someone else, right? We made this simple video to show you step-by-step how to make this easy Christmas centerpiece for your table.
Since we didn’t get before and after pictures, this video will walk you through the process. Check it out!
You will likely have most of this on hand, but if you’re missing an item or two, click the link for the item you need to find where to purchase it. Don’t forget that you can also find most supplies you might need over at DecoExchange.

Simple DIY Table Centerpiece for Christmas
Materials
- Base centerpiece from Michael's or anywhere really
- wired ribbon
- pipe cleaners
- greenery sprays
- stem cutter
- bolt cutter
- hot glue gun
- glue sticks
Instructions
- Fluff your centerpiece
- Add “bunny ear” bows in the center and ends of the swags
- Fill in any empty spaces with the greenery – cut and add greenery as needed
- Glue in your greenery and picks with a glue gun
- Make sure and fill in the sides of the piece – remember that most centerpieces can be seen from all sides so look at it from all angles and fill in spots accordingly
- Boom – done!
So how does it all look when it’s tied together? Check this out. See how the Christmas tree, the chandelier, and the table centerpiece are all coordinated?

Don’t leave without checking out our other tutorials on How to Make Wreaths.
How did your Christmas centerpiece ideas turn out? Show us by sharing a picture of your DIY holiday creations with us over at the How To Make Wreaths Facebook Group.
If you are interested in more info on learning how to make wreaths, where to buy supplies, and being in a community of like-minded crafters, check out our Creative Coaching Subscription Group.


Love them but interested in where the Santa and elves came from?
Those dog plates