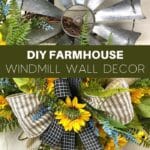
This windmill wreath is a must-make for the spring and summer months! Windmill decor is hot…hot…hot, so capitalize on this trend whether you make it for yourself to enjoy or make a few dozen and sell them at your next craft show.
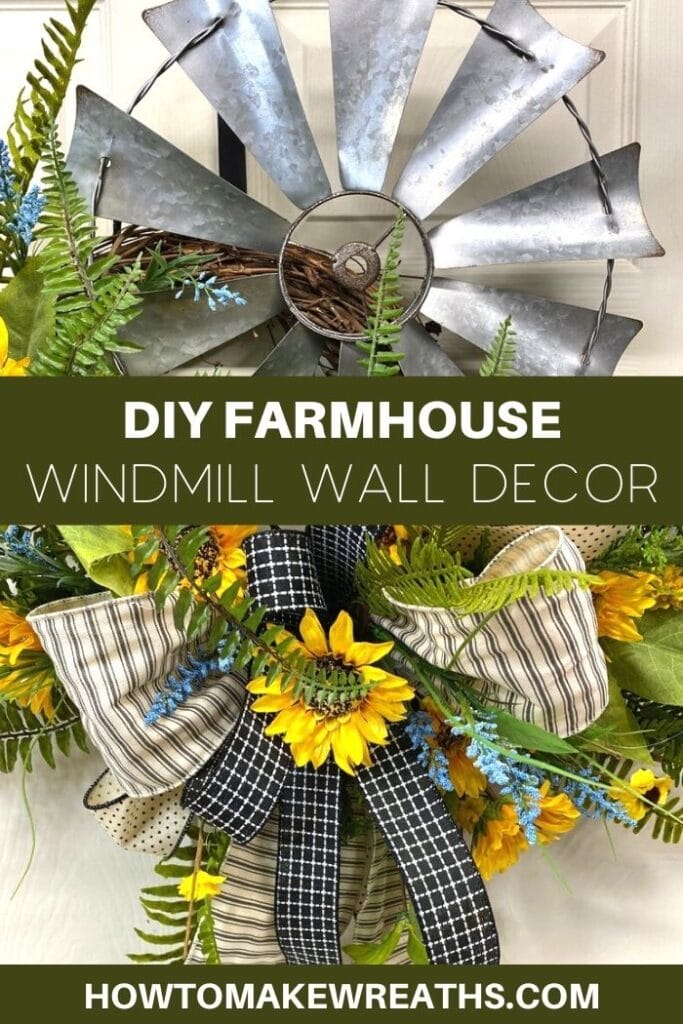
What is it about windmill decor, y’all? Maybe it’s the whole farmhouse trend that’s going on, but people go NUTS for anything that has those galvanized blades! This windmill wreath is a really fun take on the entire windmill decor movement—can’t you just see it hanging on some white shiplap walls or a rustic wooden front door?
What makes this project especially fun is how you can customize the florals, greenery, and even the ribbons to create a completely different look effortlessly. That handy little tidbit can help you sell LOTS of these wreaths!
If you love that rustic, farmhouse vibe, check out our Everyday Grapevine and Burlap Wreath, Simple Burlap Wreath, or Bless this Mess Farmhouse Wreath.
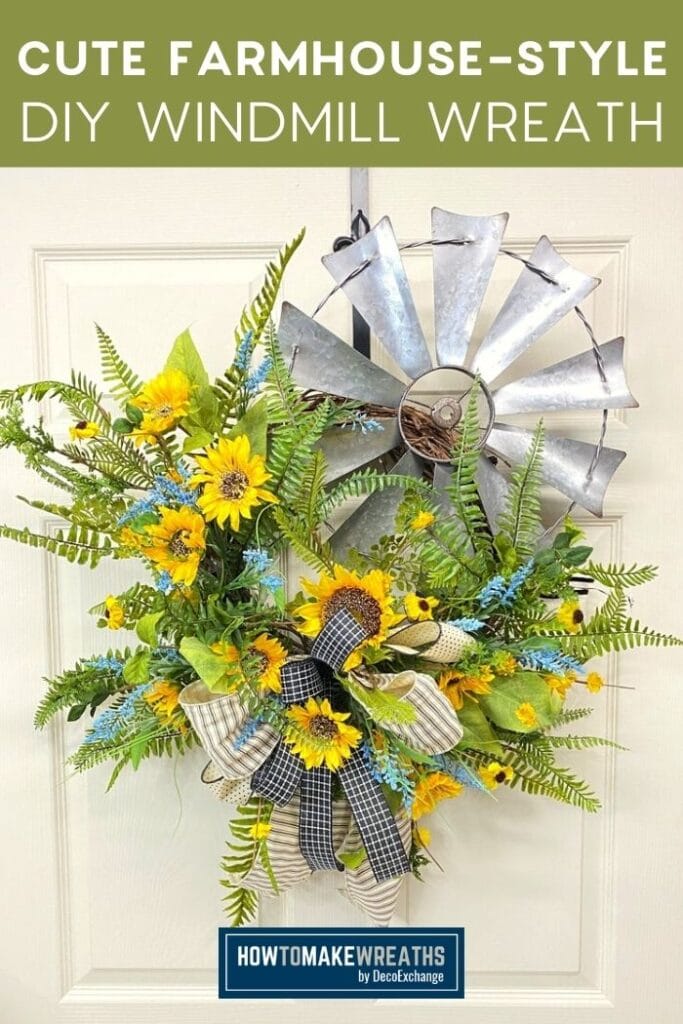
How To Make Windmill Decor
I’ll just tell you straight up: this windmill wreath takes a bit of time to put together…but the end result is well worth it! This is one of my favorite windmill decor pieces that we’ve ever done!
Windmill Wall Decor Video Tutorial
The video below will take you through how to make this fun wreath step by step. Make it along with me—it takes an hour to put together and that’s with plenty of fun chit-chat and business talk happening, y’all!
DIY Windmill Decor Supplies Needed
Here’s everything you’ll need for this project.
- 1 grapevine wreath
- 1 windmill attachment
- scissors
- pipe cleaners
- glue sticks
- hot glue gun
- greenery sprays
- sunflower sprays
- floral sprays
- 1.5 wired ribbon
- 4″ wired ribbon
- 2.5″ wired ribbon
- EZ Bow Maker
Farmhouse Windmill Wall Decor Instructions
In case you didn’t catch something in the video above, here are the directions written out so you can follow the process of making this windmill wreath easily!
Step 1
Take your windmill and attach it one side of the grapevine wreath base using pipe cleaners to secure each side of the windmill.
Step 2
Start making your bow. Grab the EZ Bow Maker and a 2.5″ wired ribbon. Measure out a 16-inch tail and make (2) 8-inch loops.
Step 3
Next, grab your 4″ ribbon and repeat the same process.
Step 4
Now we’ll add in a 1.5″ ribbon. Make tail, 2 slightly smaller loops, and then make a small loop to be the center button of your bow.
Step 5
Use a pipe cleaner to tie the bow off tight with a good twist (of the bow).
Step 6
With the windmill at the top right side of the wreath base, we’ll be adding our main design to the bottom part of the grapevine to accentuate the windmill.
Use the pipe cleaner on your bow to attach the bow at the bottom of the grapevine base.
Step 7
Trim the tails at the top of your bow. Wait to trim the tails at the bottom of your bow.
Step 8
Take your greenery sprays and add them to both sides of the bow. Use the hot glue gun to secure them in place.
Step 9
Add some sunflower sprays on both sides of the bow. Secure them in place with a dab of hot glue.
Step 10
Keep layering to build out the design by adding in more sunflower sprays to make it fuller.
Step 11
Take your other floral floral sprays, and use the hot glue to attach them to the grapevine base and fill in the gaps.
Step 12
Dovetail all ribbon tails.
Wasn’t that fun? There are so many fun ways you can use windmill decor, but in a wreath like this is by far my favorite!
Make This Cute Wreath For Yourself
…or to sell! The point it, anyone who loves farmhouse decor will go crazy for this windmill wreath design! Don’t forget to also check out our DIY Grapevine Farmhouse Wreath, Double Grapevine Rooster Wreath, or Easy Birch Wreath.
If you ever need help with any part of the wreath-making process, we would love to help. This includes any questions about bow-making, wreath-making, or crafting in general!
Don’t forget to check out more of our tutorials on How to Make Wreaths. Plus, come share with us over at the How To Make Wreaths Facebook Group.
If you are interested in more info on learning how to make wreaths, where to buy supplies, and being in a community of like-minded crafters, check out our Creative Coaching Subscription Group.
Windmill Wreath
Materials
Instructions
- Take your windmill and overlap on one side of the grapevine wreath base. Use pipe cleaners to attach it securely on each side. Now set this aside and get started on the bow.
- Take the EZ Bow Maker and a 2.5" wired ribbon. Measure out a 16-inch tail and make an 8-inch loop on each side.
- Next, get your 4" ribbon and do the same a 16-inch tail and an 8-inch loop on each side.
- Now we're going to add out 1.5" ribbon. Make tail and then a slightly smaller loop on each side, then make a small loop to be the center button of your bow.
- Take a pipe cleaner and tie the bow off nice and tight.
- With the windmill at the top, we'll be putting our main design on the bottom part of the grapevine, so our windmill is going to stand out. Place the bow at the bottom of the grapevine base. Get it pulled in nice and tight.
- Trim the tails at the top of your bow. We'll trim the tails at the bottom of your bow later.
- Add some greenery sprays on both sides of the bow. Use the hot glue gun to keep them in place.
- Add some sunflower sprays on both side of the bow. Use the hot glue gun to keep them in place.
- Keep layering with the sunflower sprays to make the design fuller. Build it out.
- Take your floral spray, and use the hot glue to attach it to the grapevine base and fill in the gaps.
- Now trim all the ribbon tails at an angle.
Just pin this cute farmhouse windmill wreath tutorial to save the instructions for later!





What size is the grapevine?
What size is the grapevine
18″