
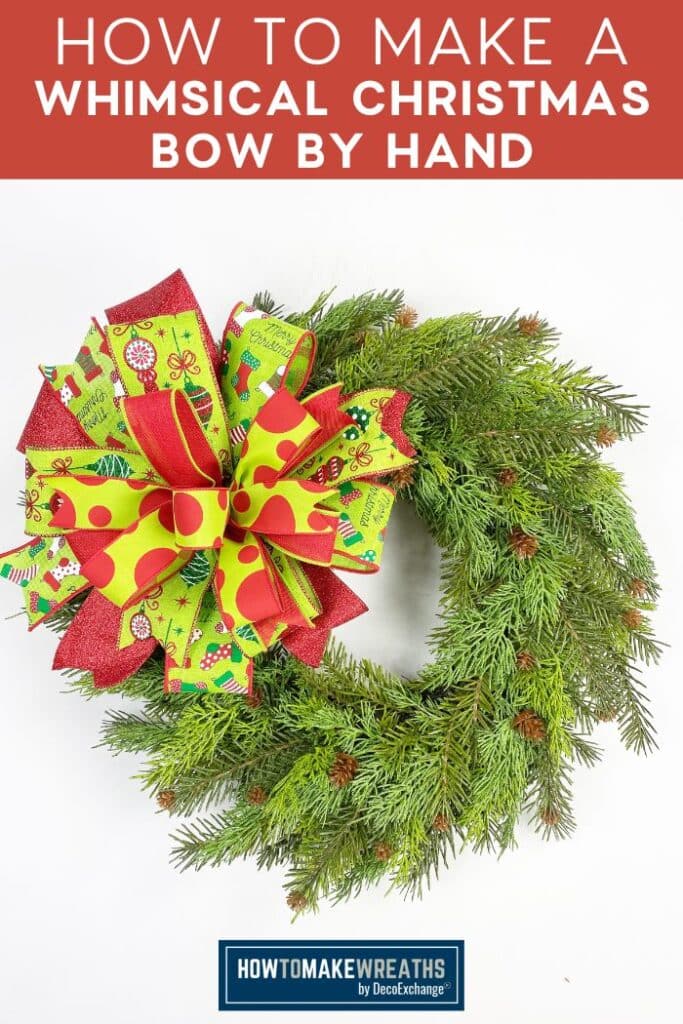
A beautiful bow can make a huge difference in the aesthetics of your entire wreath. Use this tutorial to learn how to make a whimsical Christmas bow that will elevate all your Christmas wreath designs!
Hey, y’all! I make a variety of different bows. Why? Because they each create a different look and feel for a wreath design. Sometimes a large bow is too heavy, while at other times, a small bow just isn’t enough.
So it’s important to have a fairly large repertoire of bow-making techniques in your back pocket so you can always create the ideal design for every wreath.
Sometimes you might want to make a Terri bow, but there are other times when a Damon bow or a simple bow by hand would be more appropriate. No matter which type of bow you want to make, we probably have a bow-making tutorial to cover how to do it!
Today, Coach Mel from the Creative Coaching Group here showing us how to make a whimsical Christmas bow that will make any of your Christmas designs sparkle.
Before we dive right in, if you want even more great Christmas wreath design inspiration, check out our DIY Christmas Lantern Swag, White Christmas Wreath, and Christmas Wreath With Glitter Ribbon designs.
How To Make A Christmas Bow
Follow along with how Coach Mel makes this whimsical bow to learn how you can add some whimsy whenever you want to!
Supplies Needed
- (3) 2.5” ribbon
- (2) 1.5” ribbon
- Pipe cleaners
- Scissors
Christmas Wreath Instructions
Here’s how Coach Mel created this fun, whimsical Christmas bow. Note: this bow is made by hand, so we won’t be pulling out our EZ Bow Maker.
Step 1
Take your first 2.5” ribbon and measure out two 8” tails with three 6.5” loops. One side of this layer will have two loops, and the other side will have two tails. Wrap a pipe cleaner around the middle to hold your ribbon in place while you do the next layer.
Step 2
Grab your second 2.5” ribbon and repeat the basic process. Make these tails slightly shorter (7.5”) and the loops slightly smaller (6”). Add this layer on top of the previous layer, making sure to alternate so that the loop-heavy side of this layer goes under the tail-heavy side of the previous layer to balance it out.
Step 3
Take the third 2.5” ribbon and make two 6” tails with three 5.5” loops. Add this layer to the top of your other layers, putting the loop-heavy side on top of the tail-heavy side from the previous layers.
Step 4
Next, use your first 1.5” ribbon and follow the same process, this time making the tails 5” and the loops 4.75”. Tie this layer separately with a different pipe cleaner.
Step 5
For your final layer, take the last 1.5” ribbon and make 4” tails. This layer will have 4 loops in total. The first set of loops will be about 3”, and the second set (behind the first set) will be 4” so you can see them. Add this layer on top of the other 1.5” ribbon in the second pipe cleaner.
Step 6
We now need to add the two pipe cleaner sets together to create one bow.
Making sure that all the pipe cleaners are sticking out on the sides of the ribbon bunches, and place the set with the 1.5” ribbon layers on top of the set that holds the 2.5” ribbon layers.
Wrap the pipe cleaners from the top layer around the entire bow and twist them. Then twist one top pipe cleaner with one bottom pipe cleaner and repeat with the other top and bottom pipe cleaner.
Step 7
Our bow needs a pipe cleaner that we can use to attach to our wreath design. So take a different pipe cleaner and wrap it around each twisted pipe cleaner pair a couple of times, nice and low, close to the bow.
Use bolt cutters to trim the twisted pipe cleaner pairs shorter so they’re out of the way. Tuck those ends into the bottom of the bow.
Step 8
Now it’s time to spread out all the layers of loops and tails and arrange them. Beginning with the bottom layer, pull the tails and loops out so they spread out, and you can see each layer.
When you reach the top layer, pull one of the loops up toward the ceiling to designate a center bow.
That’s it! The final bow comes out to around 12 inches, so it’s perfect for wreaths, centerpieces, swags, and even birthday gift wraps.
Make This Christmas Bow Design For All Your Projects!
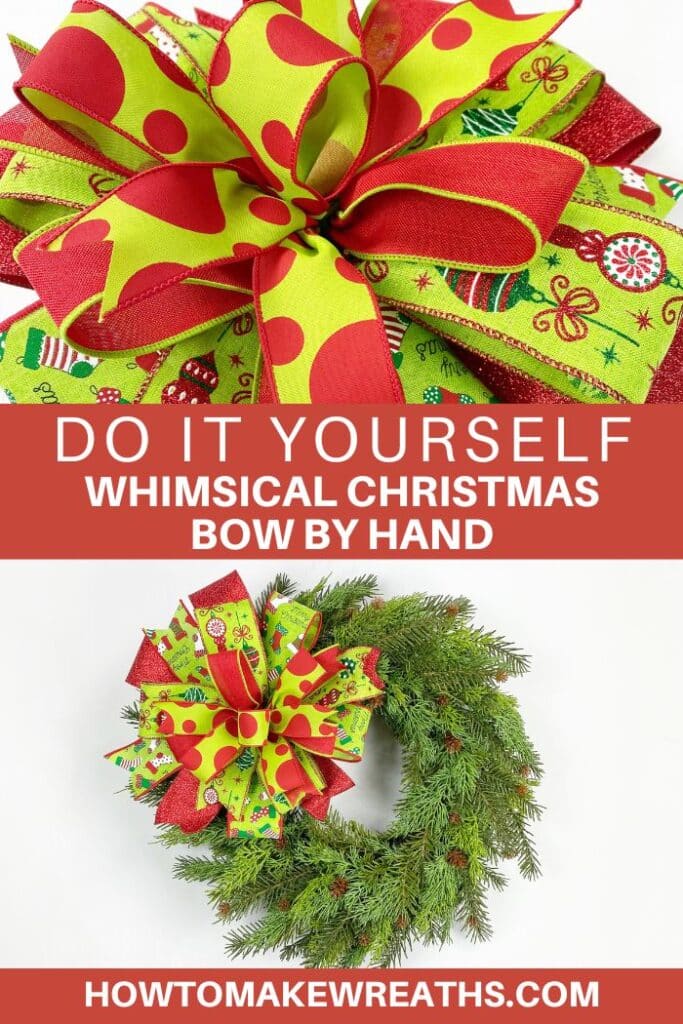
Isn’t this bow eye-catching? It’s a very versatile design that you can literally use for anything. Swap out the season or holiday by changing the ribbon colors and patterns to match the occasion. The possibilities are nearly endless!
While you’re here, check out these other popular bow designs and inspiration too:
- How To Make A 3-2-1 Layered Bow
- Making A Patriotic Bow
- Damon’s Top Bow Maker (+ Must-Have Bow Making Tools)
- How To Make An Everyday DIY Wreath Bow
- How To Make A Funky Bow Wreath For Christmas
If you need any help with centerpiece-making, bow-making, wreath-making, or crafting in general, be sure to check out more of our tutorials on How to Make Wreaths.
We would love to see your beautiful wreaths! Please share with us over at the How To Make Wreaths Facebook Group.
If you’re interested in more info on learning how to make wreaths or being in a community of like-minded crafters, check out our Creative Coaching Subscription Group.

Learn how to start, operate, and scale your creative business!
Get more info about business and creative coaching at The Makers University.
Just pin this whimsical Christmas bow tutorial to save these simple instructions for later!

How To Make A Whimsical Christmas Bow
Instructions
- With the first 2.5” ribbon, measure (2) 8” tails and (3) 6.5” loops. One side of this layer will have two loops, and the other side will have two tails. Use a pipe cleaner wrapped around the middle to hold your ribbon in place as you work on the next layer.
- Take the second 2.5” ribbon and repeat the process. The tails for this layer will be shorter (7.5”), and the loops need to be slightly smaller (6”). Stack this layer on top of the previous layer with the loop-side matching up to the tail side of the previous layer.
- With the third 2.5” ribbon, make (2) 6” tails with (3) 5.5” loops. As you did with the previous layer, stack this layer on top of your other layers, putting the loop-heavy side on top of the tail-heavy side from the previous layers.
- Now, grab the first 1.5” ribbon and follow the same process, making the tails 5” and the loops 4.75”. Use a separate pipe cleaner to hold this layer in place.
- Take the last 1.5” ribbon to make your final layer. This layer will have 4 loops, with the first set of loops measuring 3” and the second set (behind the first set) measuring 4” so you can see them. The tails are 4". Add this layer on top of the other 1.5” ribbon in the second pipe cleaner.
- It's time to combine the two pipe cleaner sets together to create one bow.You want all the pipe cleaners to be sticking out on the sides of the ribbon bunches. The set with the 1.5” ribbons goes on top of the set that holds the 2.5” ribbons. Wrap the pipe cleaner from the top layer around the entire bow and twist the ends to secure it in place. Then twist one top pipe cleaner with one bottom pipe cleaner and repeat with the other top and bottom pipe cleaner.
- Take a third pipe cleaner and wrap it around each twisted pipe cleaner pair a couple of times down close to the bow.Use bolt cutters to trim the twisted pipe cleaner pairs shorter and tuck the ends into the bottom of the bow.
- Now it’s time to spread out all the layers of loops and tails and arrange them. Beginning with the bottom layer, pull the tails and loops out, so they spread out, and you can see each layer.When you reach the top layer, pull one of the loops up toward the ceiling to designate a center bow and fluff everything out before trimming the ends in a dovetail shape.
Video
If you love to craft, check out our Eat. Sleep. Craft. Repeat. t-shirts and click on the picture below!


