
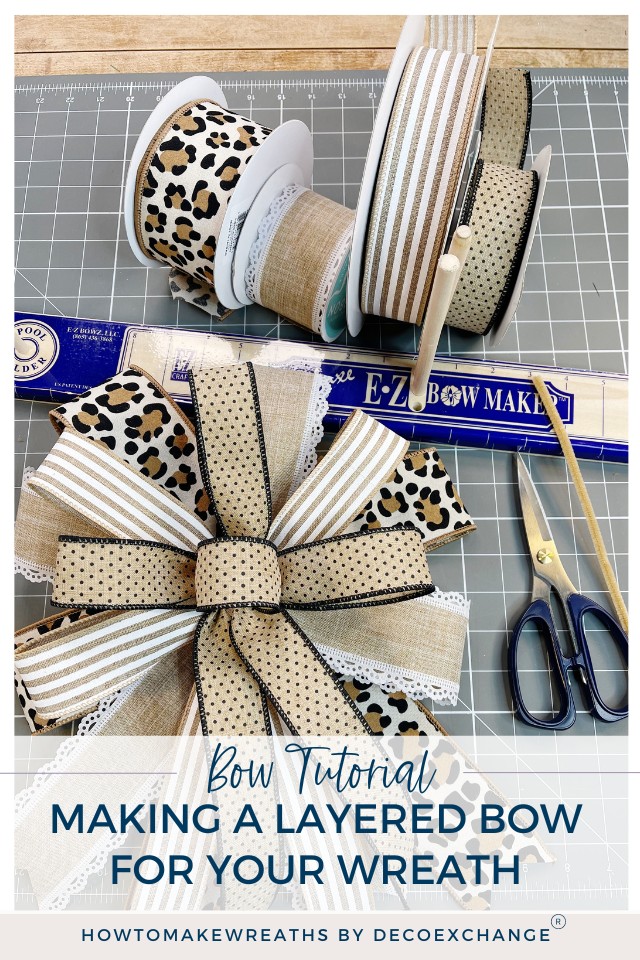
Coach Mel is here to show us how to make a layered bow for a wreath that can be neutral for all-year-long use or easily adapted to fit any wreath you create. You’ll only need minimal supplies and about 15 minutes (or less!).
Hey, y’all! We feature Coach Mel and her projects on this site a lot because she constantly comes up with inspiring and practical designs that anyone (especially beginners!) can make. Her wreath designs always look beautiful and more complex than they actually are, so they sell quickly without taking you all day to make them.
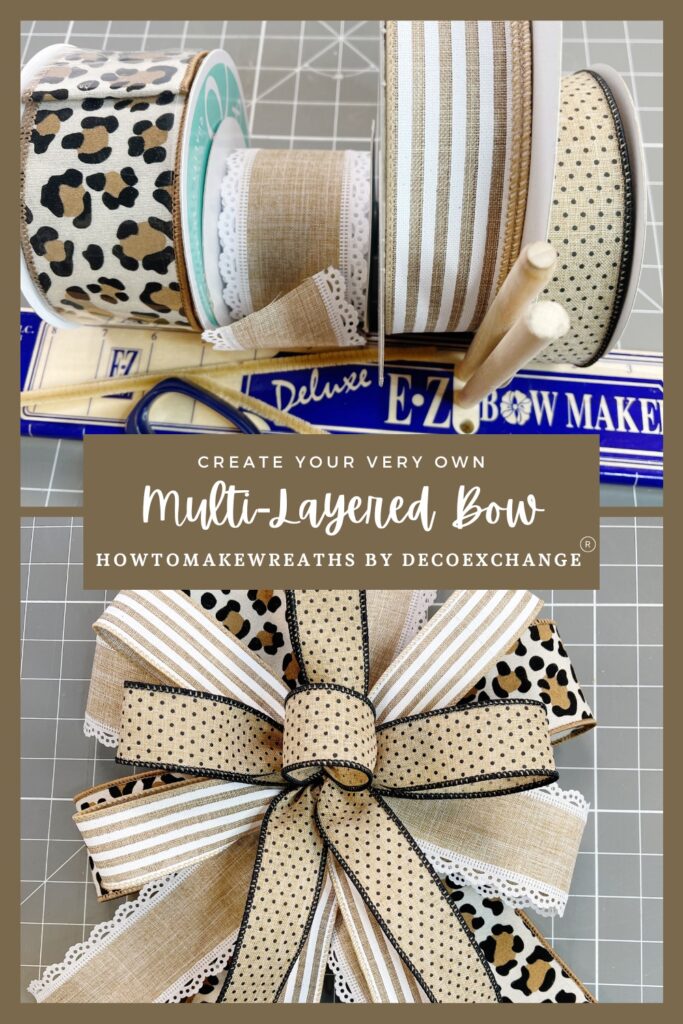
Today, she’s sharing a simple multi-layered wreath bow that’s incredibly versatile. We love sharing adaptable projects with you because it allows you to use one method to create many different “looks.”
This tutorial will show you how to make an everyday version of this layered bow. I love the balance of simplicity and nuance in this design!
If you need some inspiration for wreaths that use simple layered bows, check out our DIY Farmhouse Swag, Simple Basic Grapevine Wreath, and Hydrangea Grapevine Wreath ideas.
Layered Bow Supplies Needed
Here’s everything you’ll need to make this layered wreath bow. You don’t need much, but I’ve included a few helpful links just in case you’re missing something.

How To Make A Layered Bow For Wreath
The process for making this bow is super simple, and we’re really just using the EZ Bow Maker to hold the ribbons as we work so that our hands don’t get tired.
Step 1
Take your first 2.5-inch ribbon and make a 10-inch tail with a 6.5-inch loop. Pinch, twist (so the pretty side of the ribbon always faces forward), and make another loop of the same size.
Repeat one more time, so you have three loops (two loops on one side and both tails on the other). Measure out one more 10-inch tail and cut the ribbon.
Place this layer down into the EZ Bow Maker.
Step 2
Take another 2.5-inch ribbon and make 10-inch tails. There will also be three loops for this layer, but they’ll be a little smaller (6”).
Add this layer to the EZ Bow Maker on top of the previous layer. This time, however, place the side with the two tails on the opposite side of the EZ Bow Maker.
Step 3
Take the first 1.5-inch ribbon and make 10-inch tails with (3) 5.5-inch loops. Again, place this layer on top of the previous layer, alternating on which side the tails sit.
Step 4
Next, take your second 1.5-inch ribbon and create (2) 10-inch tails with four loops. Place this layer on top of the previous layer in your EZ Bow Maker, alternating the side where the tails go.
NOTE: The first loop you make on this layer will be smaller (4 inches or so) because it will be your center loop. Then your other three loops will be 5”.
Step 5
Now that you’ve created all your layers, it’s time to finish the bow. Wrap a pipe cleaner (or zip tie) around all of the layers in the middle of the bow as you pull the bow out of the EZ Bow Maker.
Hold the pipe cleaner behind the bow and twist the bow to tighten the pipe cleaner and make the bow pop!
Step 6
Open up the bow by separating the layers, pulling all the tails toward the bottom, and spreading out the loops. Fluff everything out and make sure all the ends are dovetailed.
That’s it! In true Coach Mel fashion, she created a gorgeous design you can use anywhere, anytime! If you’ve been struggling with bows, I hope this tutorial explained the mystery and showed you how to make a layered bow for a wreath you love.
Final Thoughts Making Layered Bows For Wreaths
Many new wreath-makers overcomplicate bow-making. Bows are an essential element of your wreath, but making them can be a simple process. Once you dive in and create one or two bows, I feel confident you’ll enjoy bow-making!
Check out some of our other techniques on how to make bows:
- Terri Bow Tutorial: Make a Bow Using the EZ Bow Maker
- Bow Making Fun with the Creative Coaches
- Learn How to Make Decorative Bows
- Bow Maker Tools – The Great Bow Debate
- How To Make A Simple Bow: A Tutorial By Parker
If you still need to join our How To Make Wreaths Facebook Group, make sure you head on over there and share your latest design with us!
If you need any help with centerpiece-making, bow-making, wreath-making, or crafting in general, be sure to check out more of our tutorials on How to Make Wreaths.
Finally, if you’re interested in more info on learning how to make wreaths, where to buy supplies, and being in a community of like-minded crafters, check out our Creative Coaching Subscription Group.

Learn how to start, operate, and scale your creative business!
Get more info about business and creative coaching at The Makers University.

How To Make A Layered Bow For Wreaths
Instructions
- Grab your first 2.5" ribbon and make (2) 10" tails with (3) 6.5-inch loops. This layer will be the bottom layer in the EZ Bow Maker.
- Take the second 2.5" ribbon and make (2) 10-inch tails and (3) 6" loops for this layer.Add this layer to the EZ Bow Maker on top of the first layer, placing the two tails on the opposite side of the EZ Bow Maker.
- Next, take the first 1.5" ribbon and make (2) 10" tails with (3) 5.5" loops. Arrange this layer so that it alternates which side the tails go toward.
- Finally, take your second 1.5" ribbon and create (2) 10" tails with four loops. The first loop will be a 4" center loop, and the other 3 loops will be 5".Place this layer on top of the previous layer in your EZ Bow Maker, alternating the side where the tails go.
- Wrap a pipe cleaner (or zip tie) around the middle of the bow as you pull the bow out of the EZ Bow Maker.Hold the pipe cleaner behind the bow and twist the bow to tighten!
- Lastly, open up the bow by spreading out the layers. Pull all the tails toward the bottom, and separate the loops. Fluff everything out and dovetail all the ends.

