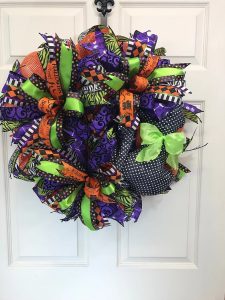
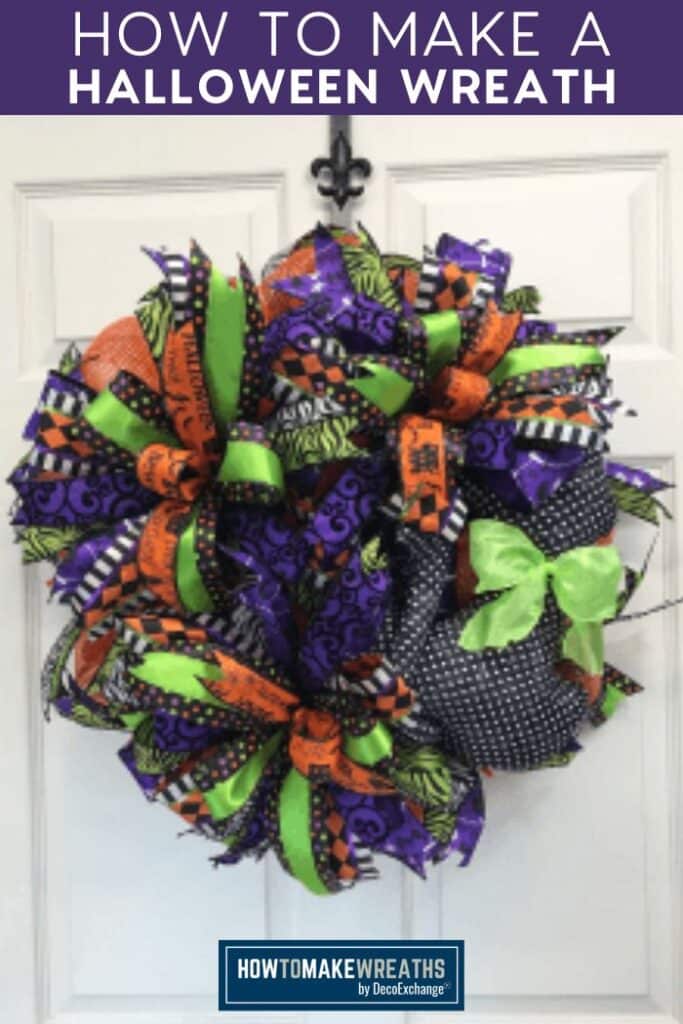
This Halloween wreath design is a classic in our shop because customers reliably love it. Learn how to make a Halloween wreath that you can come back to again and again.
Hey, y’all! We’ve been busy little bees letting the creative juices flow and making new seasonal and holiday designs. And we’ve also been playing around with new decor ideas, such as centerpieces and swags, which have been fun.
But, even with all that work and all the new designs we’ve been creating, it’s nice to come back to some tried and true designs that customers like year after year.
This Halloween wreath design incorporates all the fun colors of the season and looks fantastic on any door.
If you are searching for more Halloween designs, make sure to check out our DIY Halloween Ghost Wreath, Eat Drink And Be Scary Halloween Wreath, and Witch and Broom Halloween Wreath designs.
How To Make A Halloween Wreath
I love a good classic! Here’s everything you need to know about how to make a Halloween wreath.
Supplies Needed
- wreath form
- 10″ deco mesh (orange)
- (3) 2.5″ wired ribbon
- (3) 1.5 wired ribbon
- Pipe cleaners
- Rotary cutter
- Scissors
- Floral Wire
- Ribbon tail board
- Pro Bow the Hand
- Fluff Box
Video Tutorial
I made this video to show you how this design came together. Check out the video at the end of this wreath tutorial post in the recipe card!
Instructions For How To Make A Halloween Wreath
Follow along as I guide you through the process step-by-step of making this fun Halloween decor.
Step 1
Start by taking your orange mesh and making 10” poufs on all three rows.
Step 2
Let’s make ribbon tails!
(14) 14” ribbon tails from (3) 1.5” ribbons and your 2.5” ribbon. That is a total of 14 ribbon tails from 4 different ribbons. Dovetail the ends.
Pair up the ribbon tails into 2 sets of pairs. Take a pair, fold it, and insert it into one of the pipe cleaners on the outer row of the wreath frame.
Next, grab the other pair, fold it, and insert it into the next pipe cleaner. Alternate pairs as you go all around the outside of the frame. Then repeat the same process around the inner row of the frame.
Step 3
We’re going to make Terri bows.
Grab your Pro Bow the Hand bow maker.
Cut two 24” wires and grab 6 different ribbons (3) 1.5-inch and (3) 2.5-inch ribbons.
Take your first 1.5” ribbon and measure out 7-inches for the tail. Take a wire and fold it in half, give it a pinch around the ribbon, and tie it off. Wrap the ribbon around your center peg, then pinch the bottom peg, twist, and tie it off on the top. This is your center loop.
Now it’s time to add your second wire. Fold the wire in half and work it through.
Take your 2.5″ ribbon and measure out a 7-inch tail. Take a wire and fold it in half, give it a pinch around the ribbon, and we’re going to tie it off. Wrap the ribbon around the next peg. Pinch on the bottom peg, twist, and loop on the other side.
Dovetail the ends and tie the ribbon off with the wire.
Repeat this step until all the pegs are used, alternating ribbon sizes as you go. You’ll work your way out from the center peg. Once you’re done, tie off, and unwrap the first wire from the top and bottom from when you first started. Take your bow off of the Pro Bow.
Place the bow in the center of your fluff box and wrap the wires on the side hooks to keep it in place. Fluff out your bow by starting with the outside ribbons and working your way to the center.
Step 4
Make two more bows just like this one. Using the pipe cleaners on the bows, attach each bow to the wreath (front, side, bottom).
Step 5
Prepare the plush cat so you attach it to the wreath.
Take a pair of scissors and make two small snips close together, spread out in three different places like a triangle.
Thread a pipe cleaner through one set of slits, twist it, and hot glue it to secure it.
Repeat for the other two slits. Once the cat is dry, use the pipe cleaners to attach it to the empty place on your wreath.
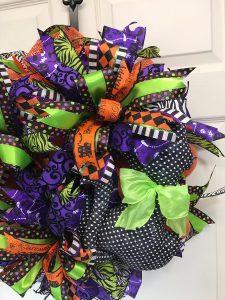
That’s it, y’all! As I was making this design, I didn’t like the way that the mesh was looking on the frame because I could still see the frame through the mesh. However, adding some ribbon tails, Terri bows, and a plush cat completely transformed the design into something I was proud to offer to my customers.
The lesson here: as creators, we need to always be evaluating our design as we create it because something that we think will happen doesn’t quite work out the way we think it will!
CHECK OUT MORE FALL GRAPEVINE WREATHS
Final Thoughts
In the end, I ended up liking this wreath, but it took a bit of pivoting in the wreath design to get there. And the end result is one that has been a customer favorite!
As always, you can personalize this wreath design by changing the colors and patterns. Modify it for other holidays or seasons to create a signature item that your customers buy again and again.
While you’re here, be sure to check out these other Halloween designs too:
- Easy Halloween Grapevine Wreath
- Simple Spider DIY Halloween Wreath
- Happy Halloween Mesh Wreath
- DIY Halloween Wreath Tutorial
- Trick or Treat Wreath for Halloween
If you need any help with centerpiece-making, bow-making, wreath-making, or crafting in general, be sure to check out more of our tutorials on How to Make Wreaths.
We would love to see your beautiful wreaths! Please share with us over at the How To Make Wreaths Facebook Group.
If you’re interested in more info on learning how to make wreaths or being in a community of like-minded crafters, check out our Creative Coaching Subscription Group.
How To Make A Halloween Wreath
Materials
Instructions
- Start by taking your orange mesh and making 10” poufs on all three rows.
- Let’s make ribbon tails!(14) 14” ribbon tails from (3) 1.5” ribbons and your 2.5” ribbon. That is a total of 14 ribbon tails from 4 different ribbons. Dovetail the ends.Pair up the ribbon tails into 2 sets of pairs. Take a pair, fold it, and insert it into one of the pipe cleaners on the outer row of the wreath frame. Next, grab the other pair, fold it, and insert it into the next pipe cleaner. Alternate pairs as you go all around the outside of the frame. Then repeat the same process around the inner row of the frame.
- We’re going to make Terri bows.Grab your Pro Bow the Hand bow maker.Cut two 24” wires and grab 6 different ribbons (3) 1.5-inch and (3) 2.5-inch ribbons.Take your first 1.5” ribbon and measure out 7-inches for the tail. Take a wire and fold it in half, give it a pinch around the ribbon, and tie it off. Wrap the ribbon around your center peg, then pinch the bottom peg, twist, and tie it off on the top. This is your center loop.Now it’s time to add your second wire. Fold the wire in half and work it through.Take your 2.5″ ribbon and measure out a 7-inch tail. Take a wire and fold it in half, give it a pinch around the ribbon, and we’re going to tie it off. Wrap the ribbon around the next peg. Pinch on the bottom peg, twist, and loop on the other side.Dovetail the ends and tie the ribbon off with the wire.Repeat this step until all the pegs are used, alternating ribbon sizes as you go. You’ll work your way out from the center peg. Once you’re done, tie off, and unwrap the first wire from the top and bottom from when you first started. Take your bow off of the Pro Bow.Place the bow in the center of your fluff box and wrap the wires on the side hooks to keep it in place. Fluff out your bow by starting with the outside ribbons and working your way to the center.
- Make two more bows just like this one. Using the pipe cleaners on the bows, attach each bow to the wreath (front, side, bottom).
- Prepare the plush cat, so you attach it to the wreath.Take a pair of scissors and make two small snips close together, spread out in three different places like a triangle.Thread a pipe cleaner through one set of slits, twist it, and hot glue it to secure it. Repeat for the other two slits. Once the cat is dry, use the pipe cleaners to attach it to the empty place on your wreath.
Video
Just pin this how to make a Halloween wreath tutorial to save these instructions for next time!

If you love to craft, check out our Eat. Sleep. Craft. Repeat. t-shirts and click on the picture below!


